Well, I don’t know that yet, but I have concerns!
So let’s start by taking a look at where we left off last time. The cow tank!
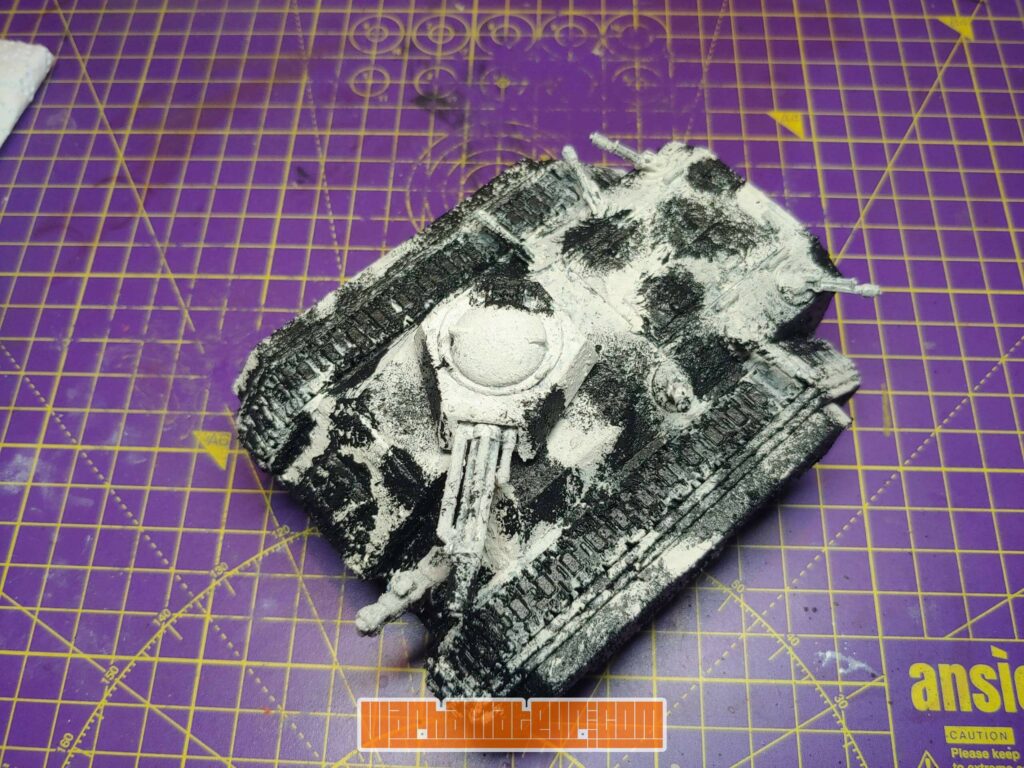
We’re now about to start making this thing look rusty, instead of just feeling it!
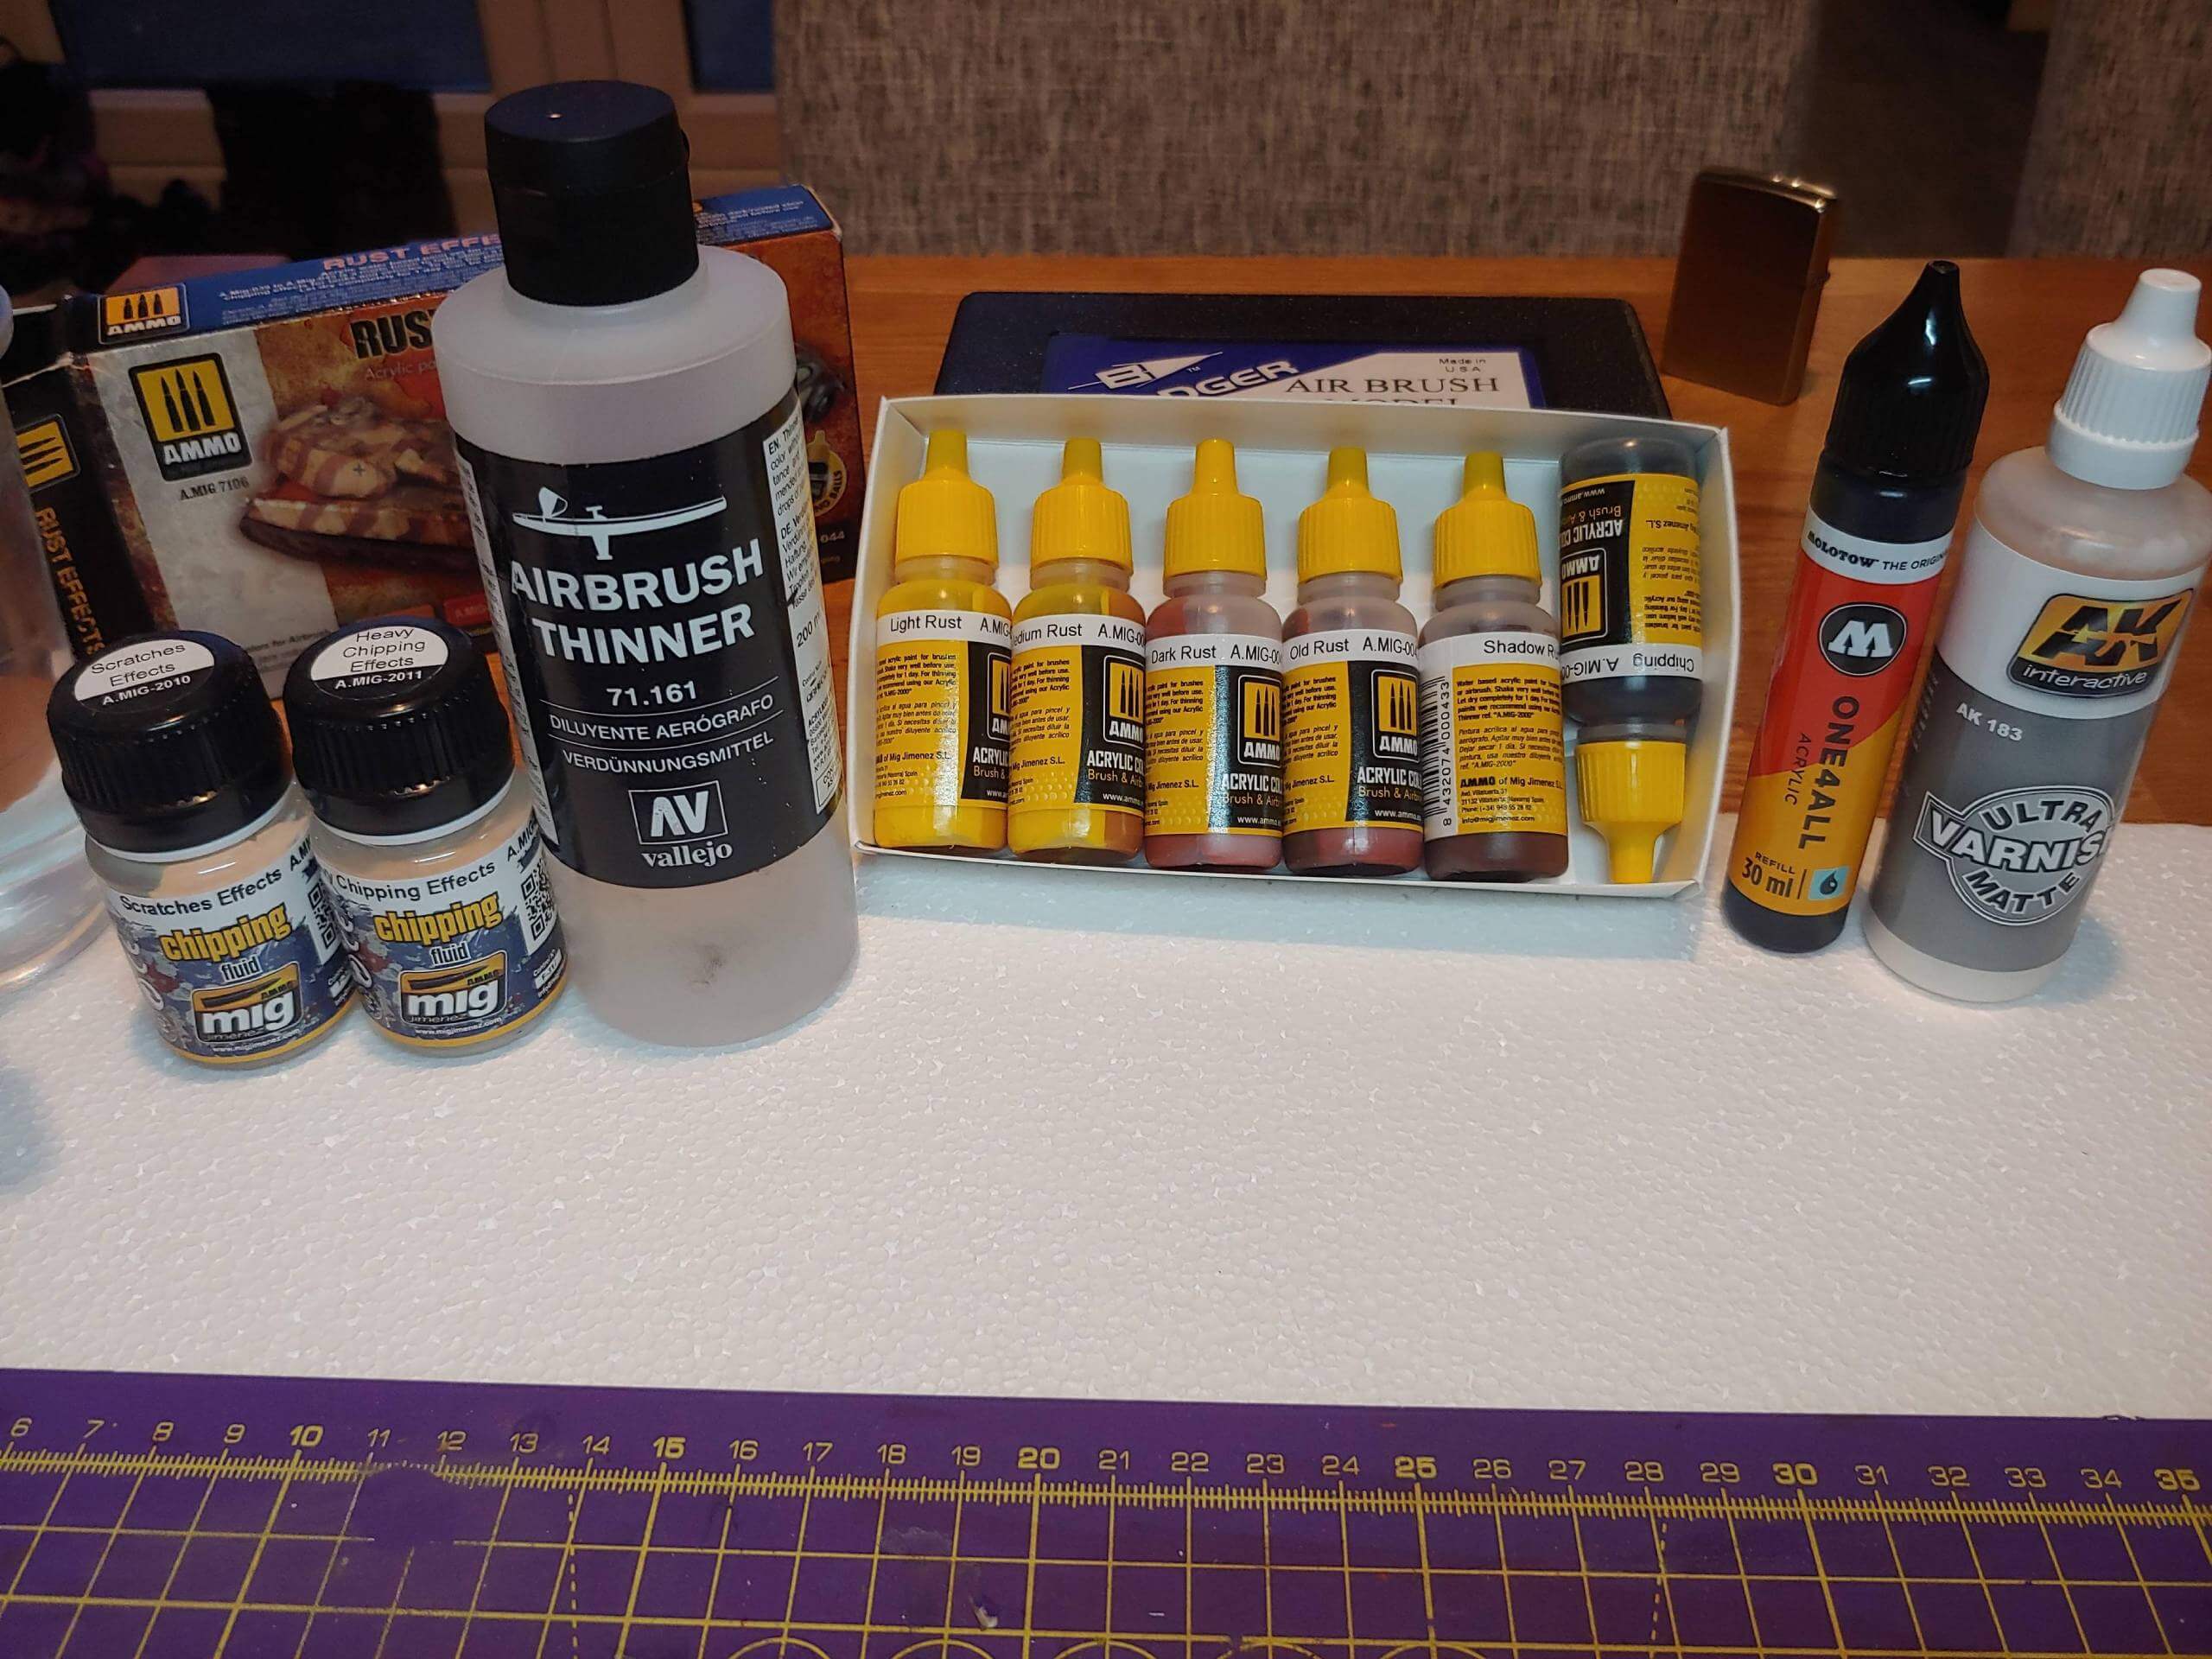
For my next few sessions I expect to only be taking the following out of the tool box:
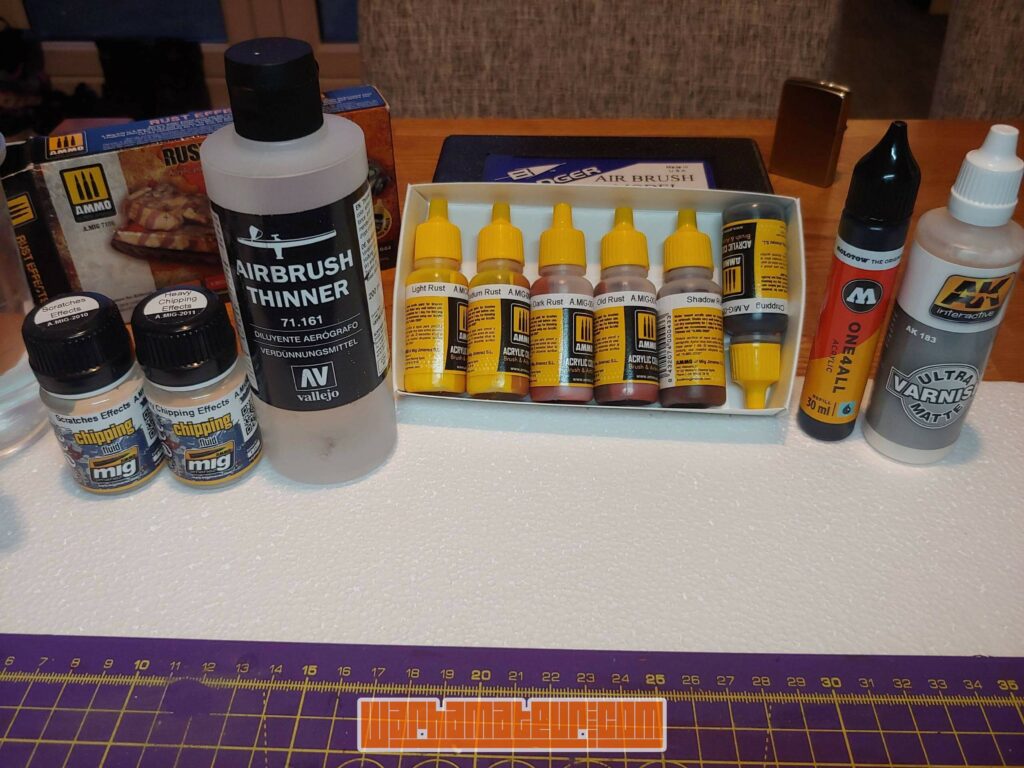
AMMO Heavy Chipping and Scratches fluids. Most, if not all of the heavy lifting will be done by the chipping fluid, I think.
Airbrush thinner
The AMMO Rust Effects set of acrylics.
Molotow One4All Signal Black
AK Ultra Matte Varnish
To apply them we will be using a Badger Patriot 105 that desperately needs a clean, with a 0.5mm needle.
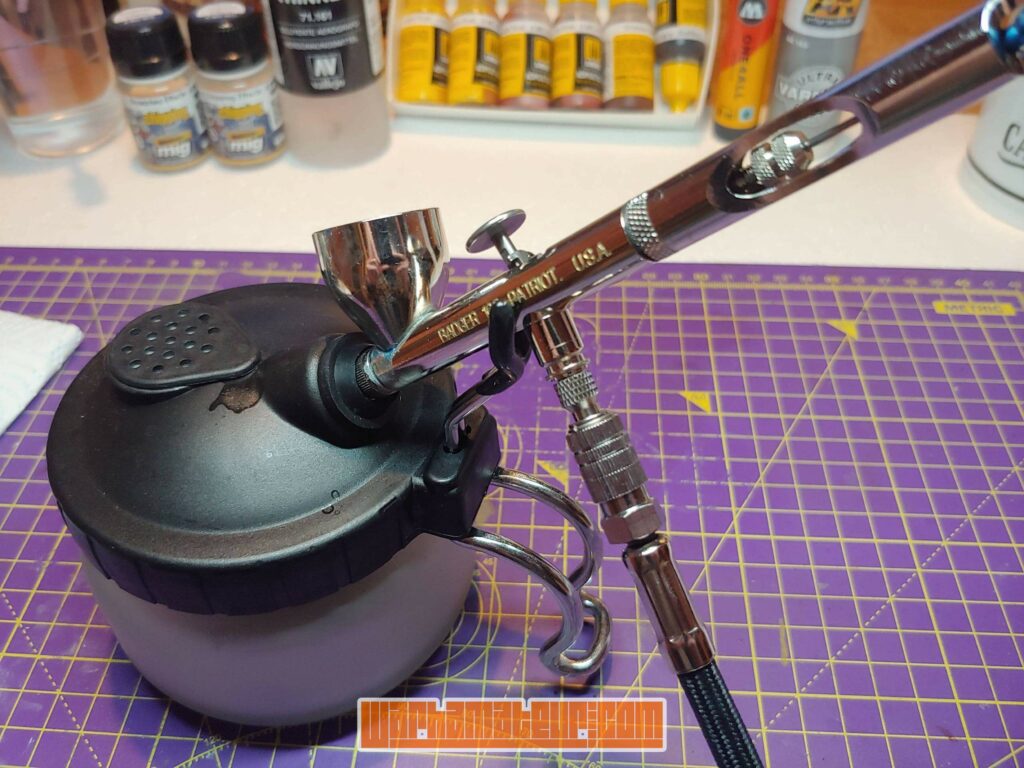
Compressor is set to approximately 28psi (working pressure) – most recommend ~22, but for some reason this never works for me. I’m very much an airbrushing novice though!
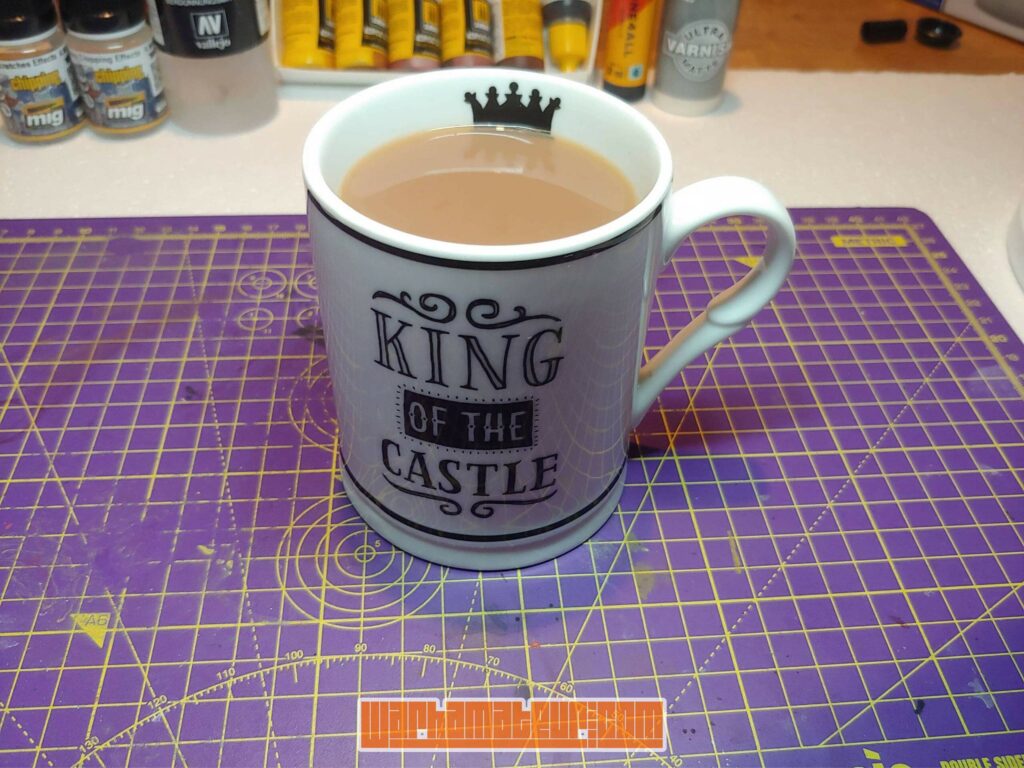
Oh, and a cup of tea, because obviously!
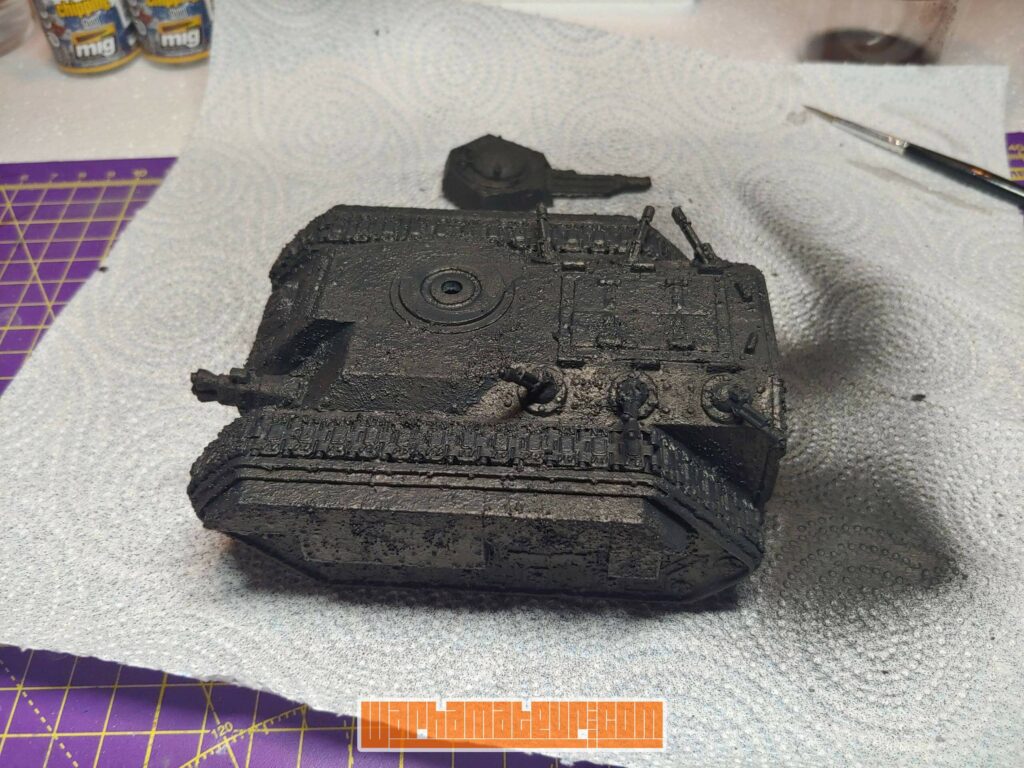
Now I spent a little bit of time considering my primer options. I like the Molotow paints because they seem to airbrush nicely – a really important factor for me because I’m not very good with the airbrush! They aren’t dedicated primers however, and because I’m planning to rough the tank up a little I’m worried about pulling up the primer. I do have a bottle of AK black primer, however previous attempts to use it were frustrating to say the least. It would probably bond better and give a stronger finish, but I’m hoping that varnish will help even things out here. In the end ease-of-use won, and I’m sticking with the Molotow!
While spraying the tank (and everything around it, apparently!) I discovered that it was difficult in places to see where I had covered, as I was working black-on-black. Still, I think everything got two (slightly heavy) coats, and I’m ready to move on!
Our first actual colour is A.MIG-044 Chipping. It’s the first time I’ve used the AMMO paints but I’m rather impressed. They come with a stainless steel agitator already inside the bottle, and while it needed a little more thinning than I expected (again, not good with the airbrush!) it went on beautifully. The colour when wet wasn’t unlike melted chocolate, though as expected it dries a little darker (I absolutely failed to capture this in the photo!)
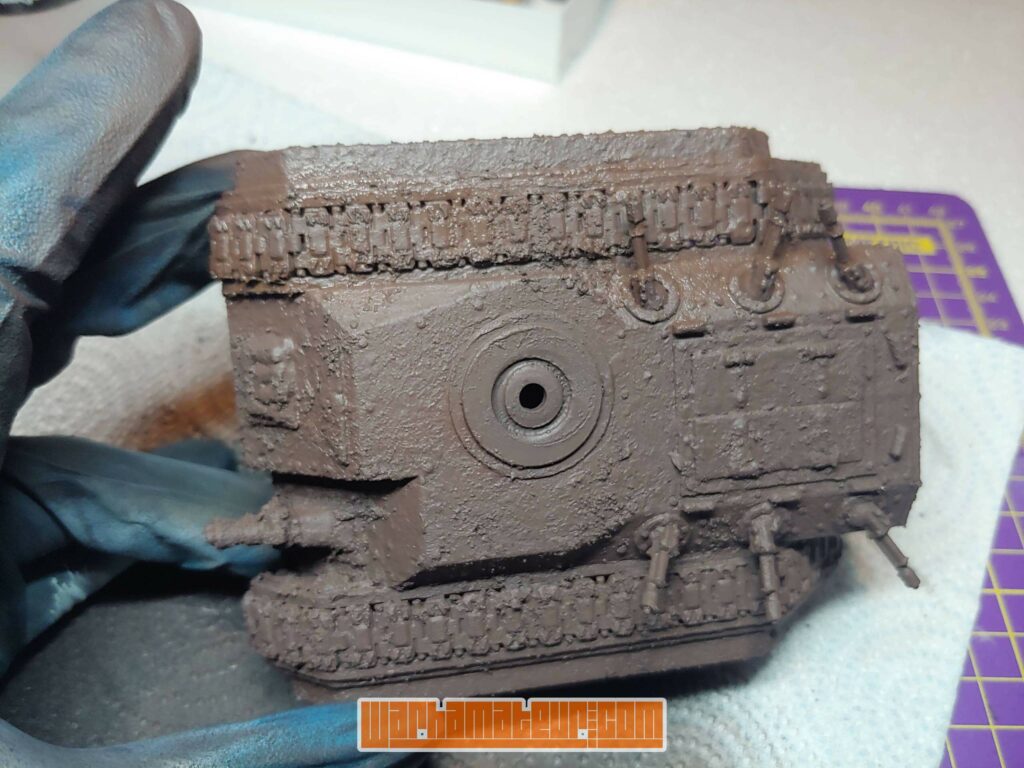
I haven’t tested it by brush other than unloading after mixing in the airbrush cup, but it seems to give pretty good coverage – I imagine that these would be a pleasure to paint with using a regular brush.
After spraying two layers (with much more control this time – I almost felt like I knew what I was doing!) and employing a hairdryer I’m almost done for the night. My last step will be varnishing.
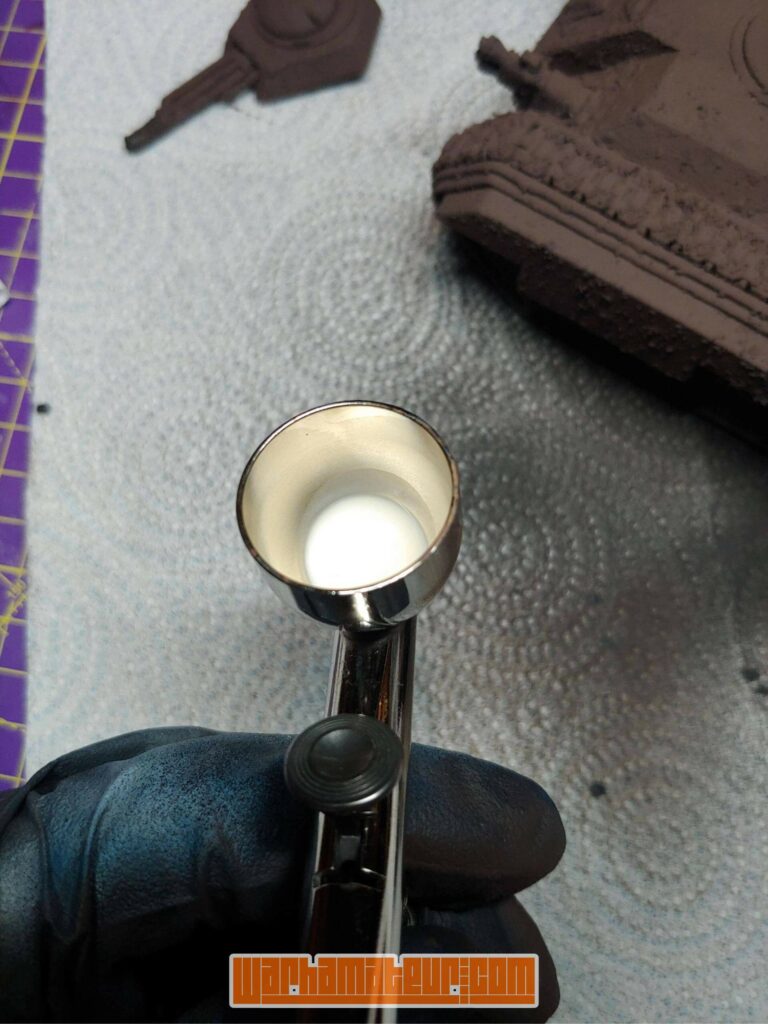
Something of a common theme – I’ve never airbrushed a varnish before! I’m using the AK Ultra Matte straight from the bottle. It looks rather like soya milk in the cup, but we’ll give it a go anyway! (the photo makes it appear rather white, but it has the same yellow tint that soya milk does!)
Two passes (with only one area getting too much spray by mistake, no issue though!) and we have gone from a cow tank to a very matte chocolate tank!
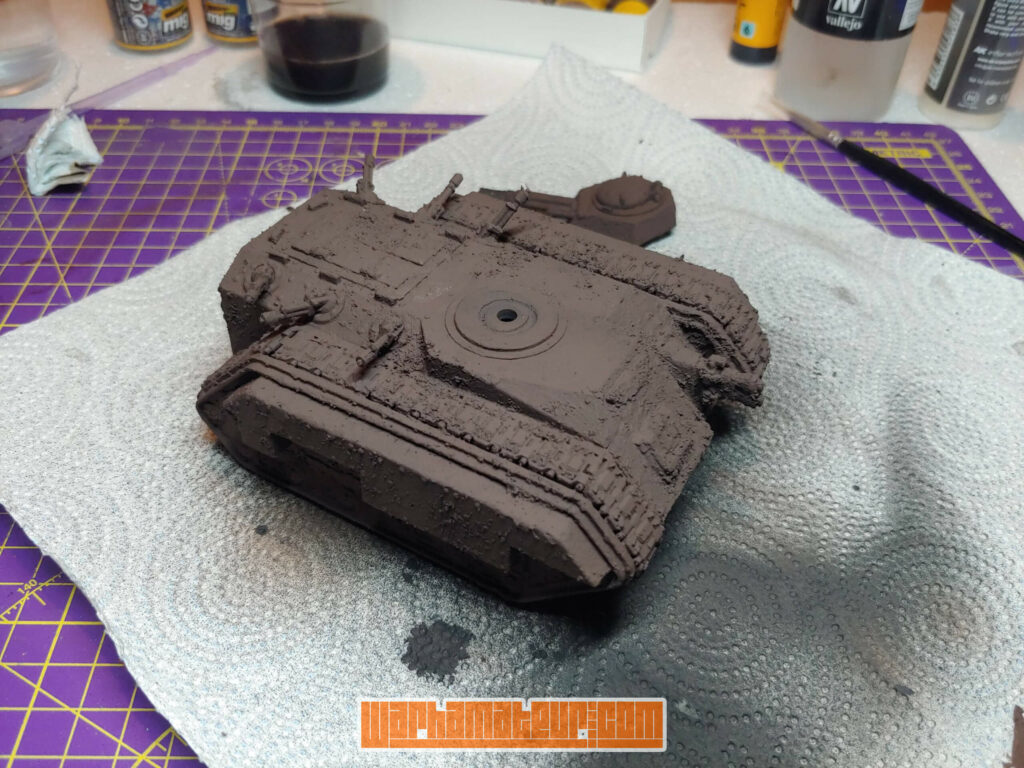
Before applying the varnish however I noticed this:
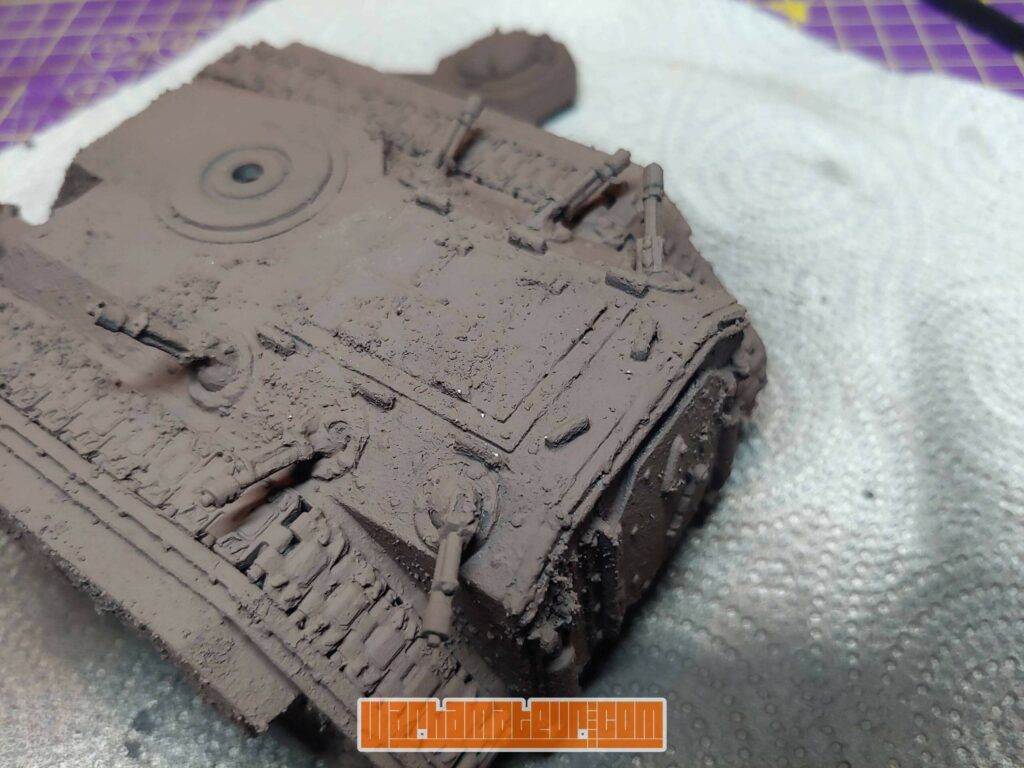
You’ll be able to see that there’s a couple of little white spots. This is where I’ve been handling the tank and managed to remove both the brown and black layers – what you can see is the putty I was stippling in the last two posts! It would appear that my primer concerns may have been warranted!
To help prevent this from becoming an issue I will start my next painting session by sticking the Chimera to a painting handle. I should have done this from the start really, as it will make spraying the whole tank at once much easier, and also reduce the amount that I have to physically touch it. I will also probably begin by adding another layer of varnish, because it probably can’t hurt!
So that’s where I’m leaving off for tonight! Thoughts and suggestions welcome as always. =]


