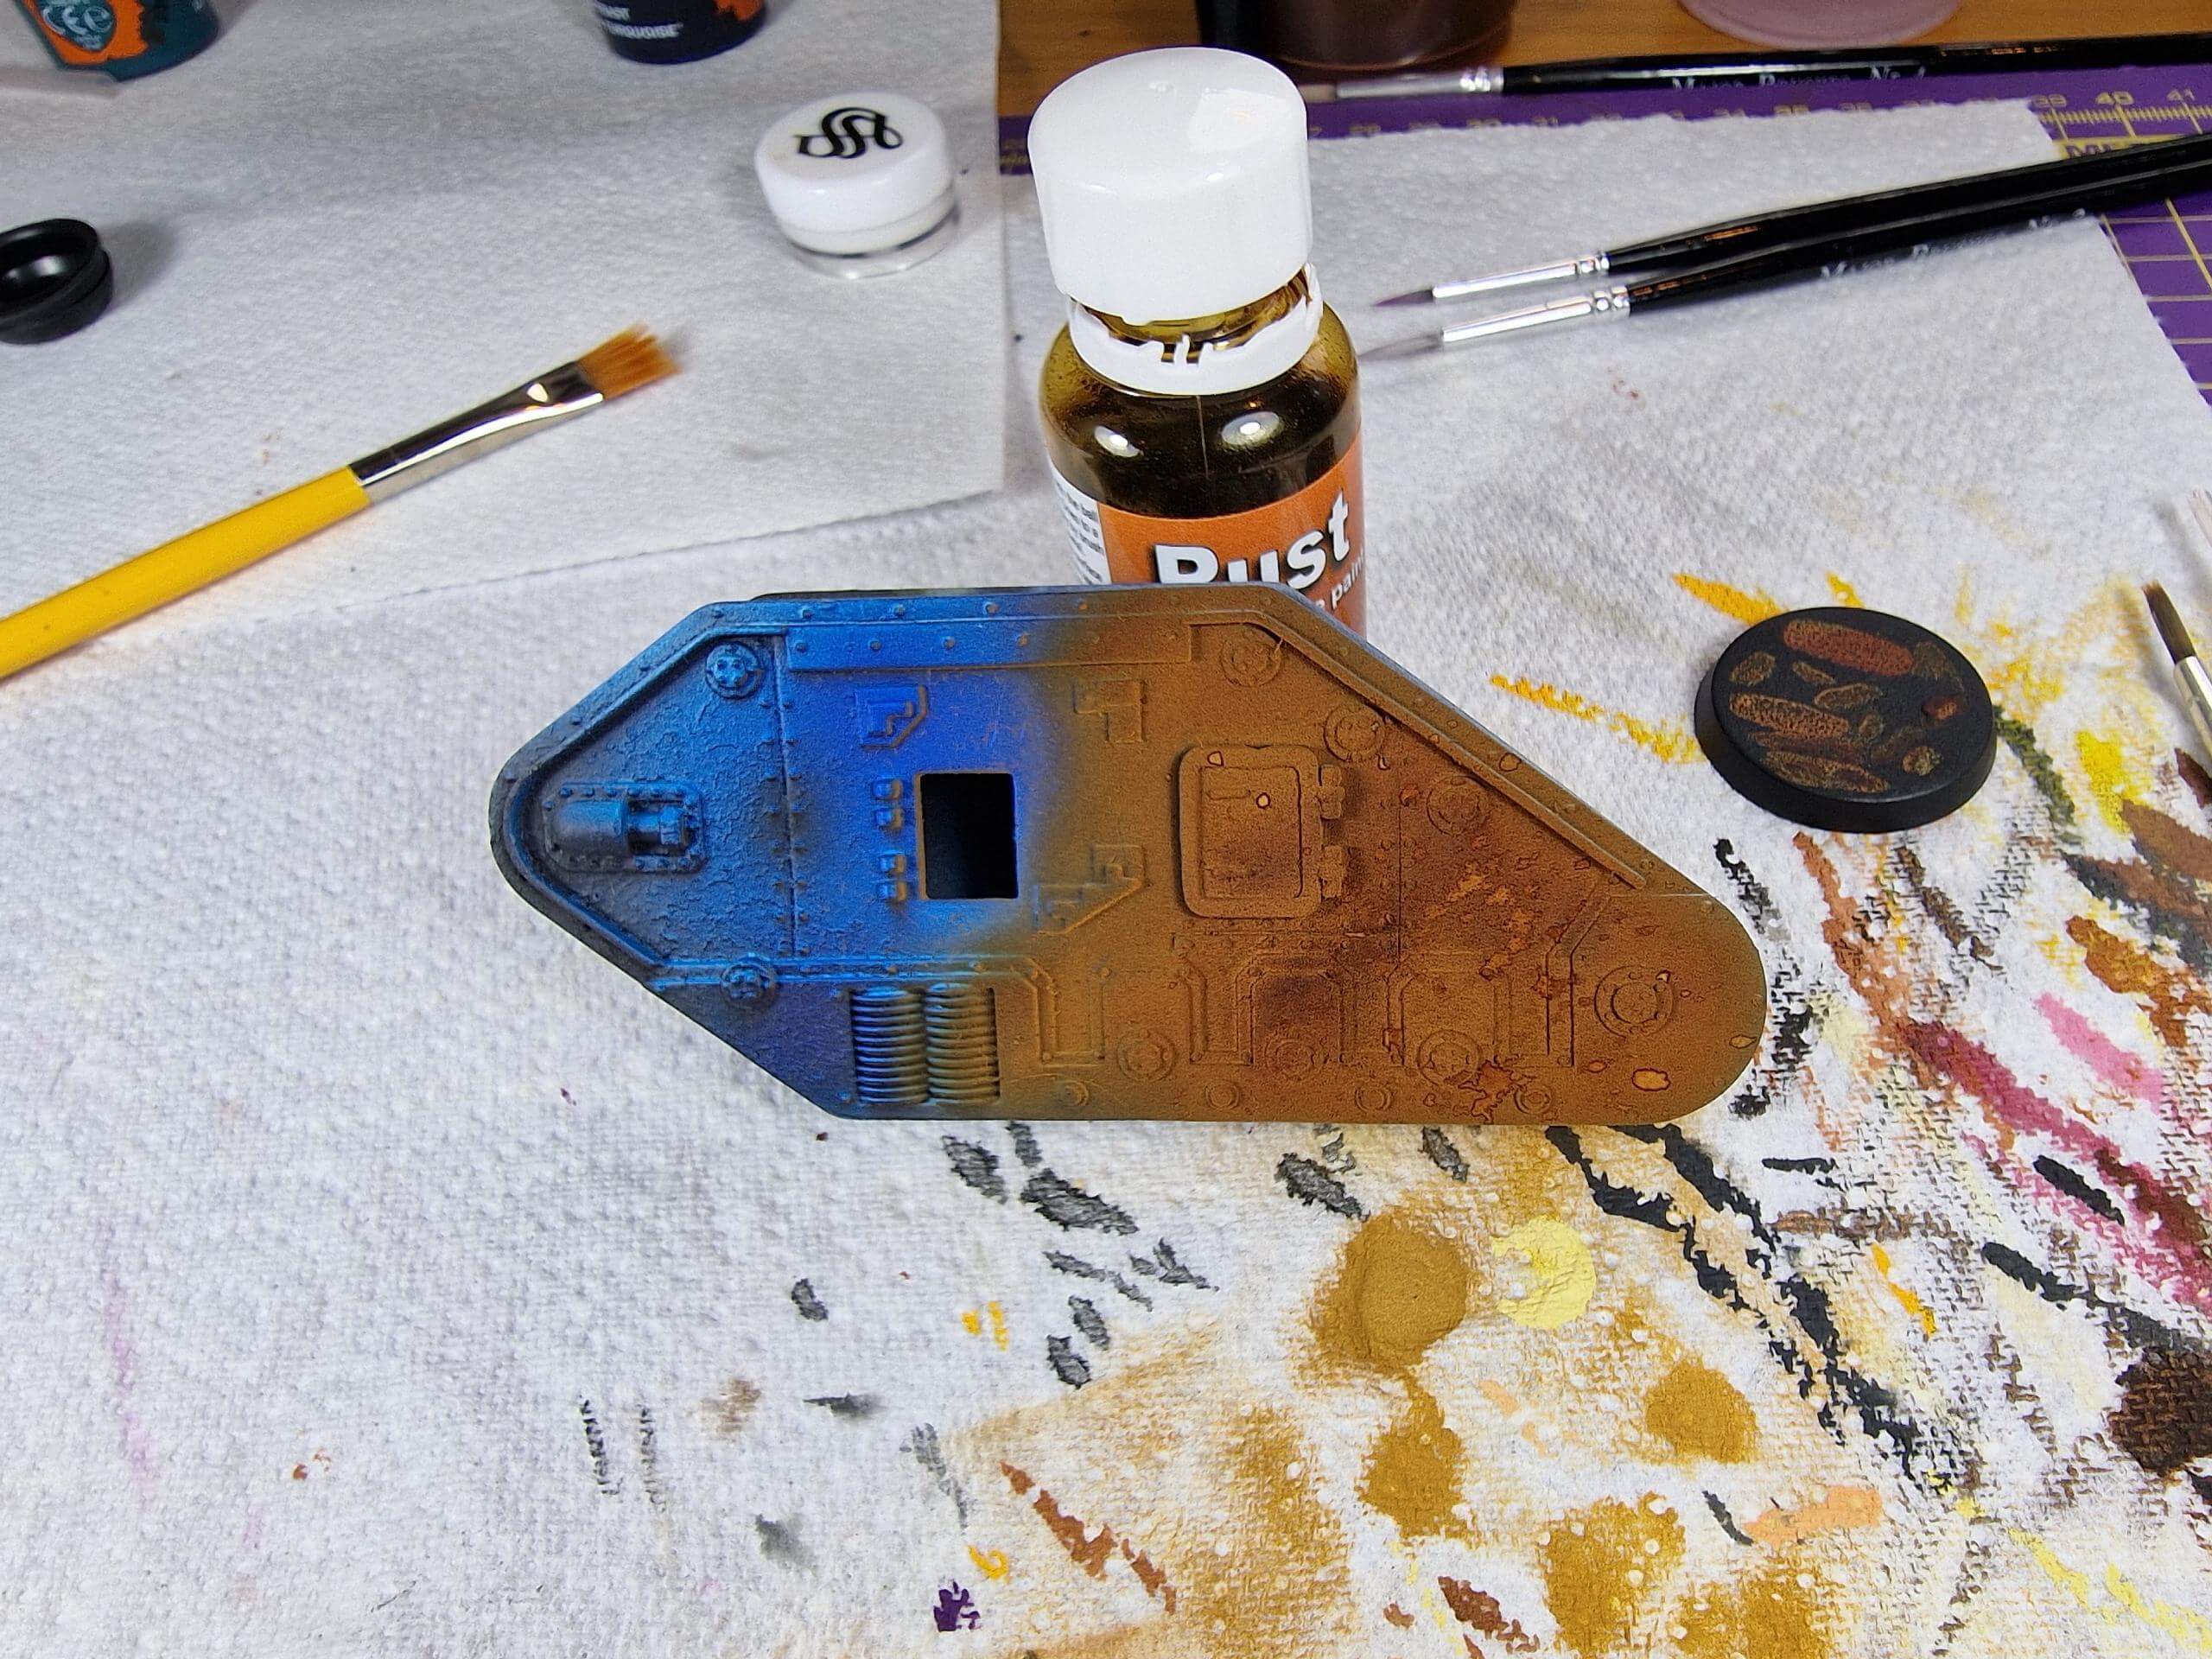
Everybody seems to be raving about them, so I decided it was time to get involved. With a Chimera that I was seemingly too lazy to paint (it had been months!) and a love of fast, effective techniques I picked up a bottle of Dirty Down Rust and went straight to YouTube.
With a surface as big as an entire tank, I quickly decided that applying this stuff by brush would take forever. The bottle says that it can be sprayed through an airbrush, but nobody seems to have given it a go yet! Or at least, either they haven’t documented it or I couldn’t find it!
For this to be a proper review some brushwork would have to be involved, but I was too busy jumping in with both feet and trying to spray it without any idea of what I’m doing. Knowing that my friend James had an as-yet-unused bottle of Rust and an ever-expanding Death Guard army I decided to rope him in for the sensible bit. Over to James!
Dirty Down Rust – by brush
So first off I’ve used a variety of acrylic and non-acrylic rust solutions in the past, and despite having only had one play with Dirty Down Rust I am super impressed. It may even cause me to almost retire some of the other products that I use!
I tried a few different application methods for this test: direct application from brush, applying like a wash, and feathering/working out with water from direct application (almost like a streaking rust) – I’ll try to include pictures of each example.
Direct application
Simple stuff. Drop your brush into the liquid and then plonk it on to the mini. Whilst it is simple you can be quite accurate with this and it does actually yield some really great effects.
Applying like a wash
I really liked this effect, it gave quite a subtle hue and rusty shade. I found the best way to do this was direct application and then use a brush loaded with water to wash it around. Mostly this was great. Occasionally you have some issues where the rust can turn a bit white in places – I found the best way to fix this is to either try and remove it with your brush and more water, or using another direct application plonk more on to make it more varied.
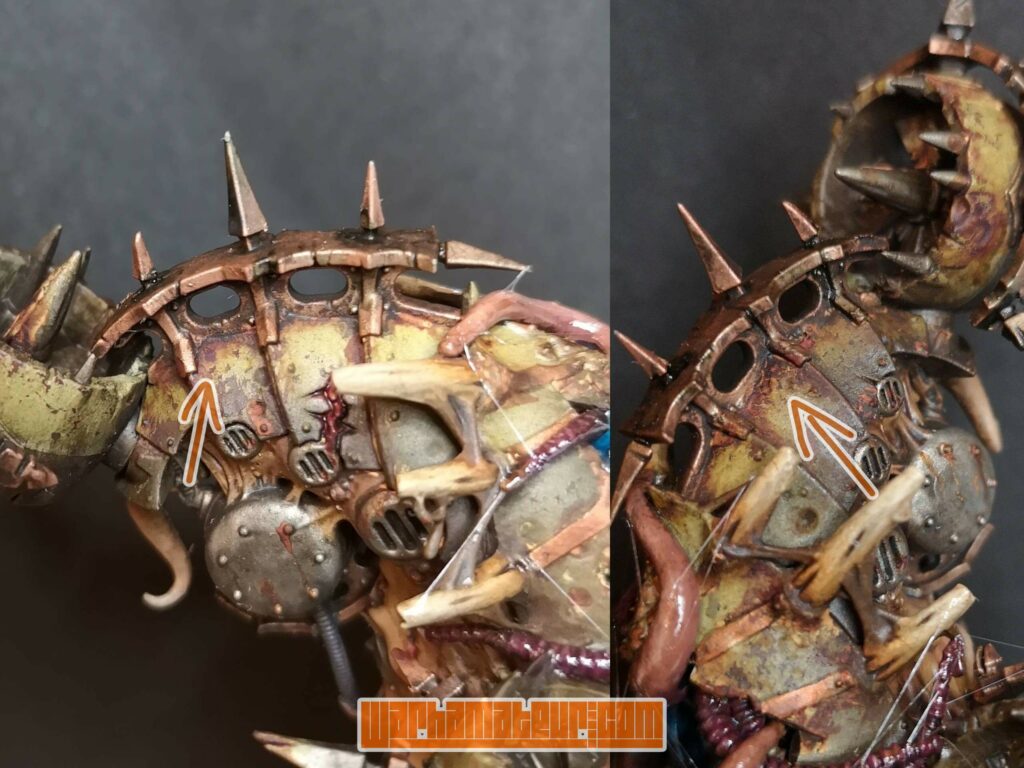
Feathering and working with water
I only tried a little of this but it definitely worked and with more time and effort you could get some great results. I rushed mine but was still impressed.
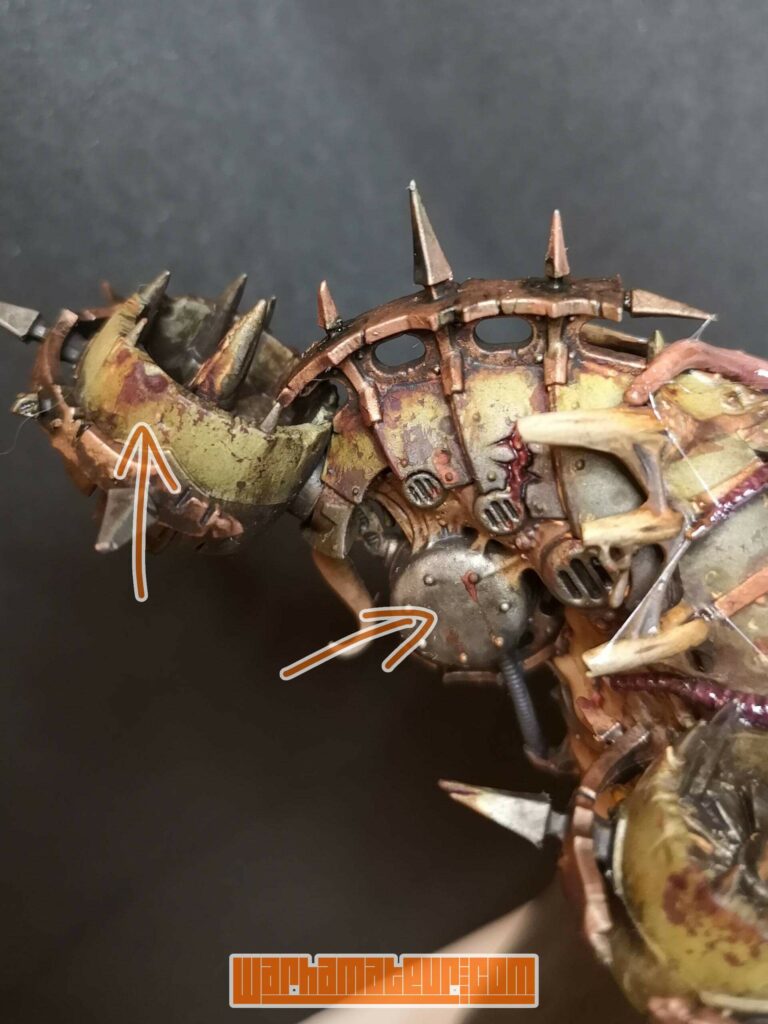
Dirty Down Rust – by airbrush
Right, back to me!
Safety lecture
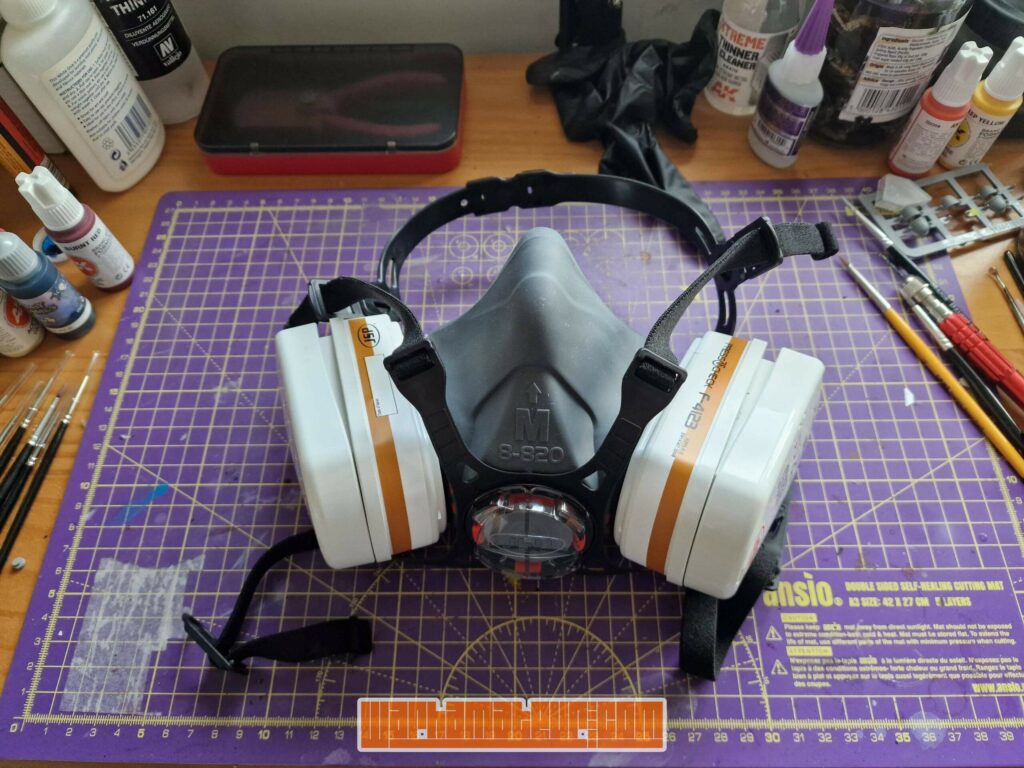
Now, before we go mental and start spraying stuff about, let’s do the boring bit. This stuff is water soluble, but it does have a rather strong smell. After consulting the Safety Data Sheet it became clear why; it’s chock full of solvents! What this means is that you definitely don’t want to breathe this stuff in! A little from an open pot isn’t going to do you much damage, but spraying aerosolised solvents around is a good way to put yourself in hospital!
If you want to use the Dirty Down products through an airbrush, make sure you’re wearing a suitable respirator (click here to see what is considered suitable!). They might not be the most fashionable items, but neither are hospital gowns!
Funtimes!
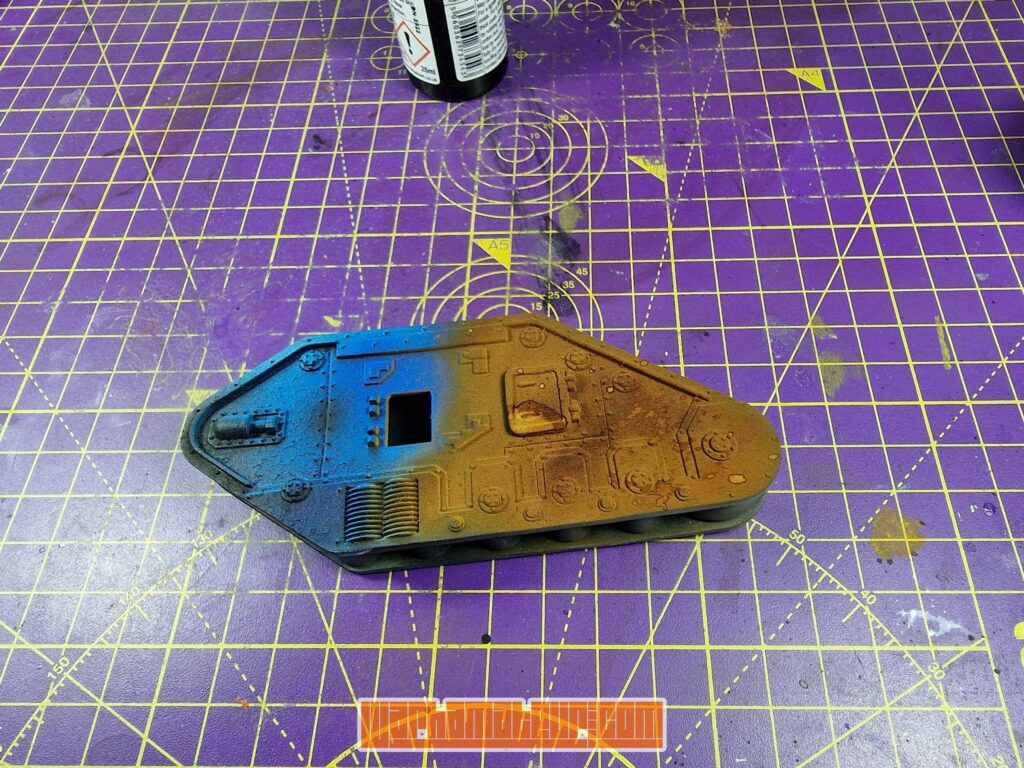
Now that I’m suitably protected it’s time to make a mess – enter the Leman Russ! I have the side of an old Leman Russ that I like to use for testing purposes. It’s been abused by every product I’ve used and paintjob I’ve attempted, and now I get to rust it!
Taking our rust straight from the bottle I simply sprayed at about 22 psi, no thinning or special tricks. After a quick pass I went back and tried a much heavier spray, to see if the dried results were any different.
So far so good. The paint is spraying easily with no clogging or other issues, and the early colour impression looks, well, rusty! Having read that introducing water can change the end result I figured that was my next step. Before allowing everything to dry properly, naturally! A quick blast of air through a wet brush and I allowed it to dry.
The results actually weren’t that bad. Predominantly orange with a touch of brown in the heavier areas. The water however seems to be where the magic is starting to happen, with the lighter shades beginning to show through.
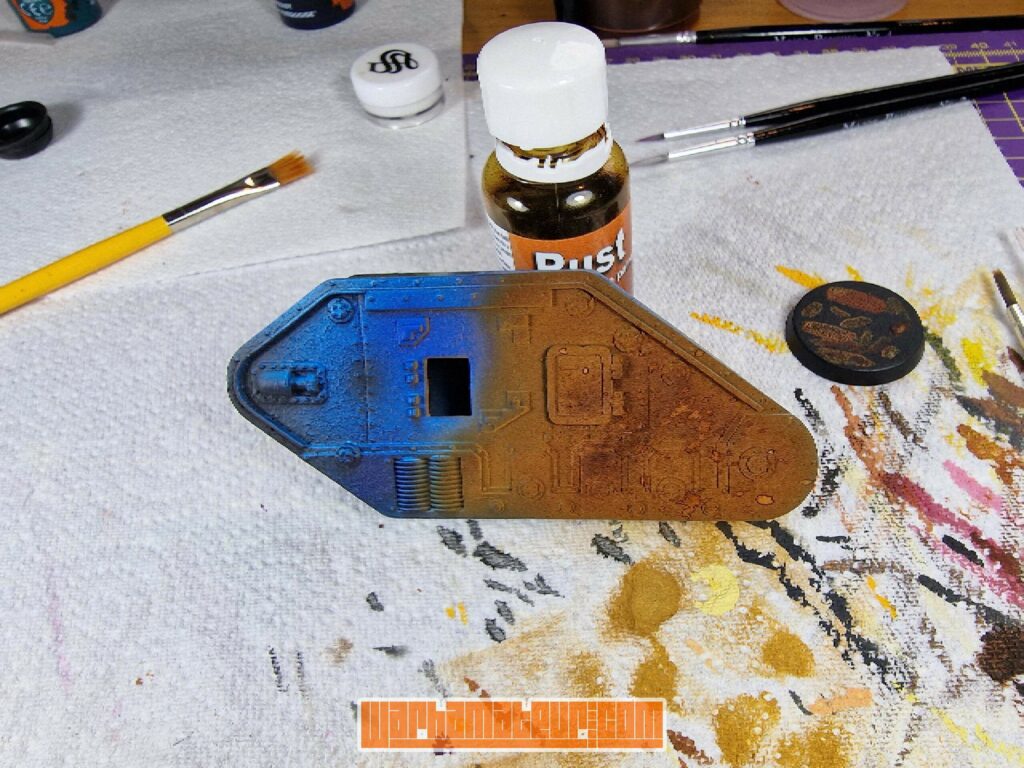
Is this enough testing to start working on a proper model? Probably not! Am I going to do it anyway? Most definitely!
More funtimes!
Now we bring out the Chimera! Hopefully the combination of five minutes of practice, a much rougher surface and a good portion of enthusiastic idiocy will give me a solid result!
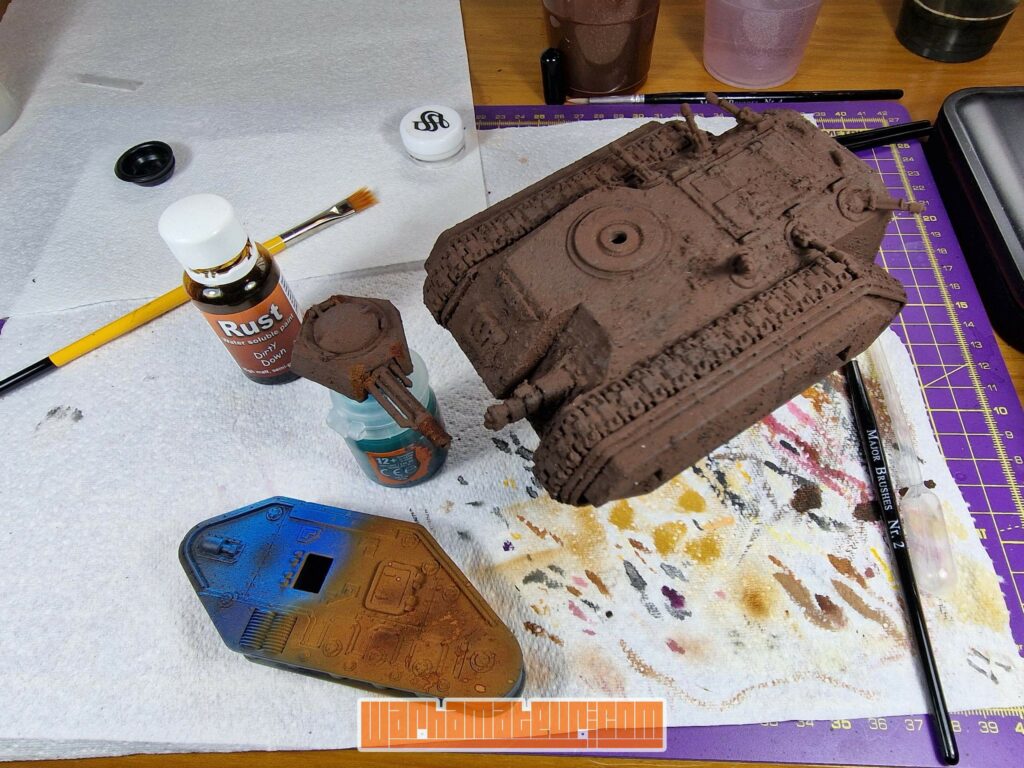
Again I give everything a quick pass before going back to re-spray with random, varying strengths. I tried to avoid uniformity, but it seems that when you’re spraying this stuff it tends to settle quite evenly. Maybe just using a big brush would have given a more natural finish?
Once everything had been sprayed within an inch of its life (there’s plenty more that I didn’t record!) I went back in to ‘adjust’ things slightly. Using both water and Dirty Down Rust on my brush I stippled, jabbed, flicked and otherwise just made a mess. I was actively trying not to think about what I was doing, as I figured that the more I tried to ‘do it right’ the less likely I was to get a natural result.
The results actually weren’t that bad, I don’t think. Here’s a finished shot, and then a comparison to some tanks that have been rusting underwater for a few decades.
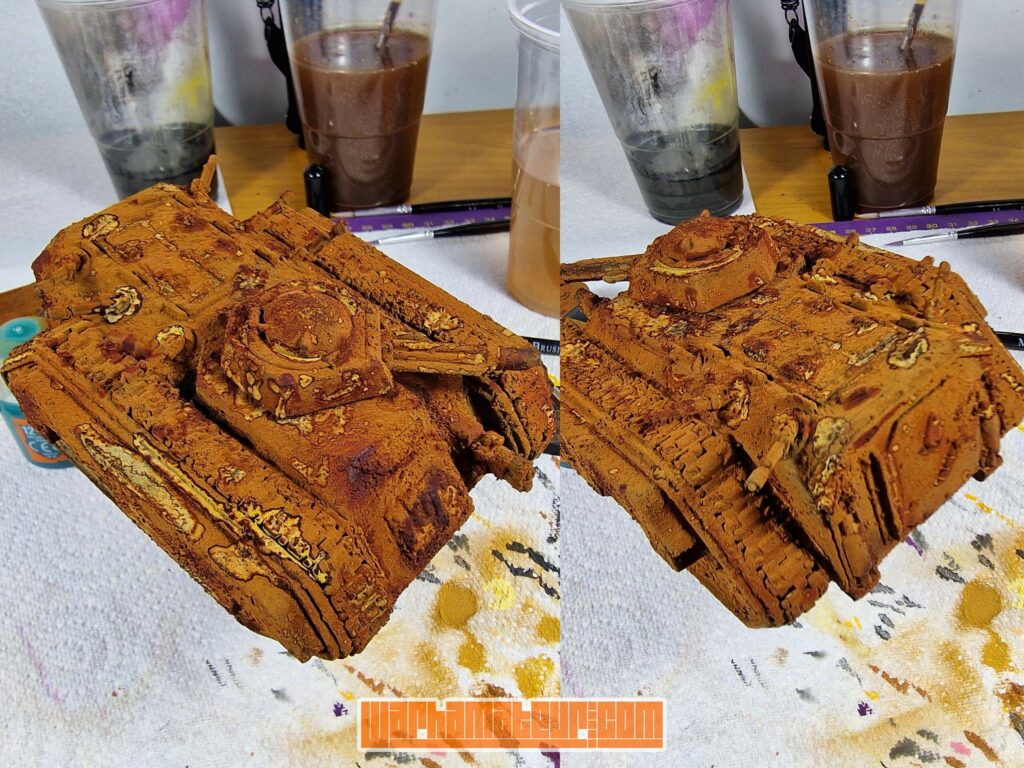
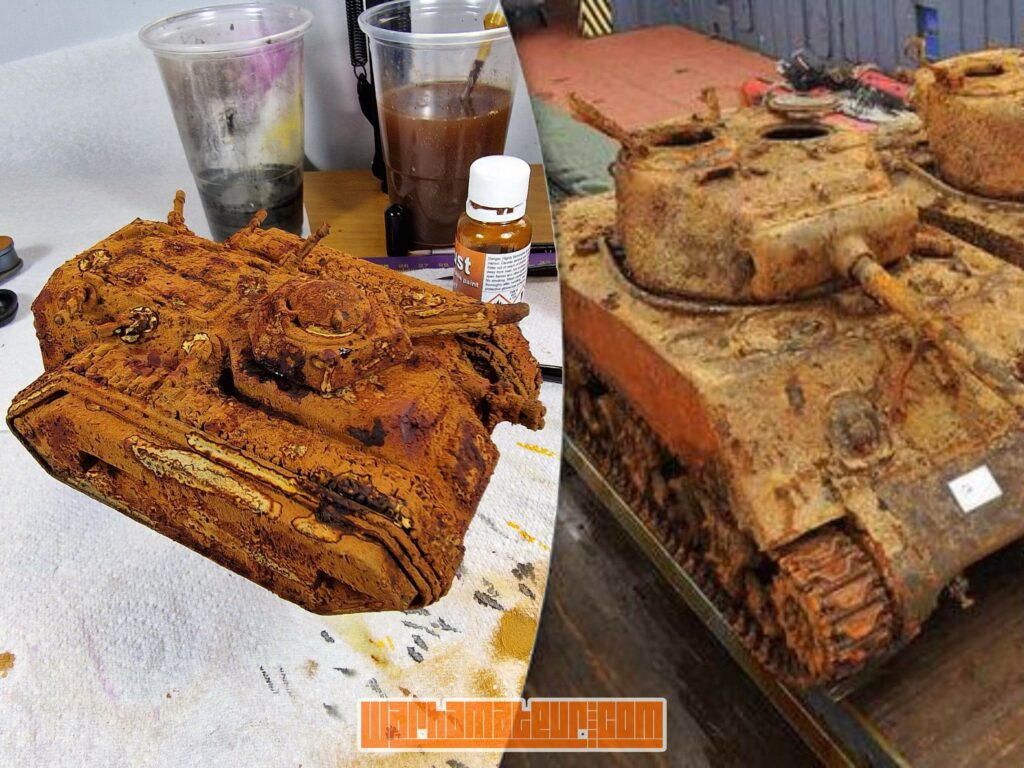
For a first attempt I think I’ve come pretty close to where I want to be, but it’s not quite perfect. Using the airbrush seems to give you a result that’s more of a flat orange than a varied rust pattern, though going back afterwards with a brush you can change this.
Final thoughts and comments
This stuff never cures!
About a week after I sprayed the Leman Russ I decided to go back and stick a little water on the door, just to see if it still reacted. It did. It would appear that Dirty Down Rust is active (or at least, ready to be reactivated) forever. Keep this in mind if you’re planning on using it and not sealing it – if you’re happy with the potential for minor changes down the line then all is good, but if you’re intent on keeping an exact look then a coat or three of varnish is probably a good idea! That said, I don’t know if the varnish will reactivate it, although I haven’t covered that in this review.
More testing is needed!
Following on from this post I’m planning on a follow-up where I look at how the Dirty Down Rust sits on top of various colours and finishes, how it reacts at different temperatures, and how easily it can be varnished. More news on this another day though!
Where do I get it?
Well, pretty much everywhere! Most hobby stores seem to have started stocking it (here is a list of stores that offer a good discount), or you can just fall back on Amazon. Those in the US seem to get a raw deal though, as their prices seem to be much higher regardless of where they buy it!


