So that’s not the real reason, but it’s still true!
Since my last update I’ve done almost no building or painting work at all – life has managed to get right in the way of my hobby time until tonight, and so I only have a single finished model to show off!
The month of March brings the ‘March For Macragge’ event over on Twitter (and possibly elsewhere, I don’t really know), so I painted up this fella:
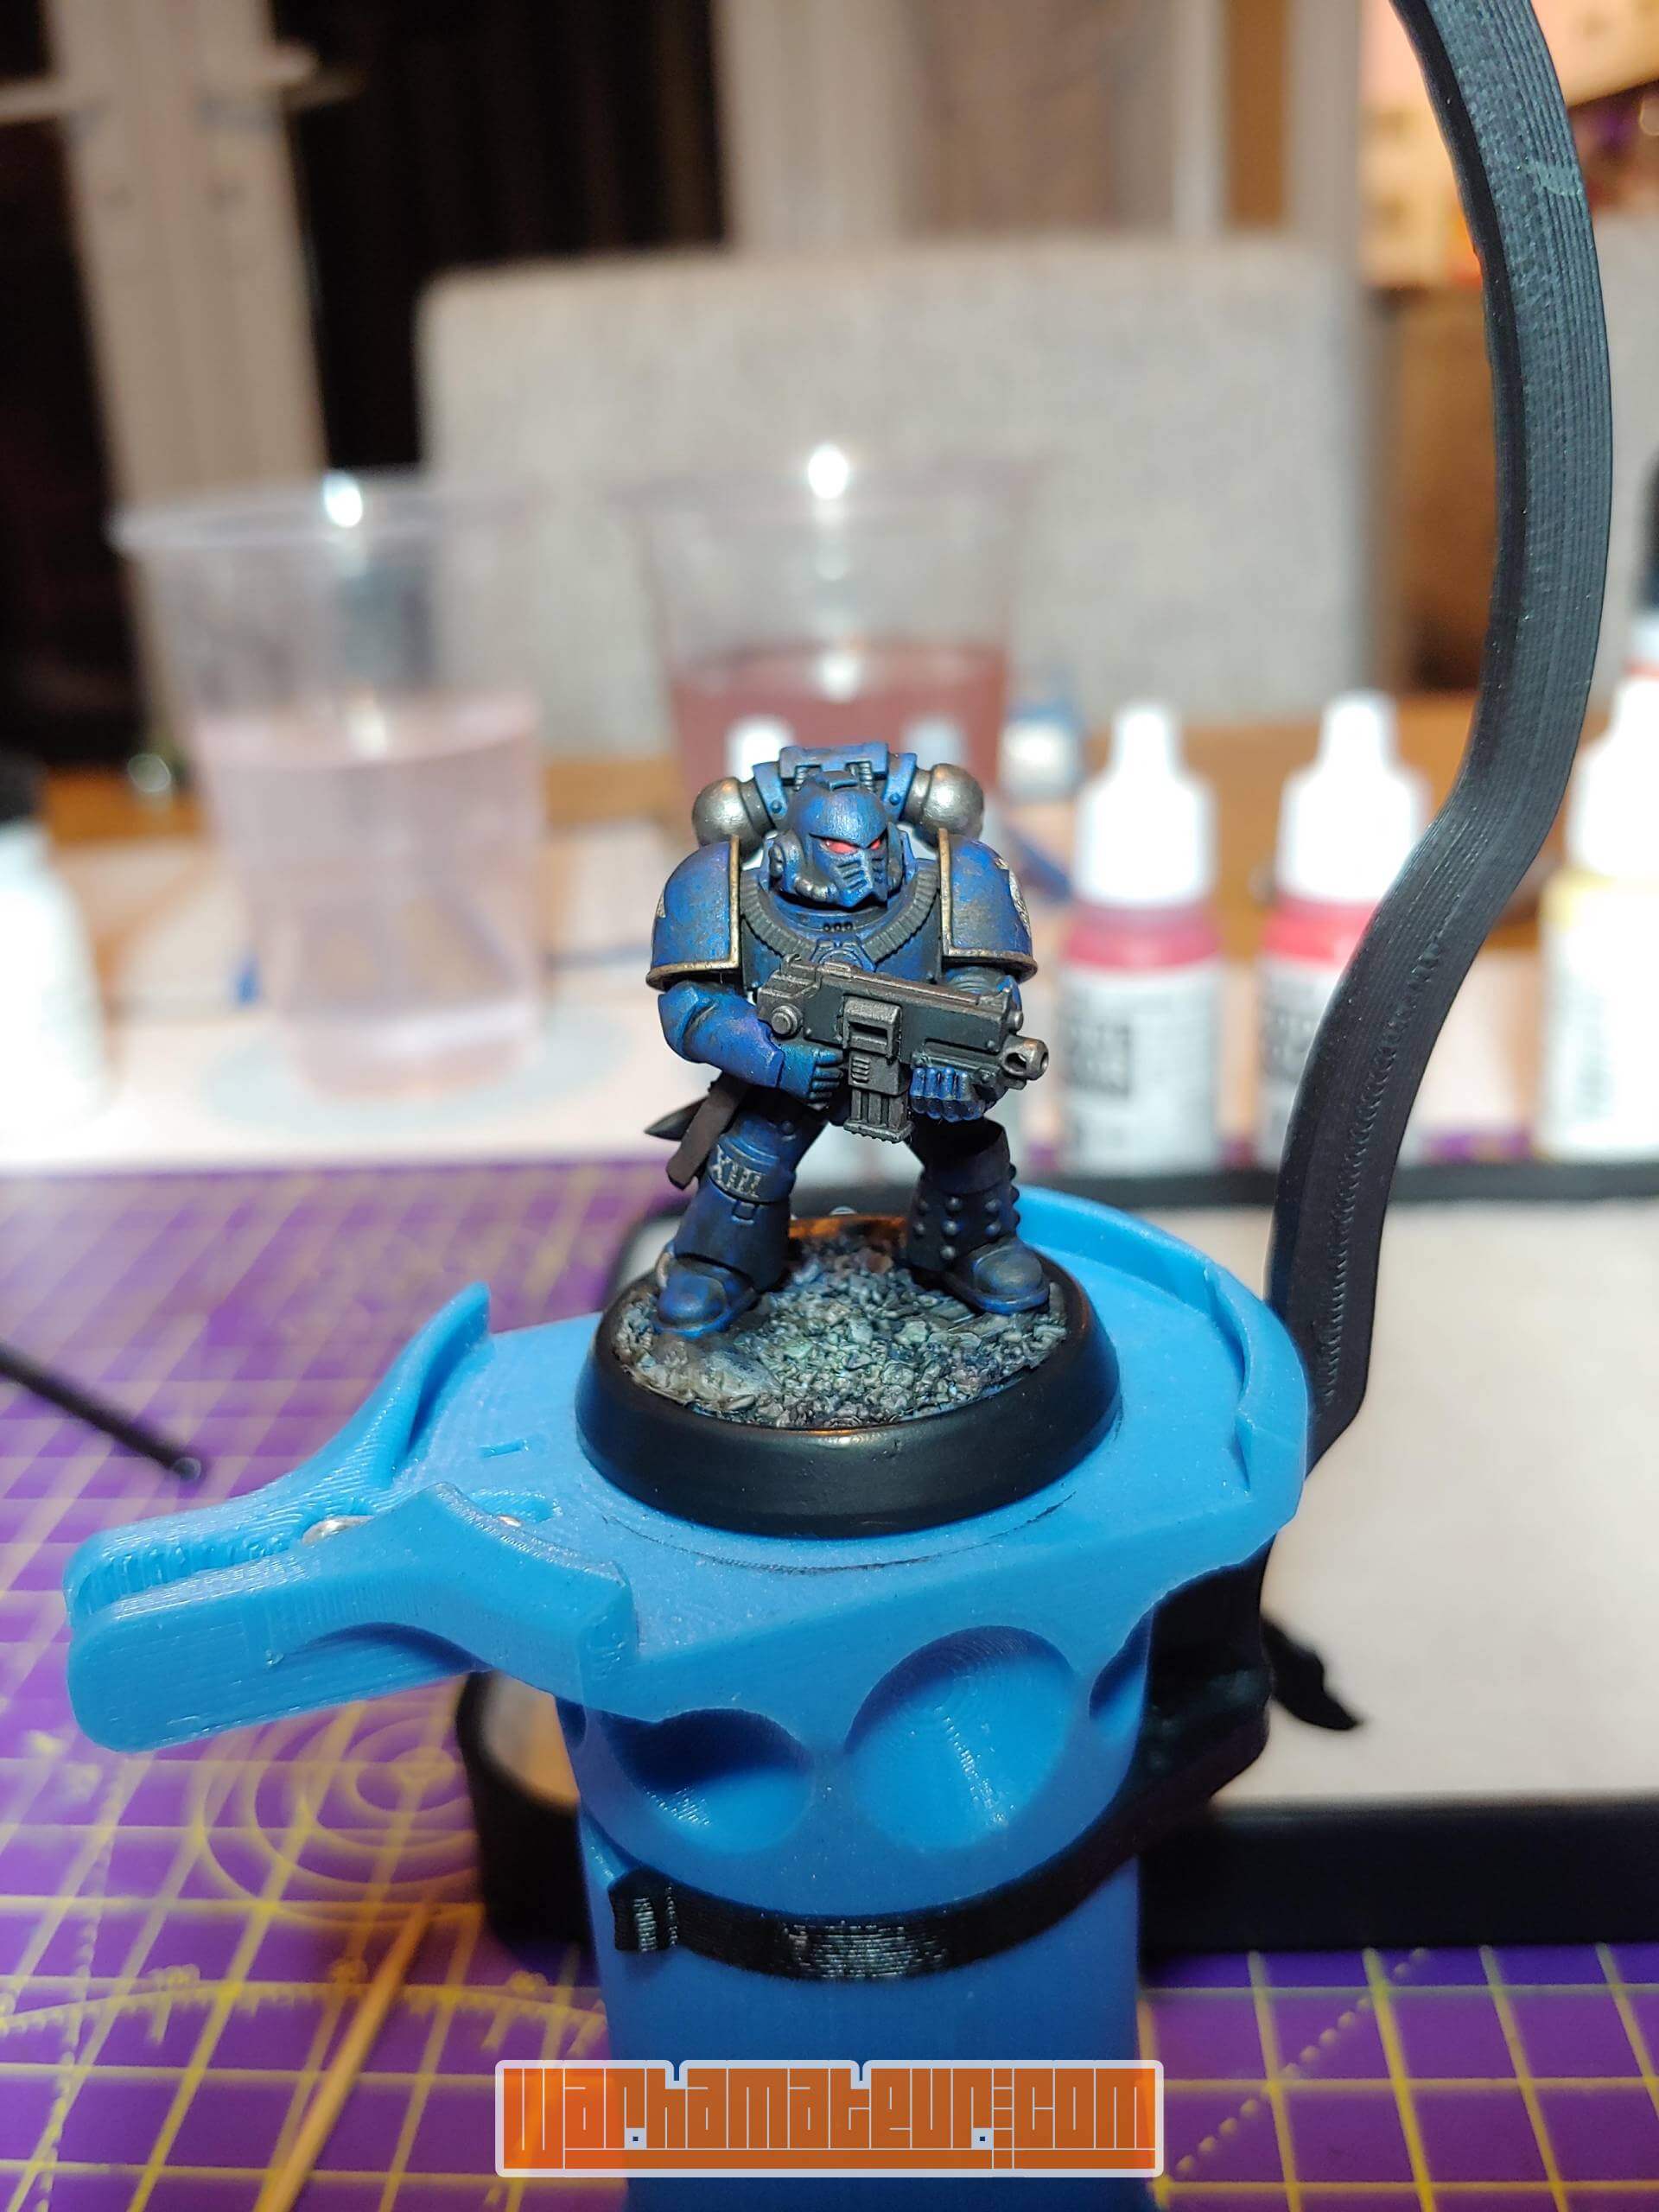
He’s my first Heresy model, first Ultramarine in the best part of twenty years, first time I’ve sworn at decals in about as long, first sponge-chipping attempt in ages, and first time trying to hide my sponge-chipping attempts with oil weathering. Lots of firsts!
The initial colours were put down with the airbrush – Talassar Blue over a black/white zenithal looks superb, and if I ever have reason to paint the XIII Legion again I can see that being my go-to method. Absolutely no edge highlighting of course, because I’m still awful at it! The metallics were all Vallejo Metal Color – the gold was done using Vince Venturella’s recipe (a mix of VMetC Gold & Copper, plus a touch of GSW Antique Gold pigment), the silvers with one of the VMetC silvers (I forget which), cables and pipes with AK’s Rubber. All relatively simple so far.
The decals however were a nightmare (hence why they’re not in the photo!) – Micro Sol & Set helped, but I still really struggled with the shoulderpads. There’s a couple of little wrinkles that I just couldn’t get rid of, so I simply flattened them and tried to cover them in the weathering stage. More practise needed I think!
Then we come to the weathering… I started by stealing the corner of a sponge from the kitchen cupboard. It turns out I’m not very good at sponge chipping! I don’t know if it was improper dilution, poor-coverage paint choice, bad technique or something else, but it simply would not work for me! I started with a brown, and when that didn’t seem to play nicely swapped to a silver, but neither looked great and I was just slowly ruining the model. The obvious solution? Switch to oils! A dark brown mix, over-thinned (being new to oils I didn’t realise this until too late) and applied liberally to the whole model hid my mistakes. And everything else. Once I started to take it off however it did a good enough job bringing everything back to a point where I was reasonably happy with it.
All in all the model isn’t a complete failure. I actually rather like him, as much for the things that didn’t work (and what I started to learn along the way) as the things that did.
So what have I been doing since? Well, annoyingly nothing scaly – I’ve simply not had the time!
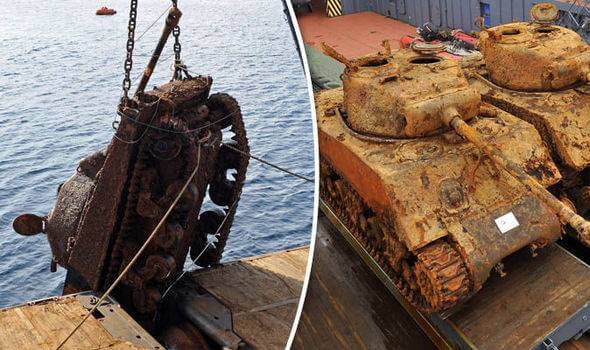
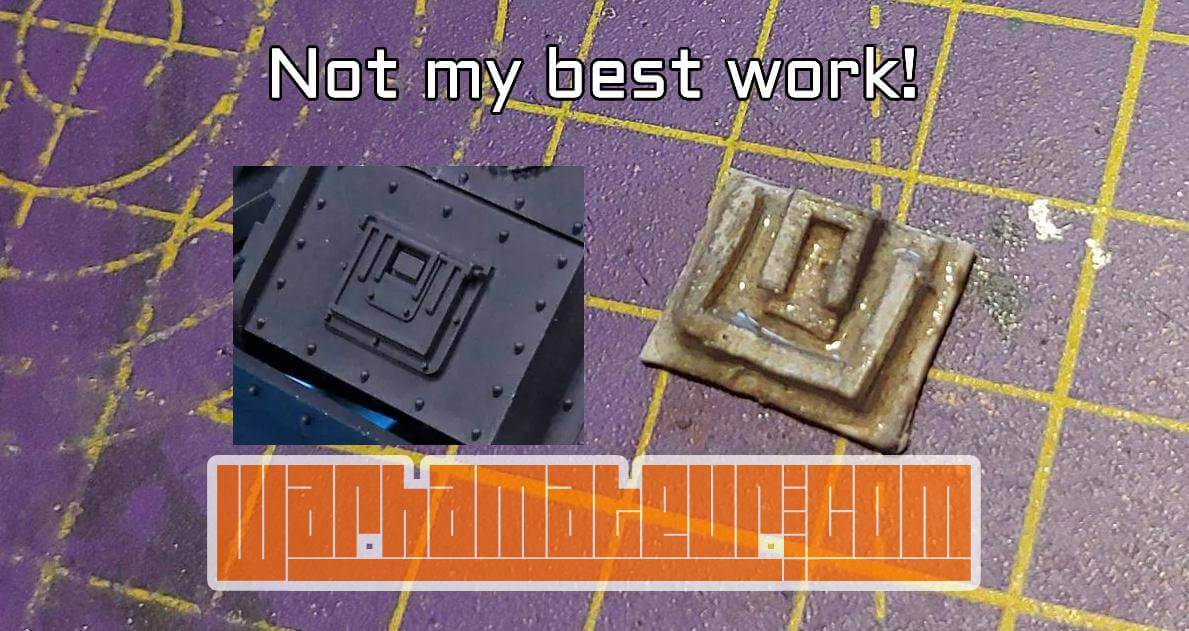
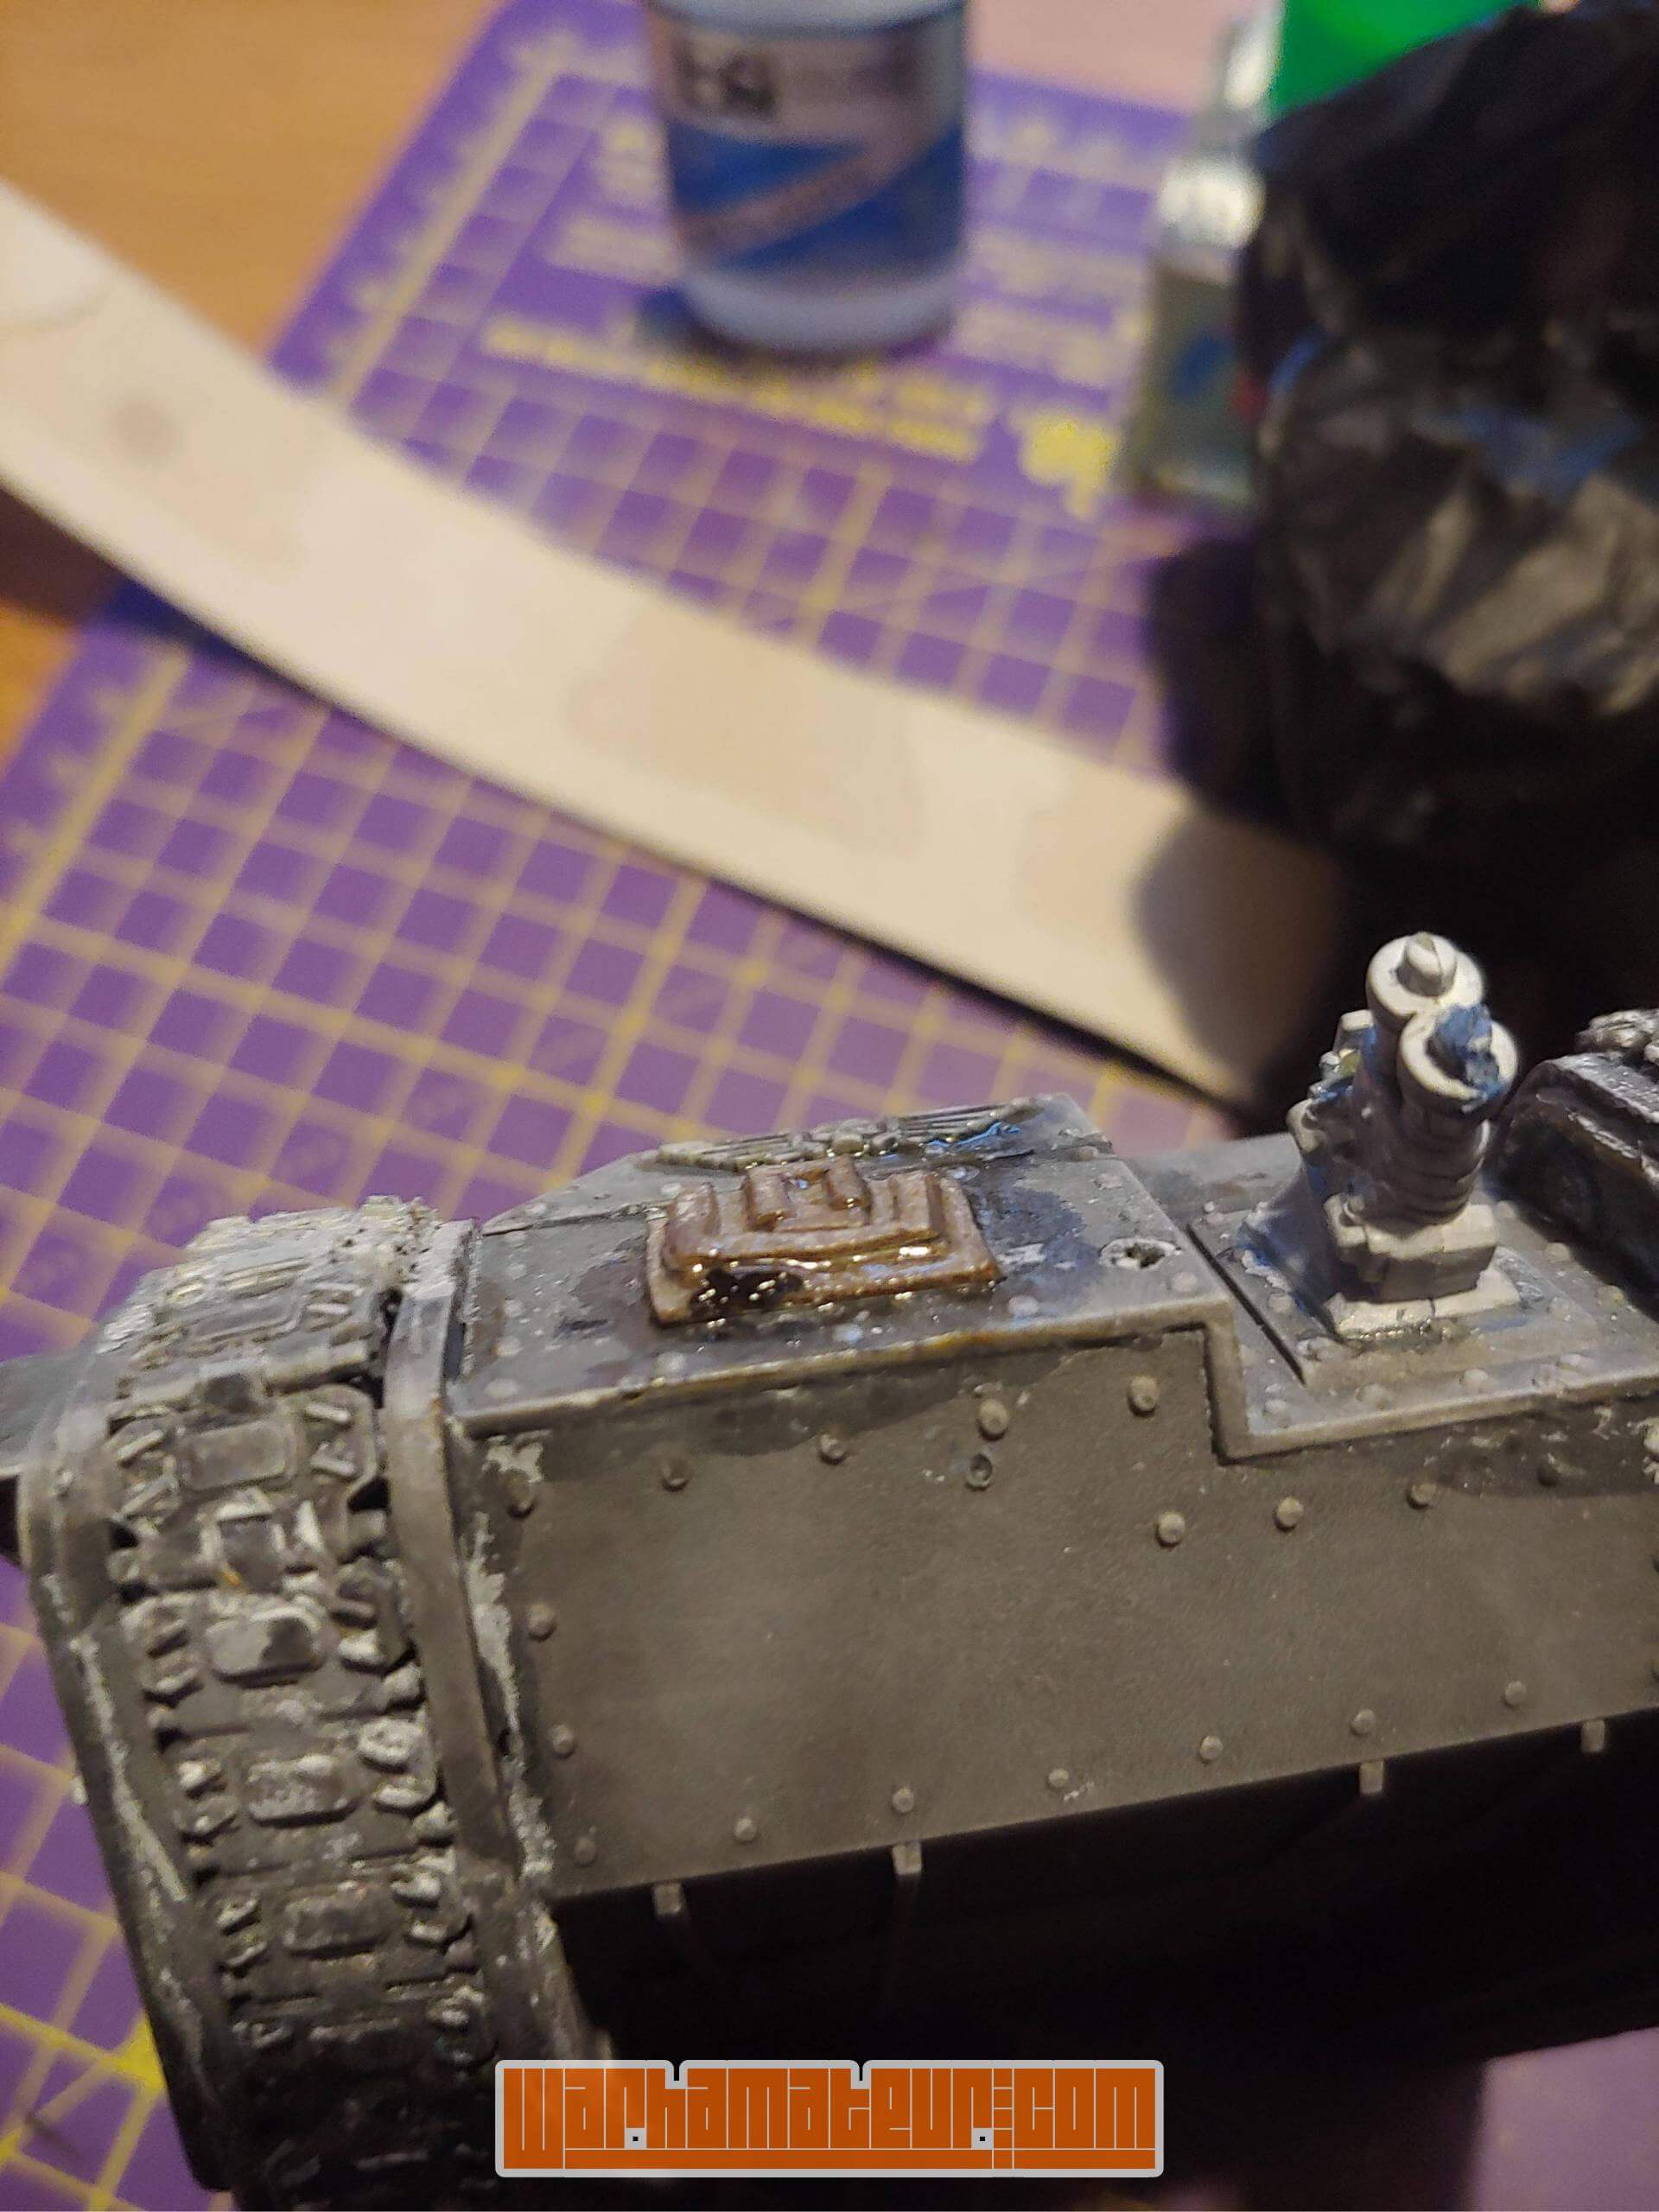
My current work is for my Just One Model oath – an Imperial Guard Chimera! It’s not going to be just a transport though – I have a little diorama in my head involving it being lost beneath the surface of a lake, rusted to the point of unrecognisability. My main inspiration comes from this photo:
The Chimera was pulled from an old, murky isopropanol bath, and came out looking something like this:
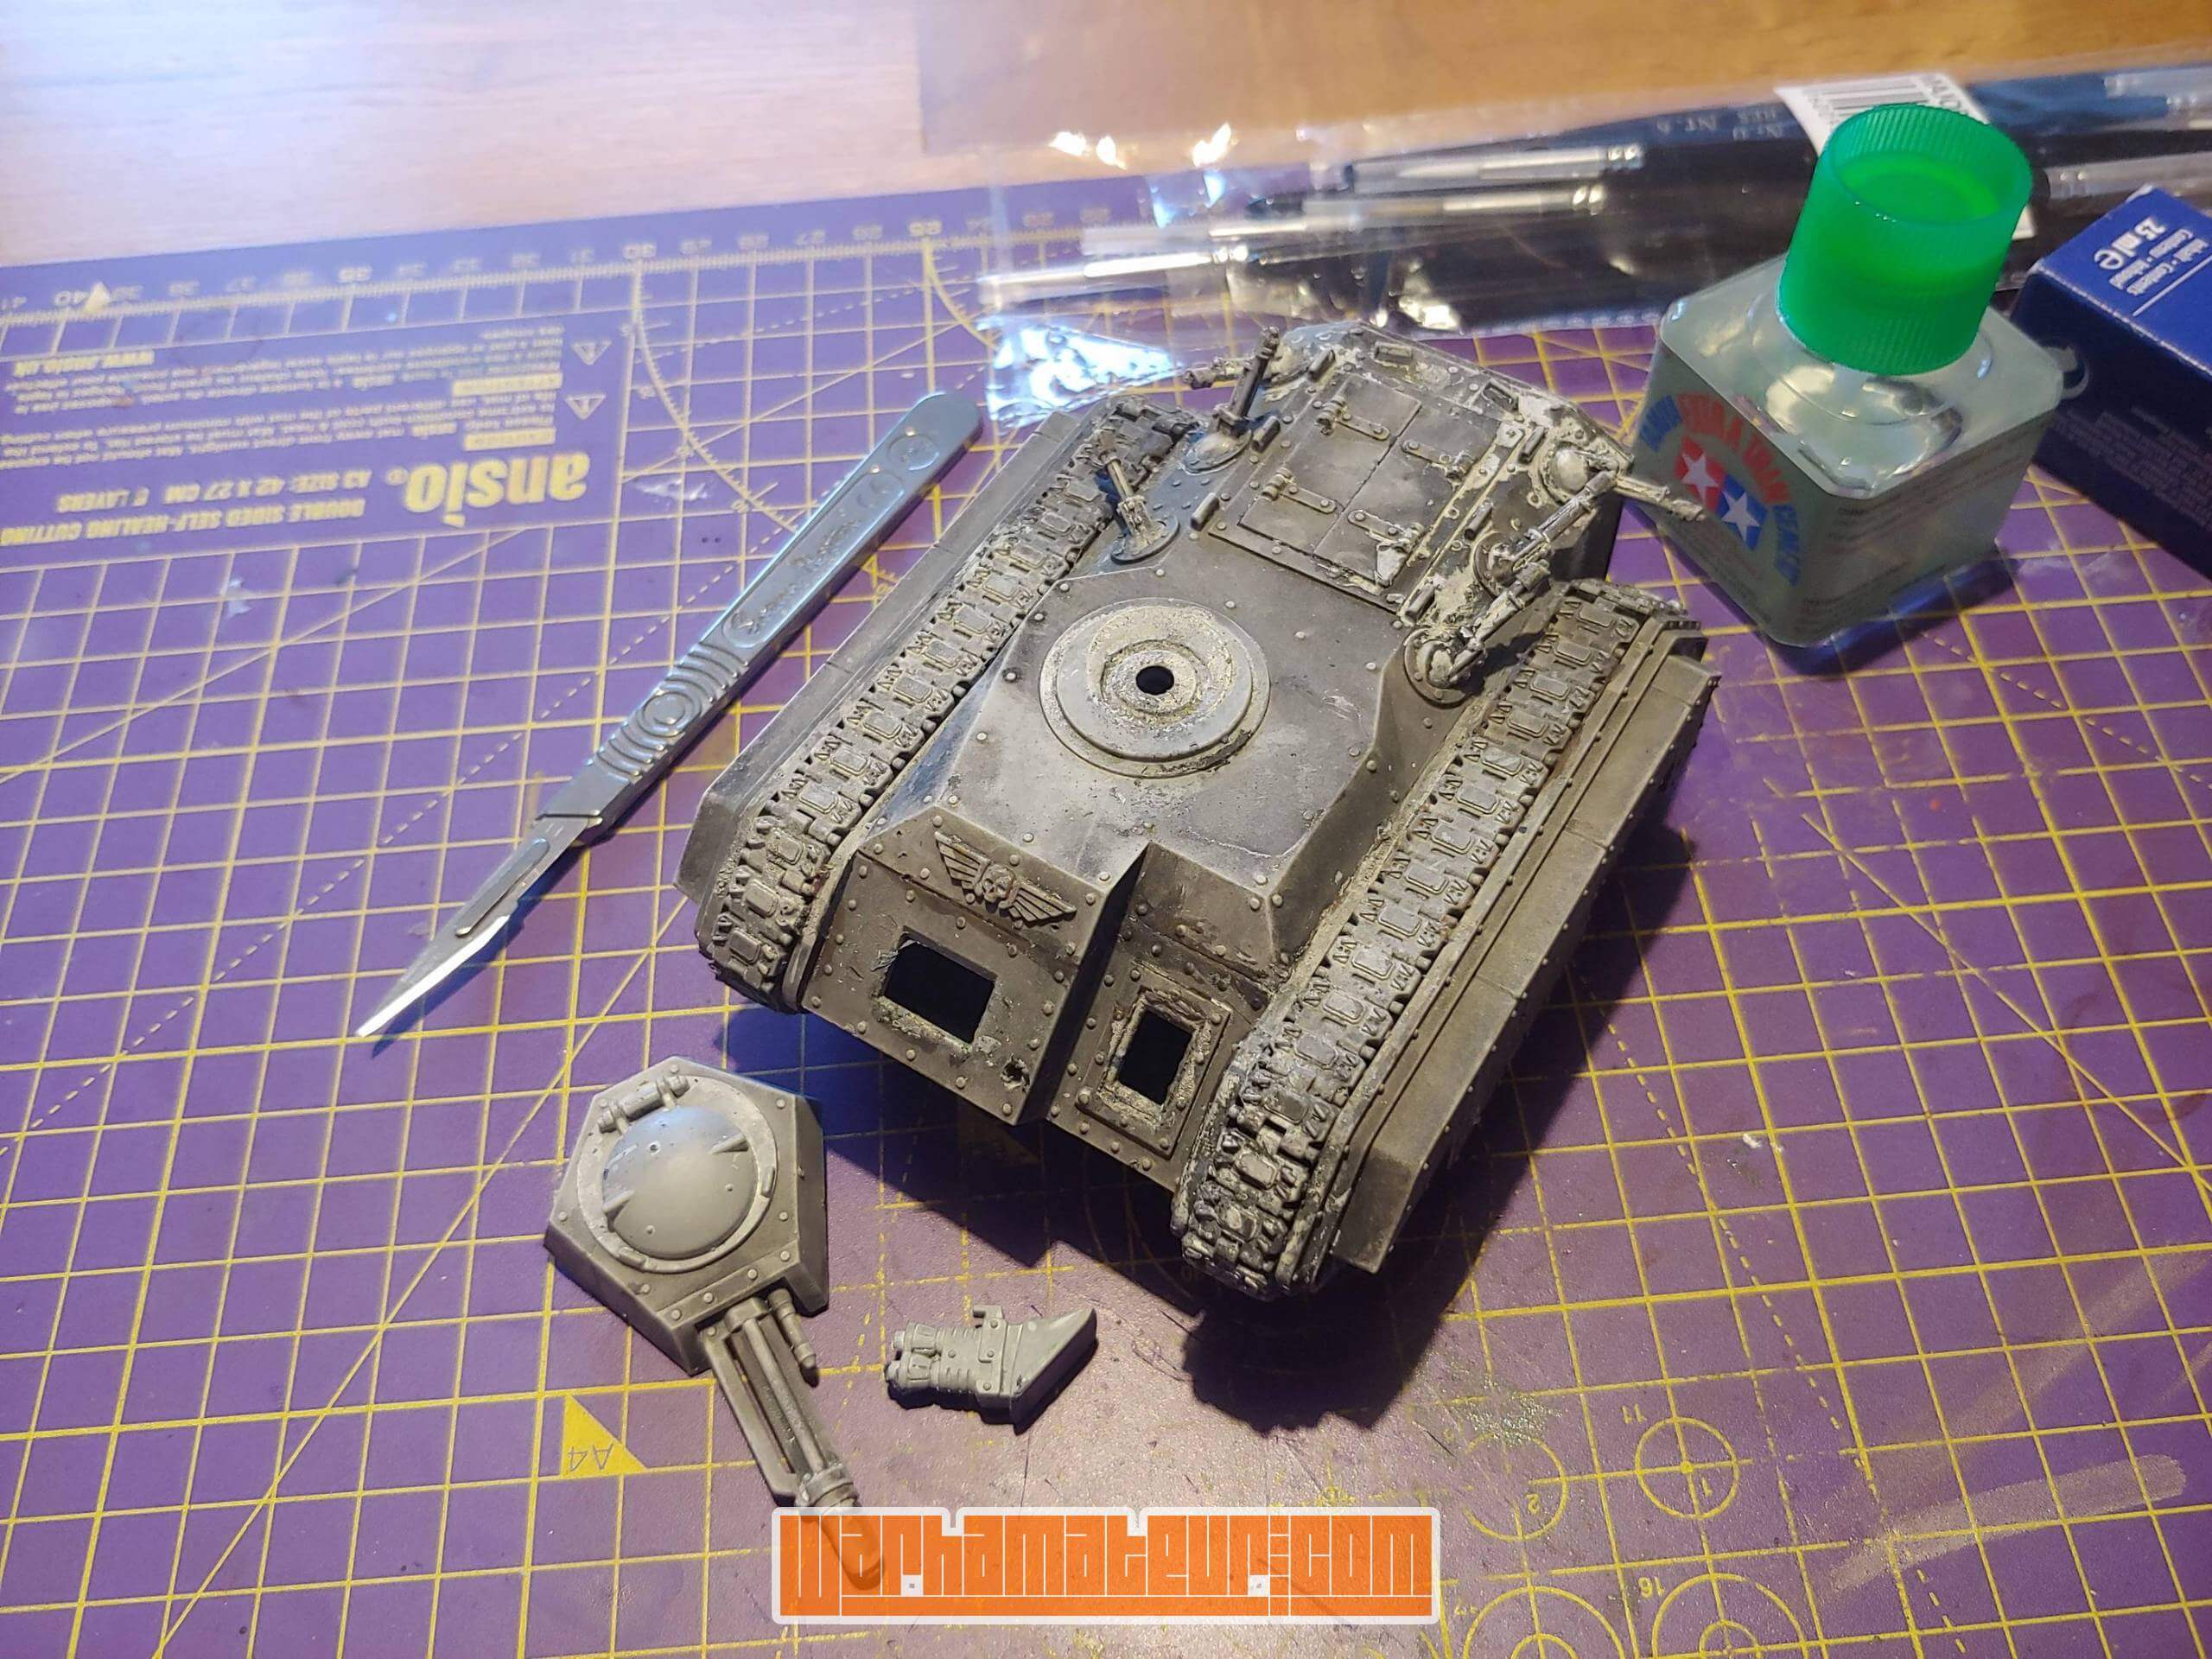
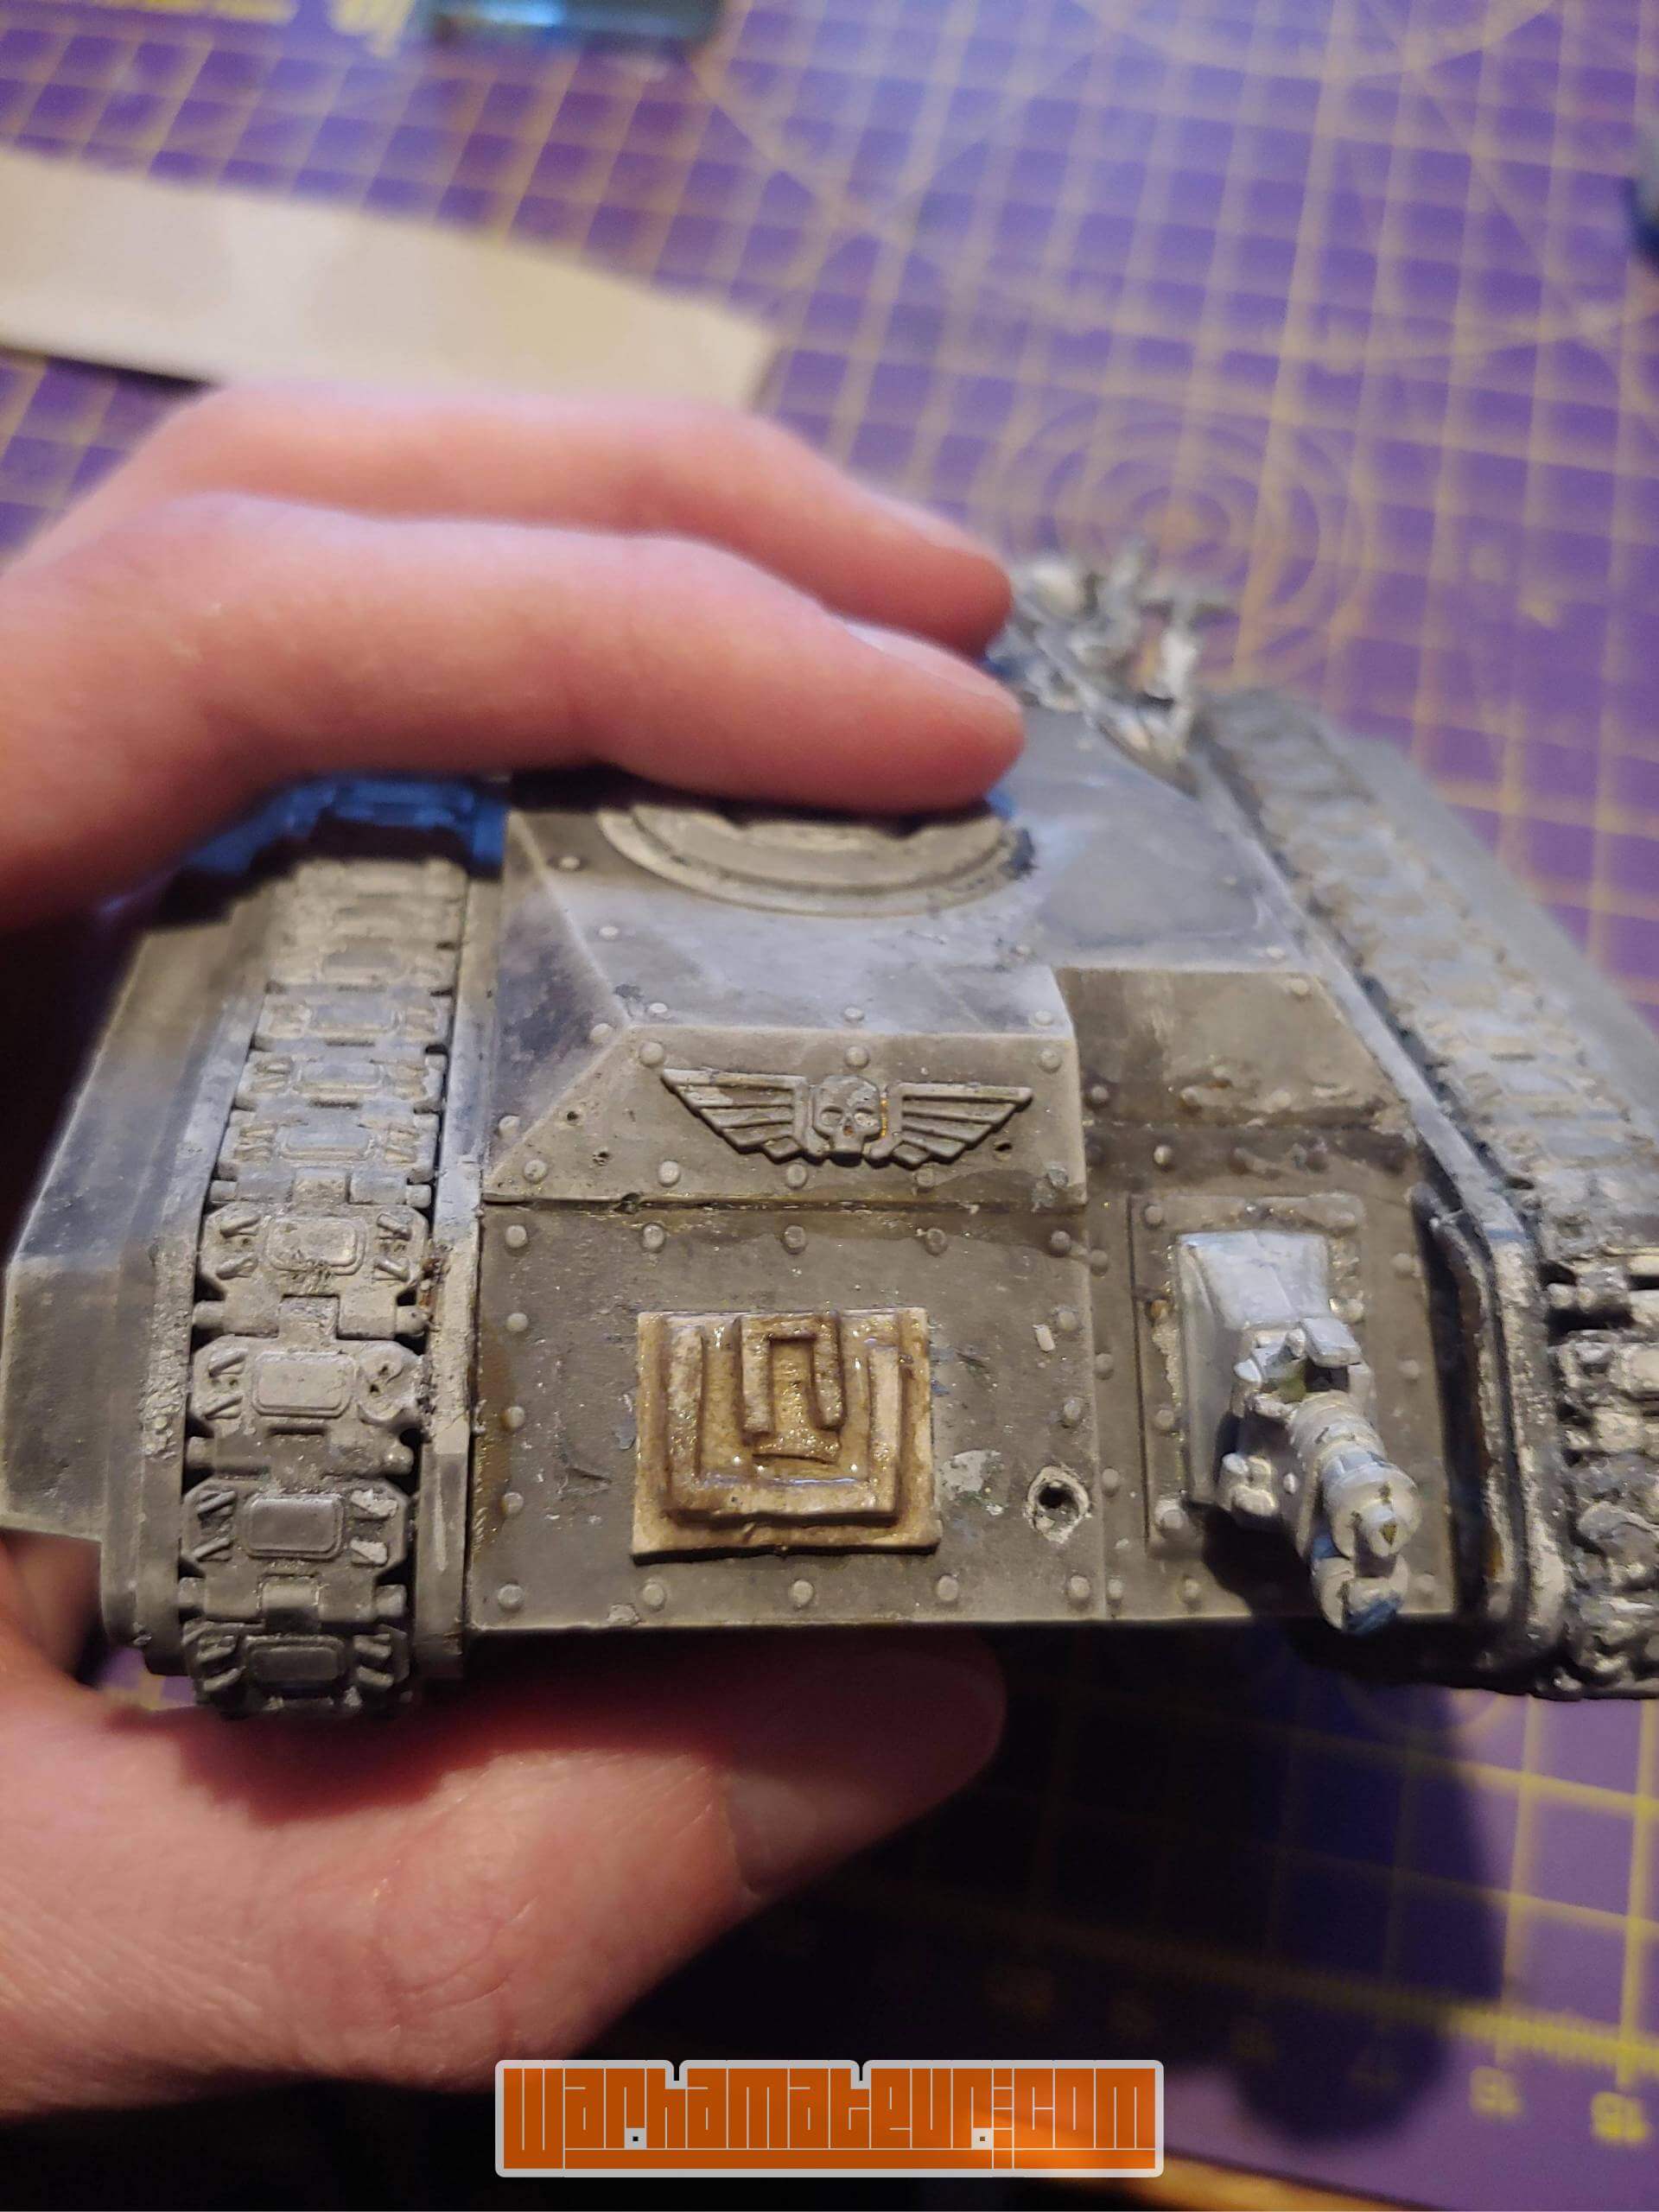
As you can see I have most of the parts, but not all. The little plate that sits on the front is missing, and I can’t find it anywhere. Quite why it would be missing I’m not sure, as it should be with the rest of the tank! Fortunately though I don’t have to worry too much as we’ll not be able to see it properly by the time I’m done anyway. Rather than make a proper replacement I simply took some card from a frozen pizza (don’t judge me, it’s food!) to make my replacement…
As you can see below what I created is a perfect replica, utterly indistinguishable from the original!
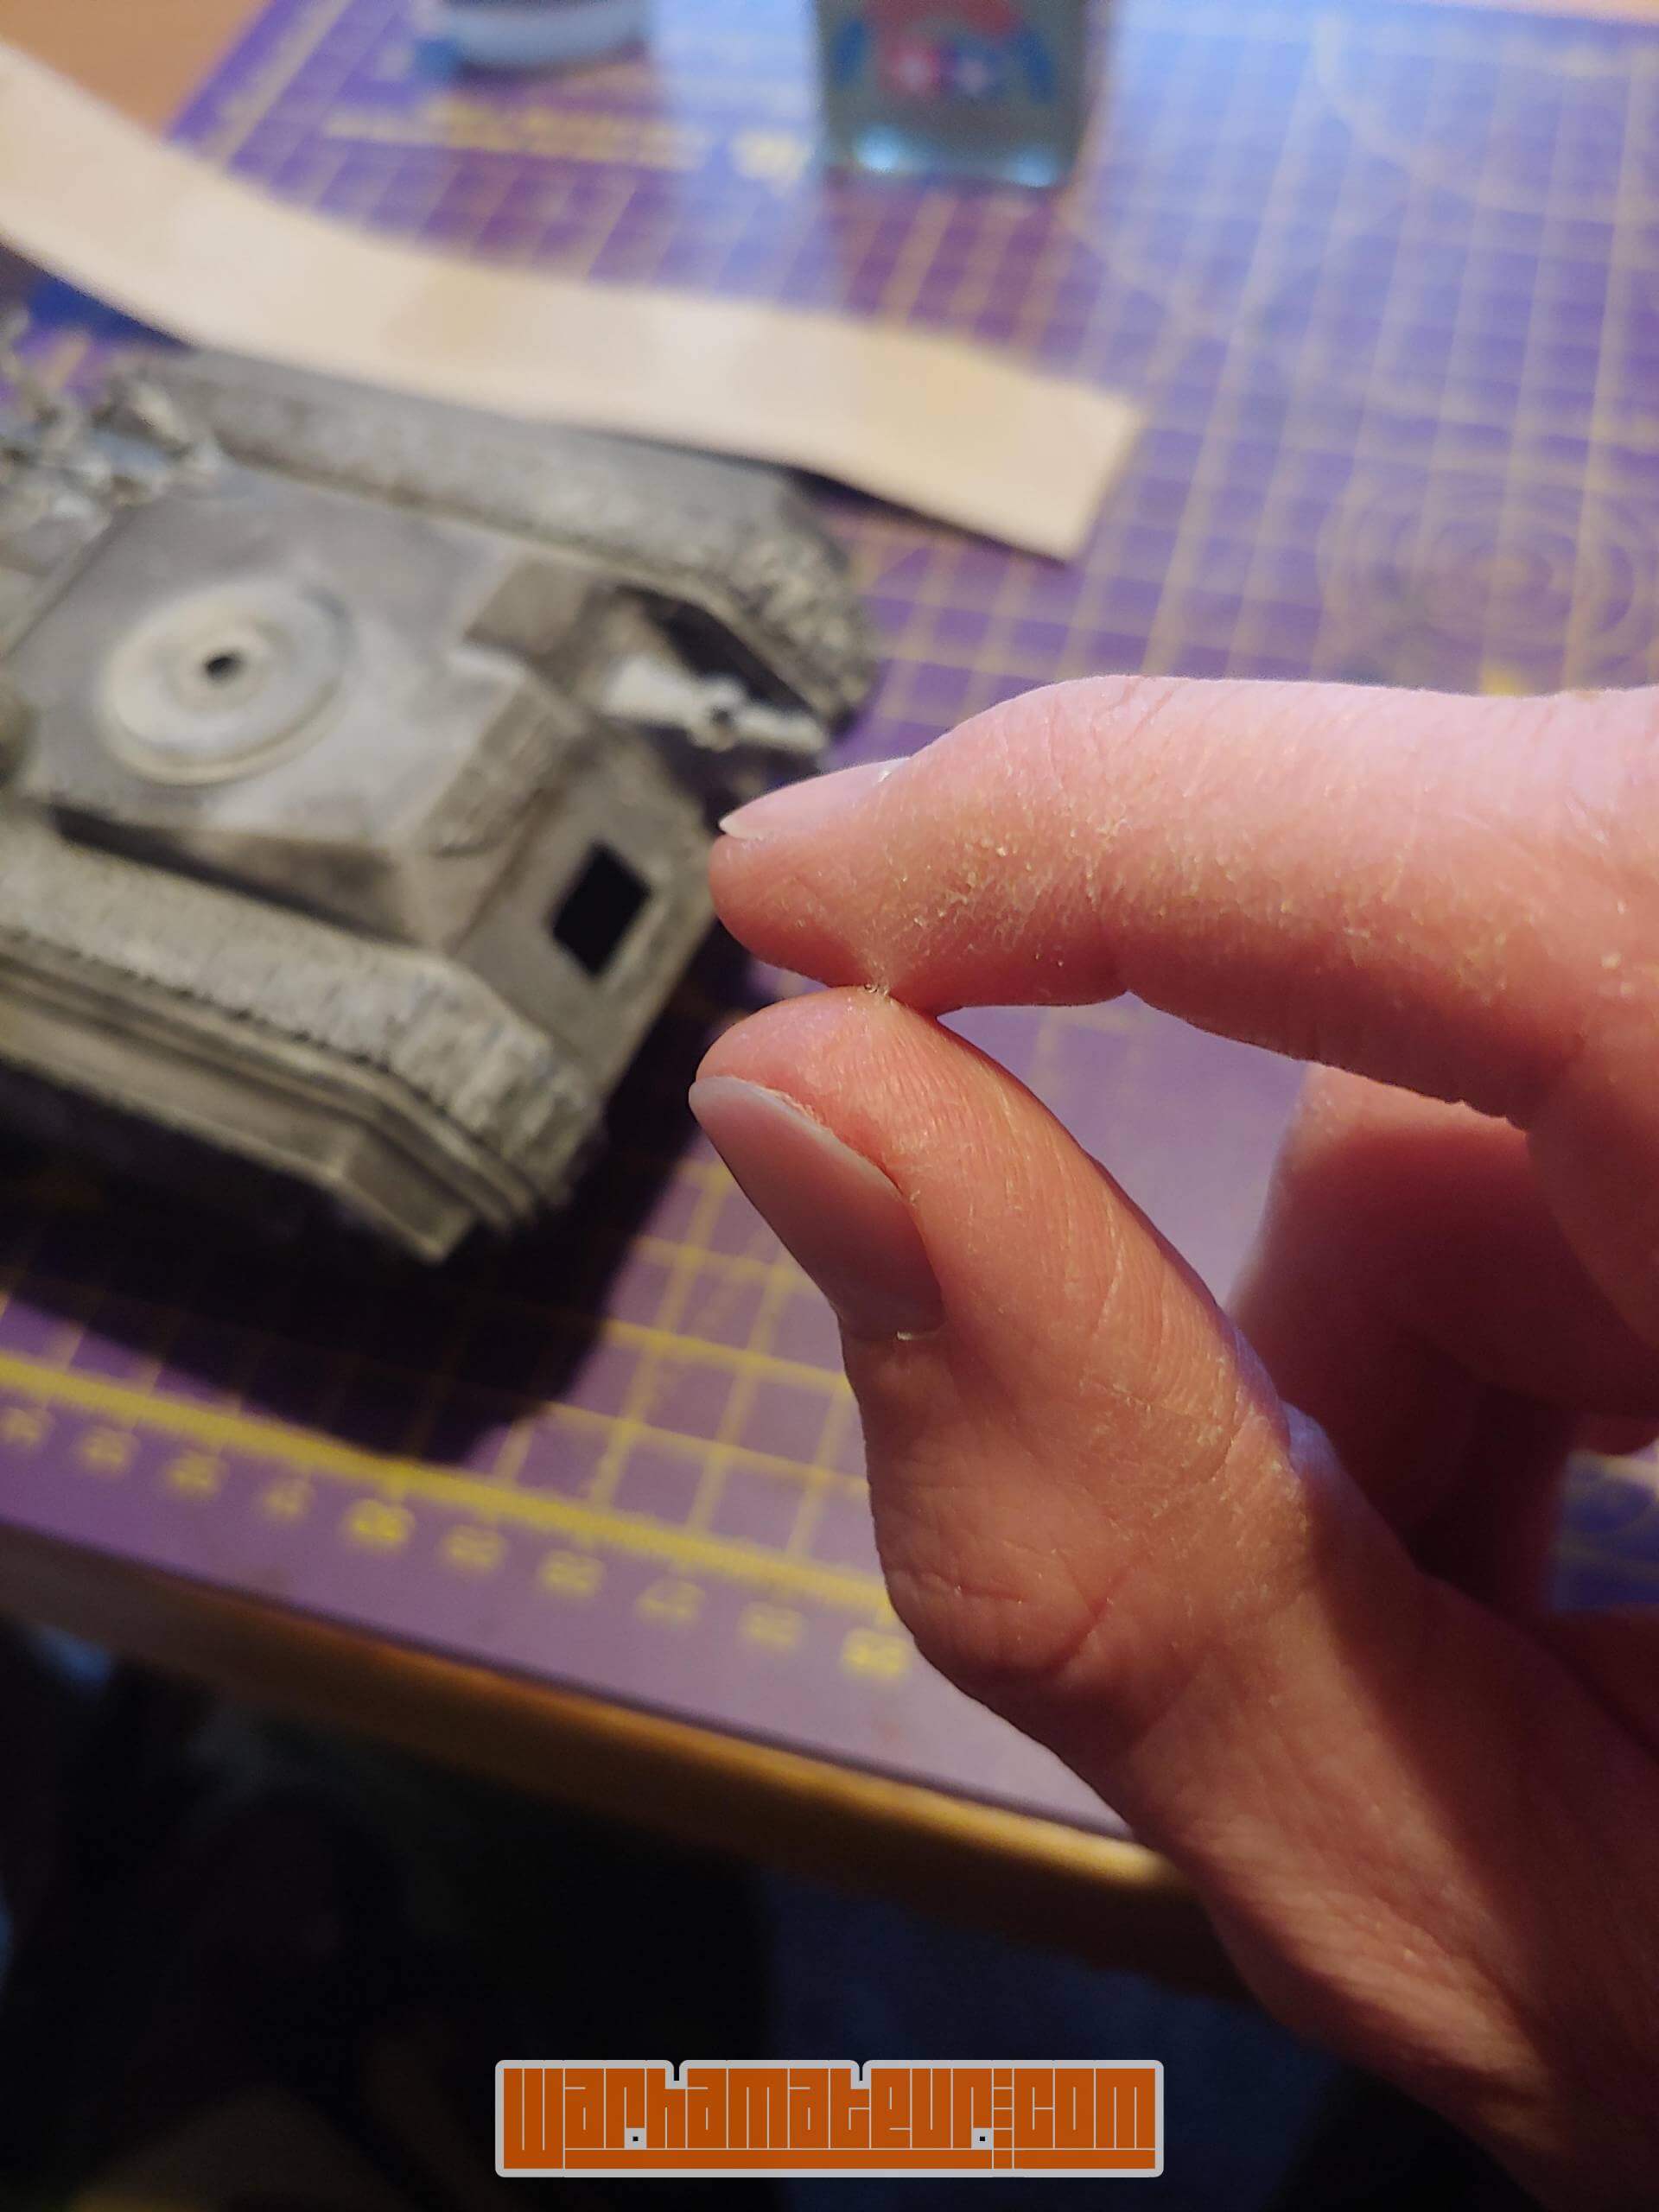
I did a dry fit on the tank and decided that it would do…
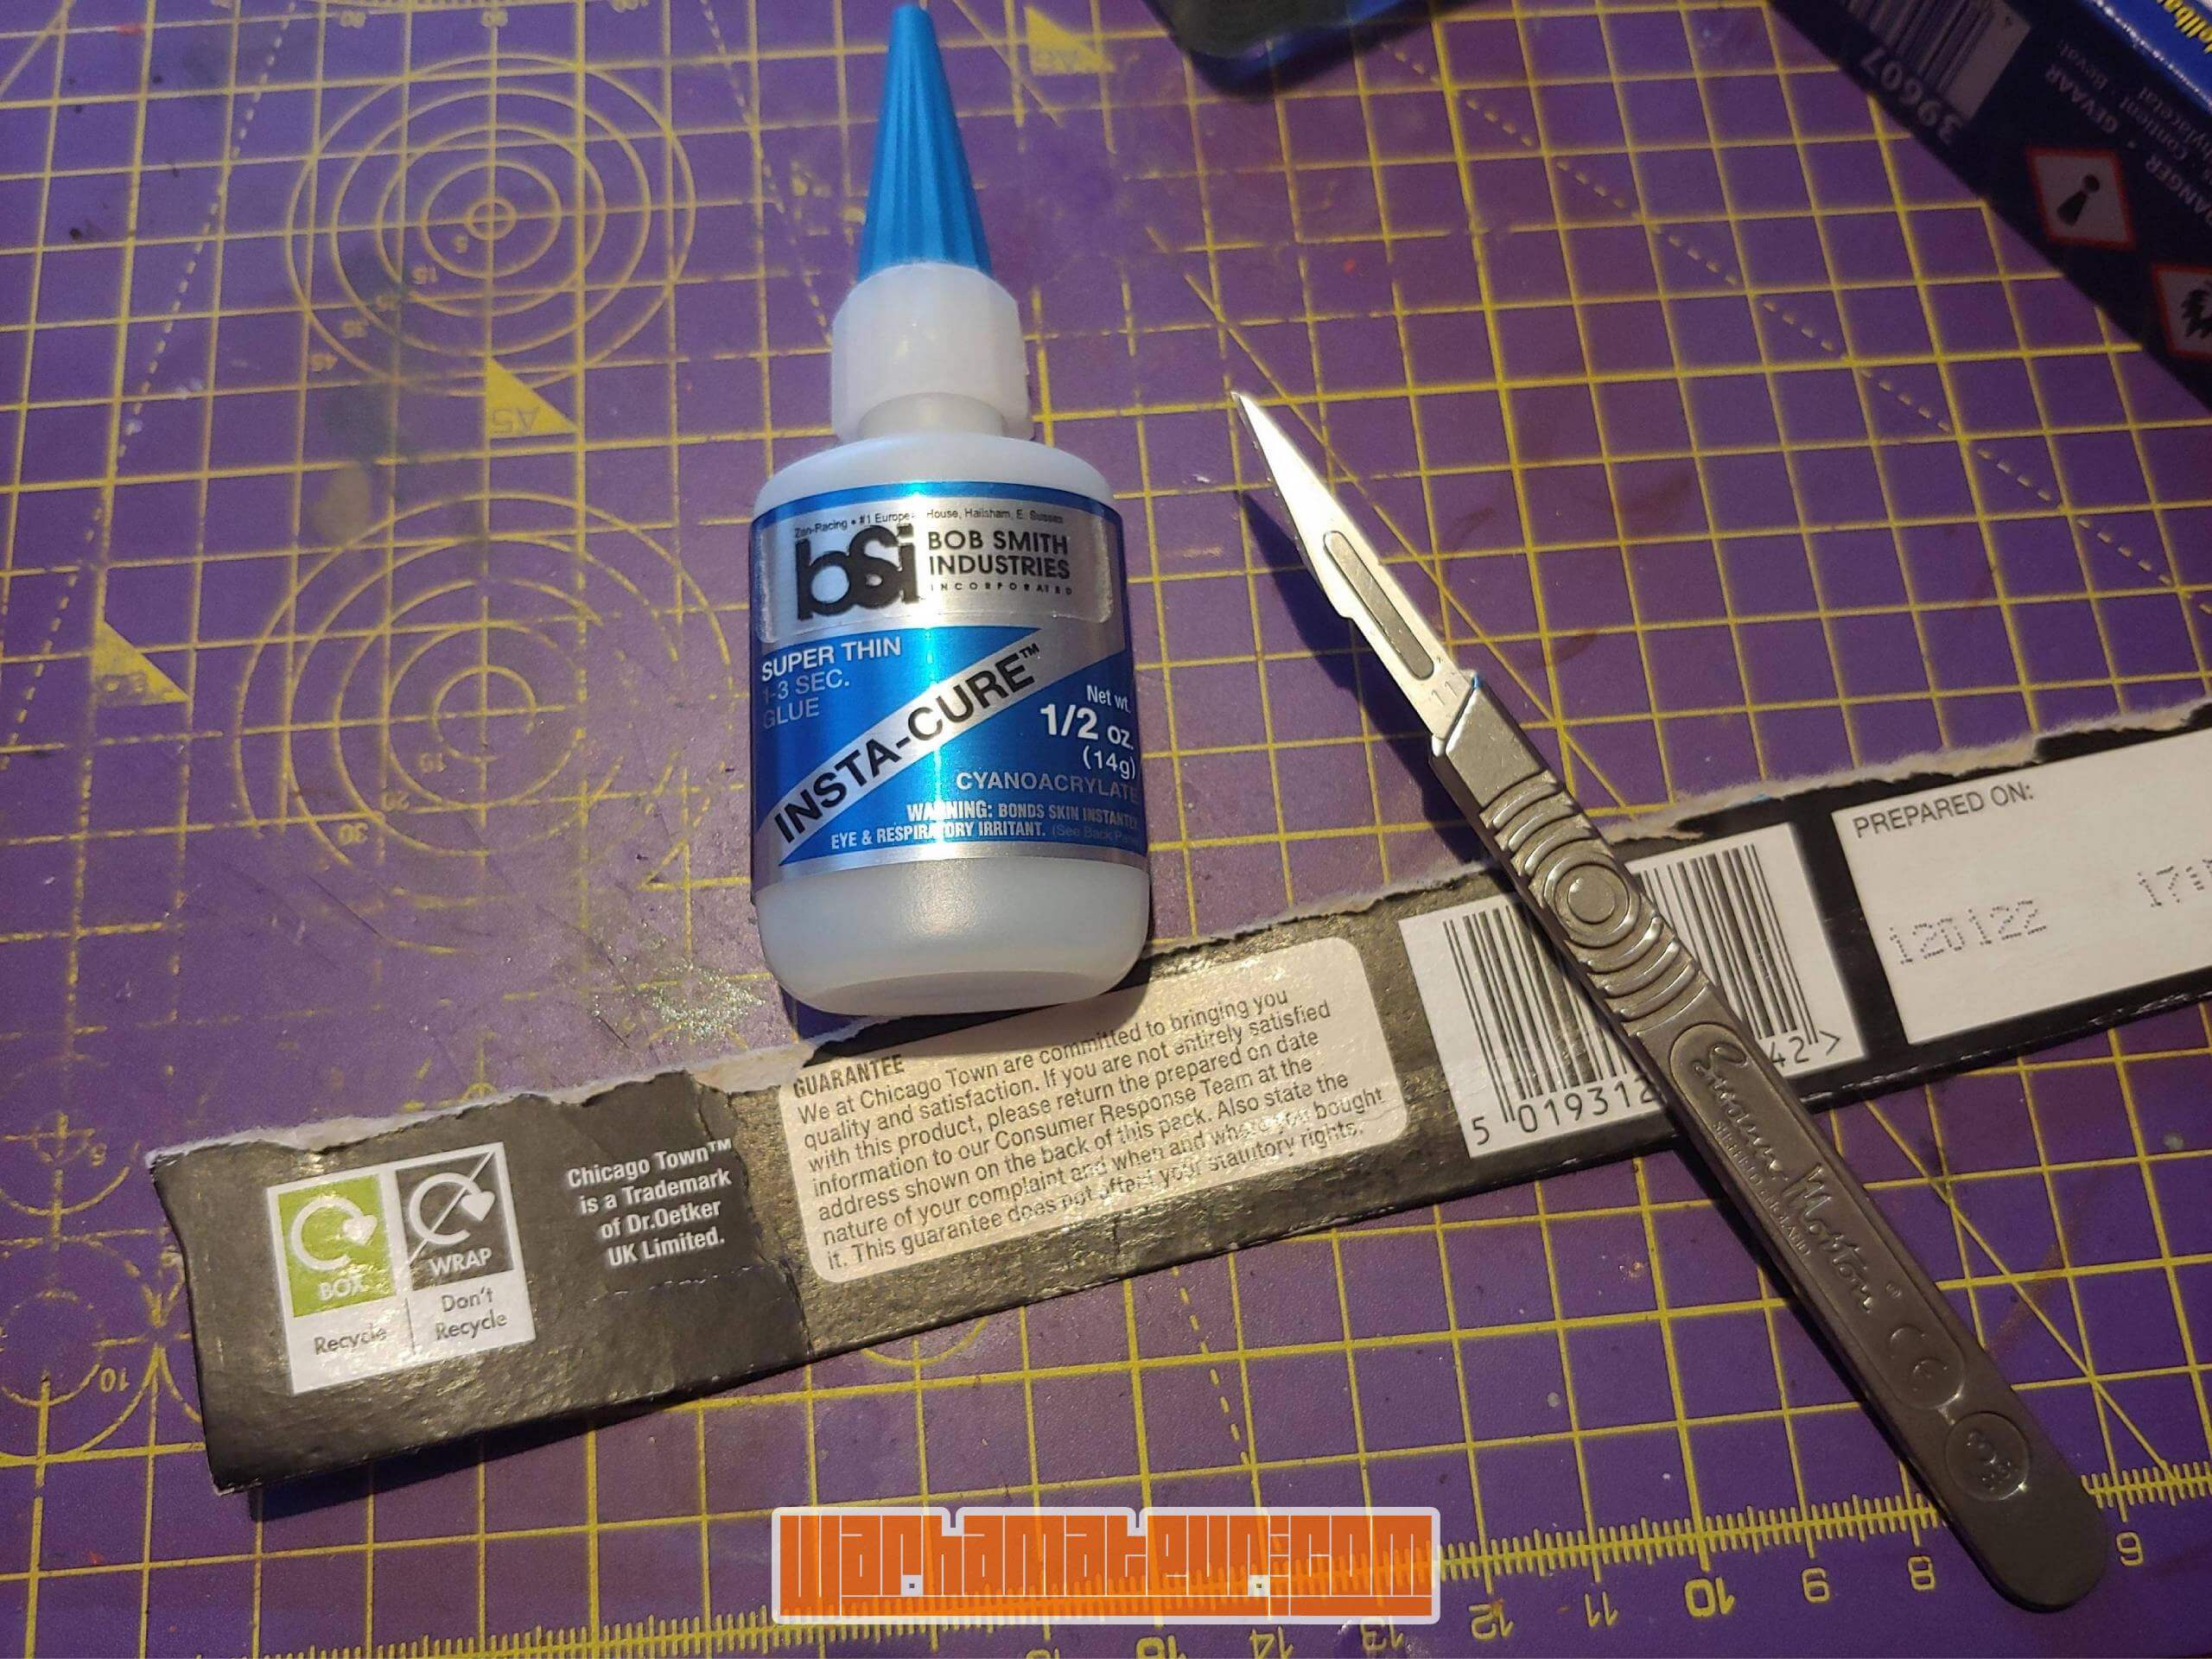
And then when trying to remove it to tidy up one corner I discovered that my ‘dry’ fit actually involved a lot of still wet, extra thin super glue. Turns out this stuff gets everywhere, and if you don’t notice in time then you can end up in a (PG13) American Pie situation…
This is of course fixed with swearing, and then acetone!

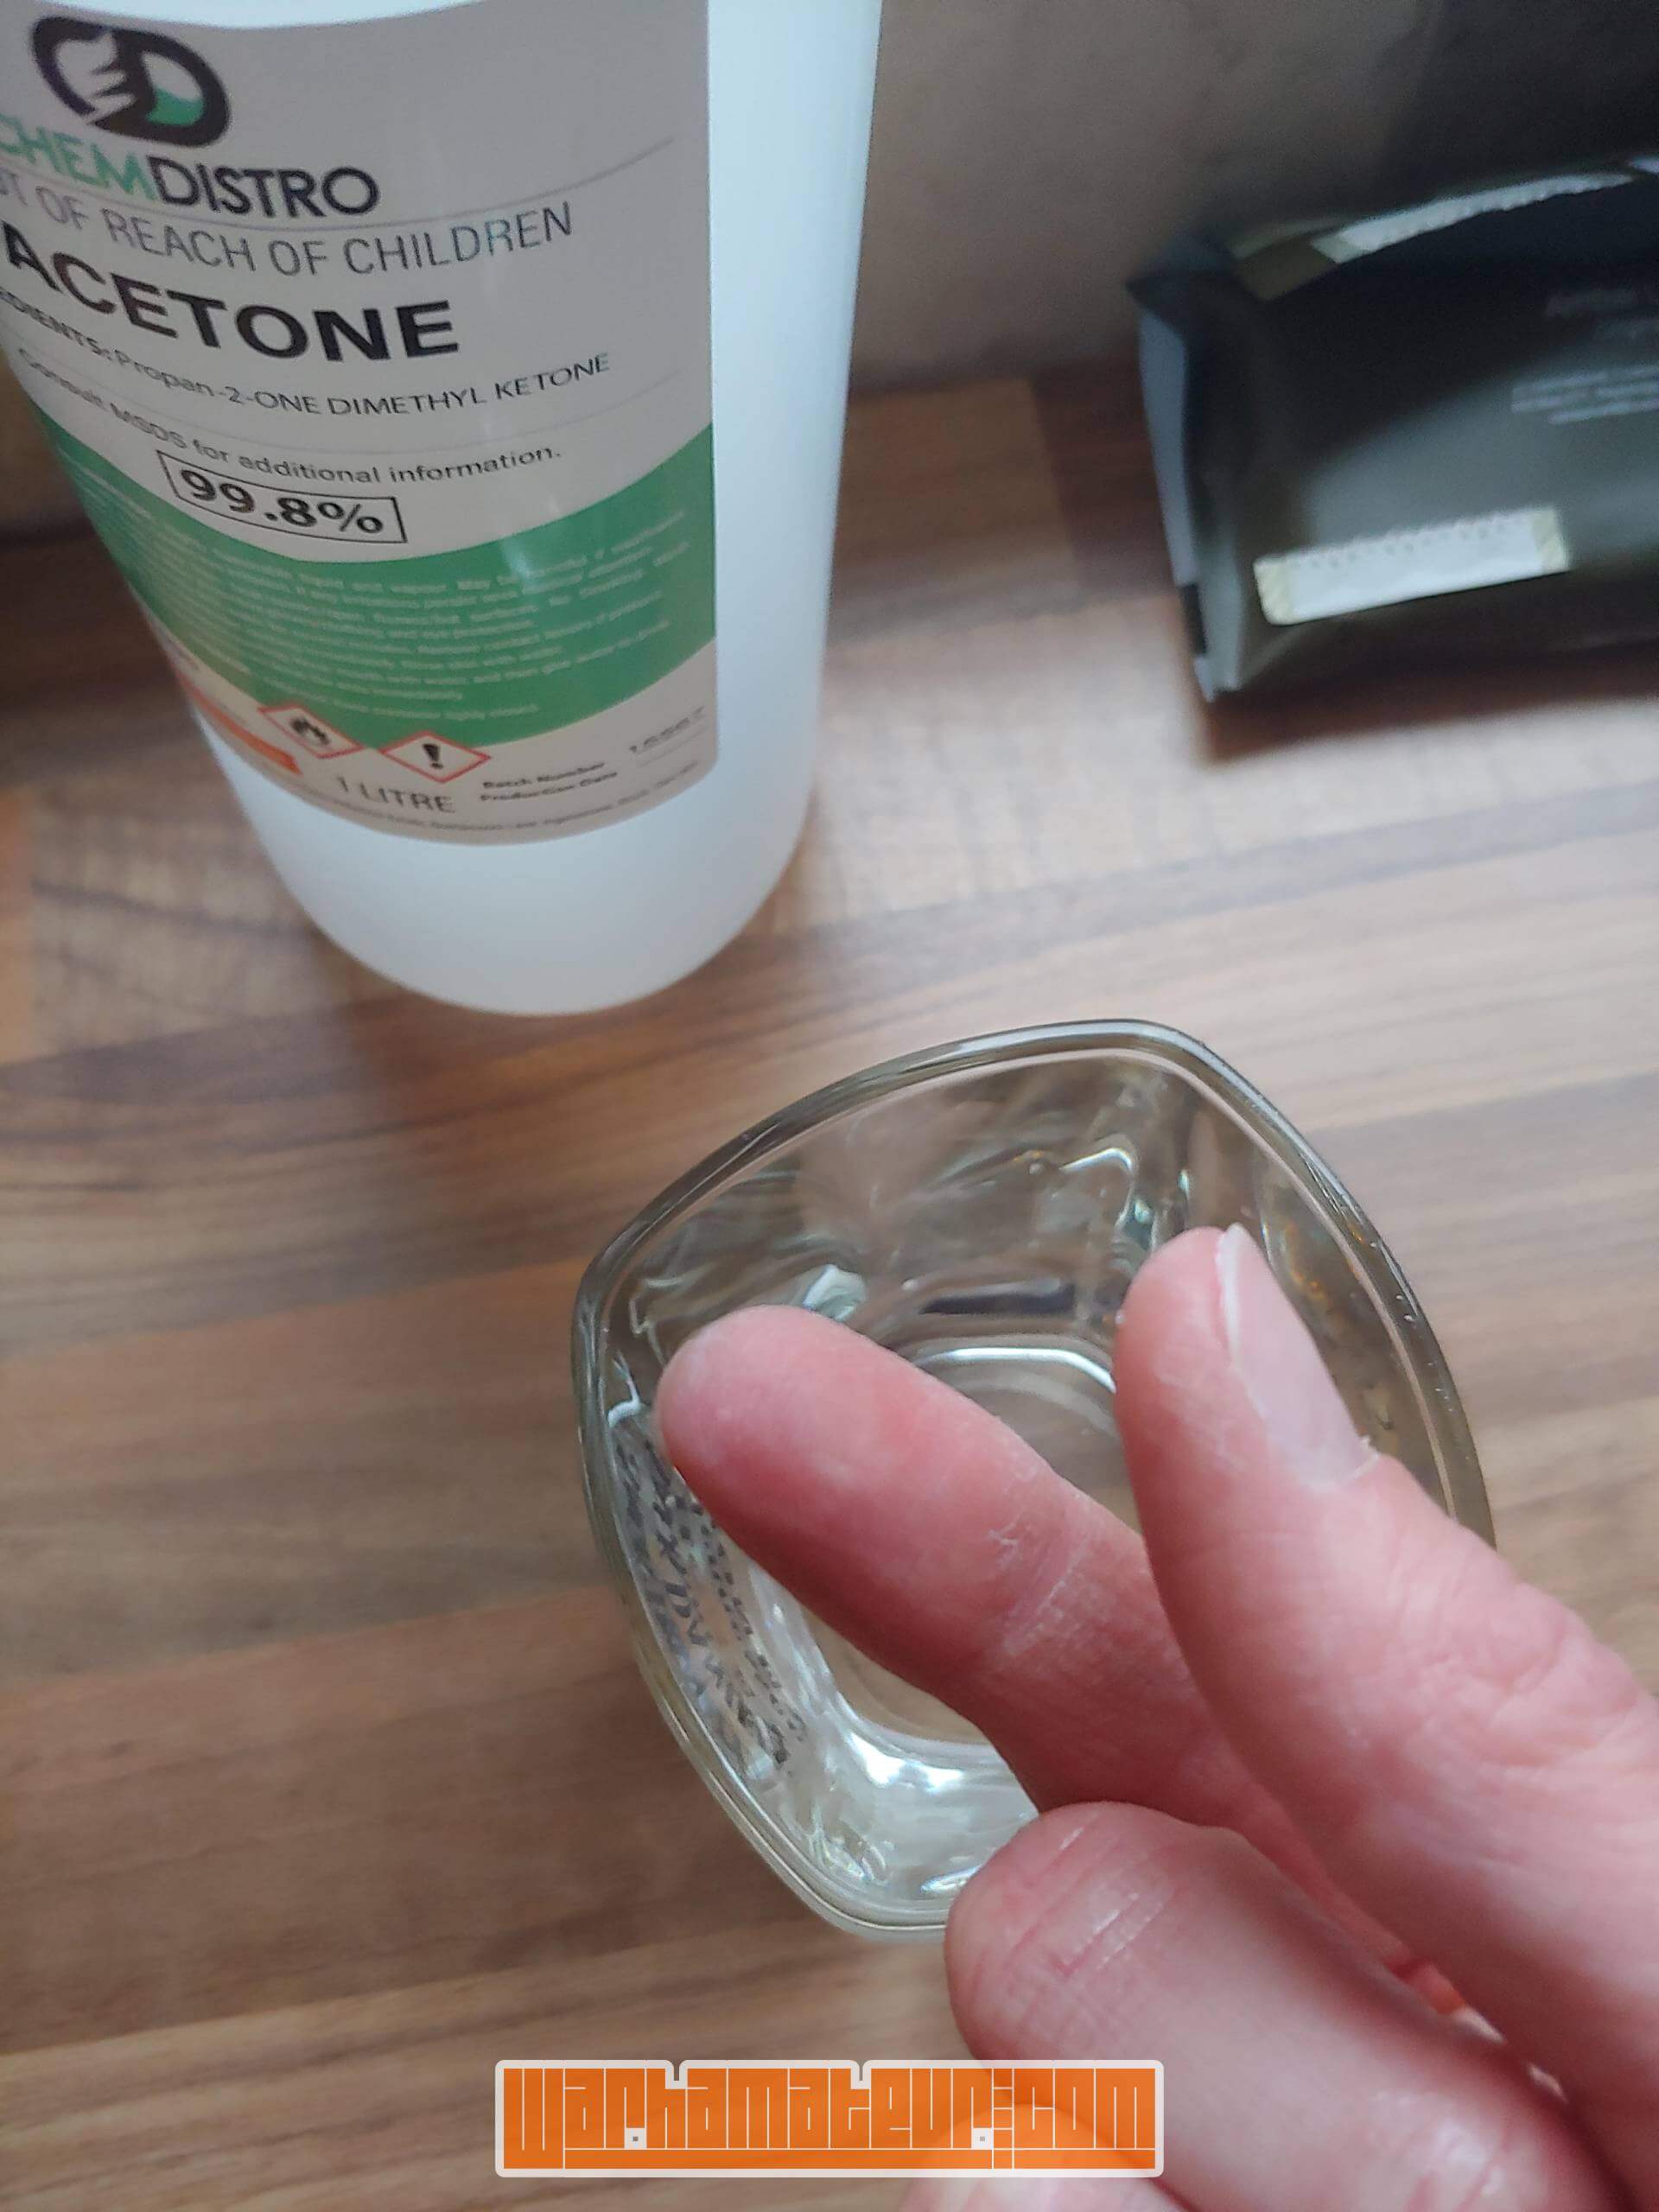
New modelling rule: when working with extra thin super glue (or any kind, in fact), wear gloves! It means that when you then inevitably stick yourself to the same piece of your model again it’s only the glove that gets left behind!
So! Onto the first weathering step!
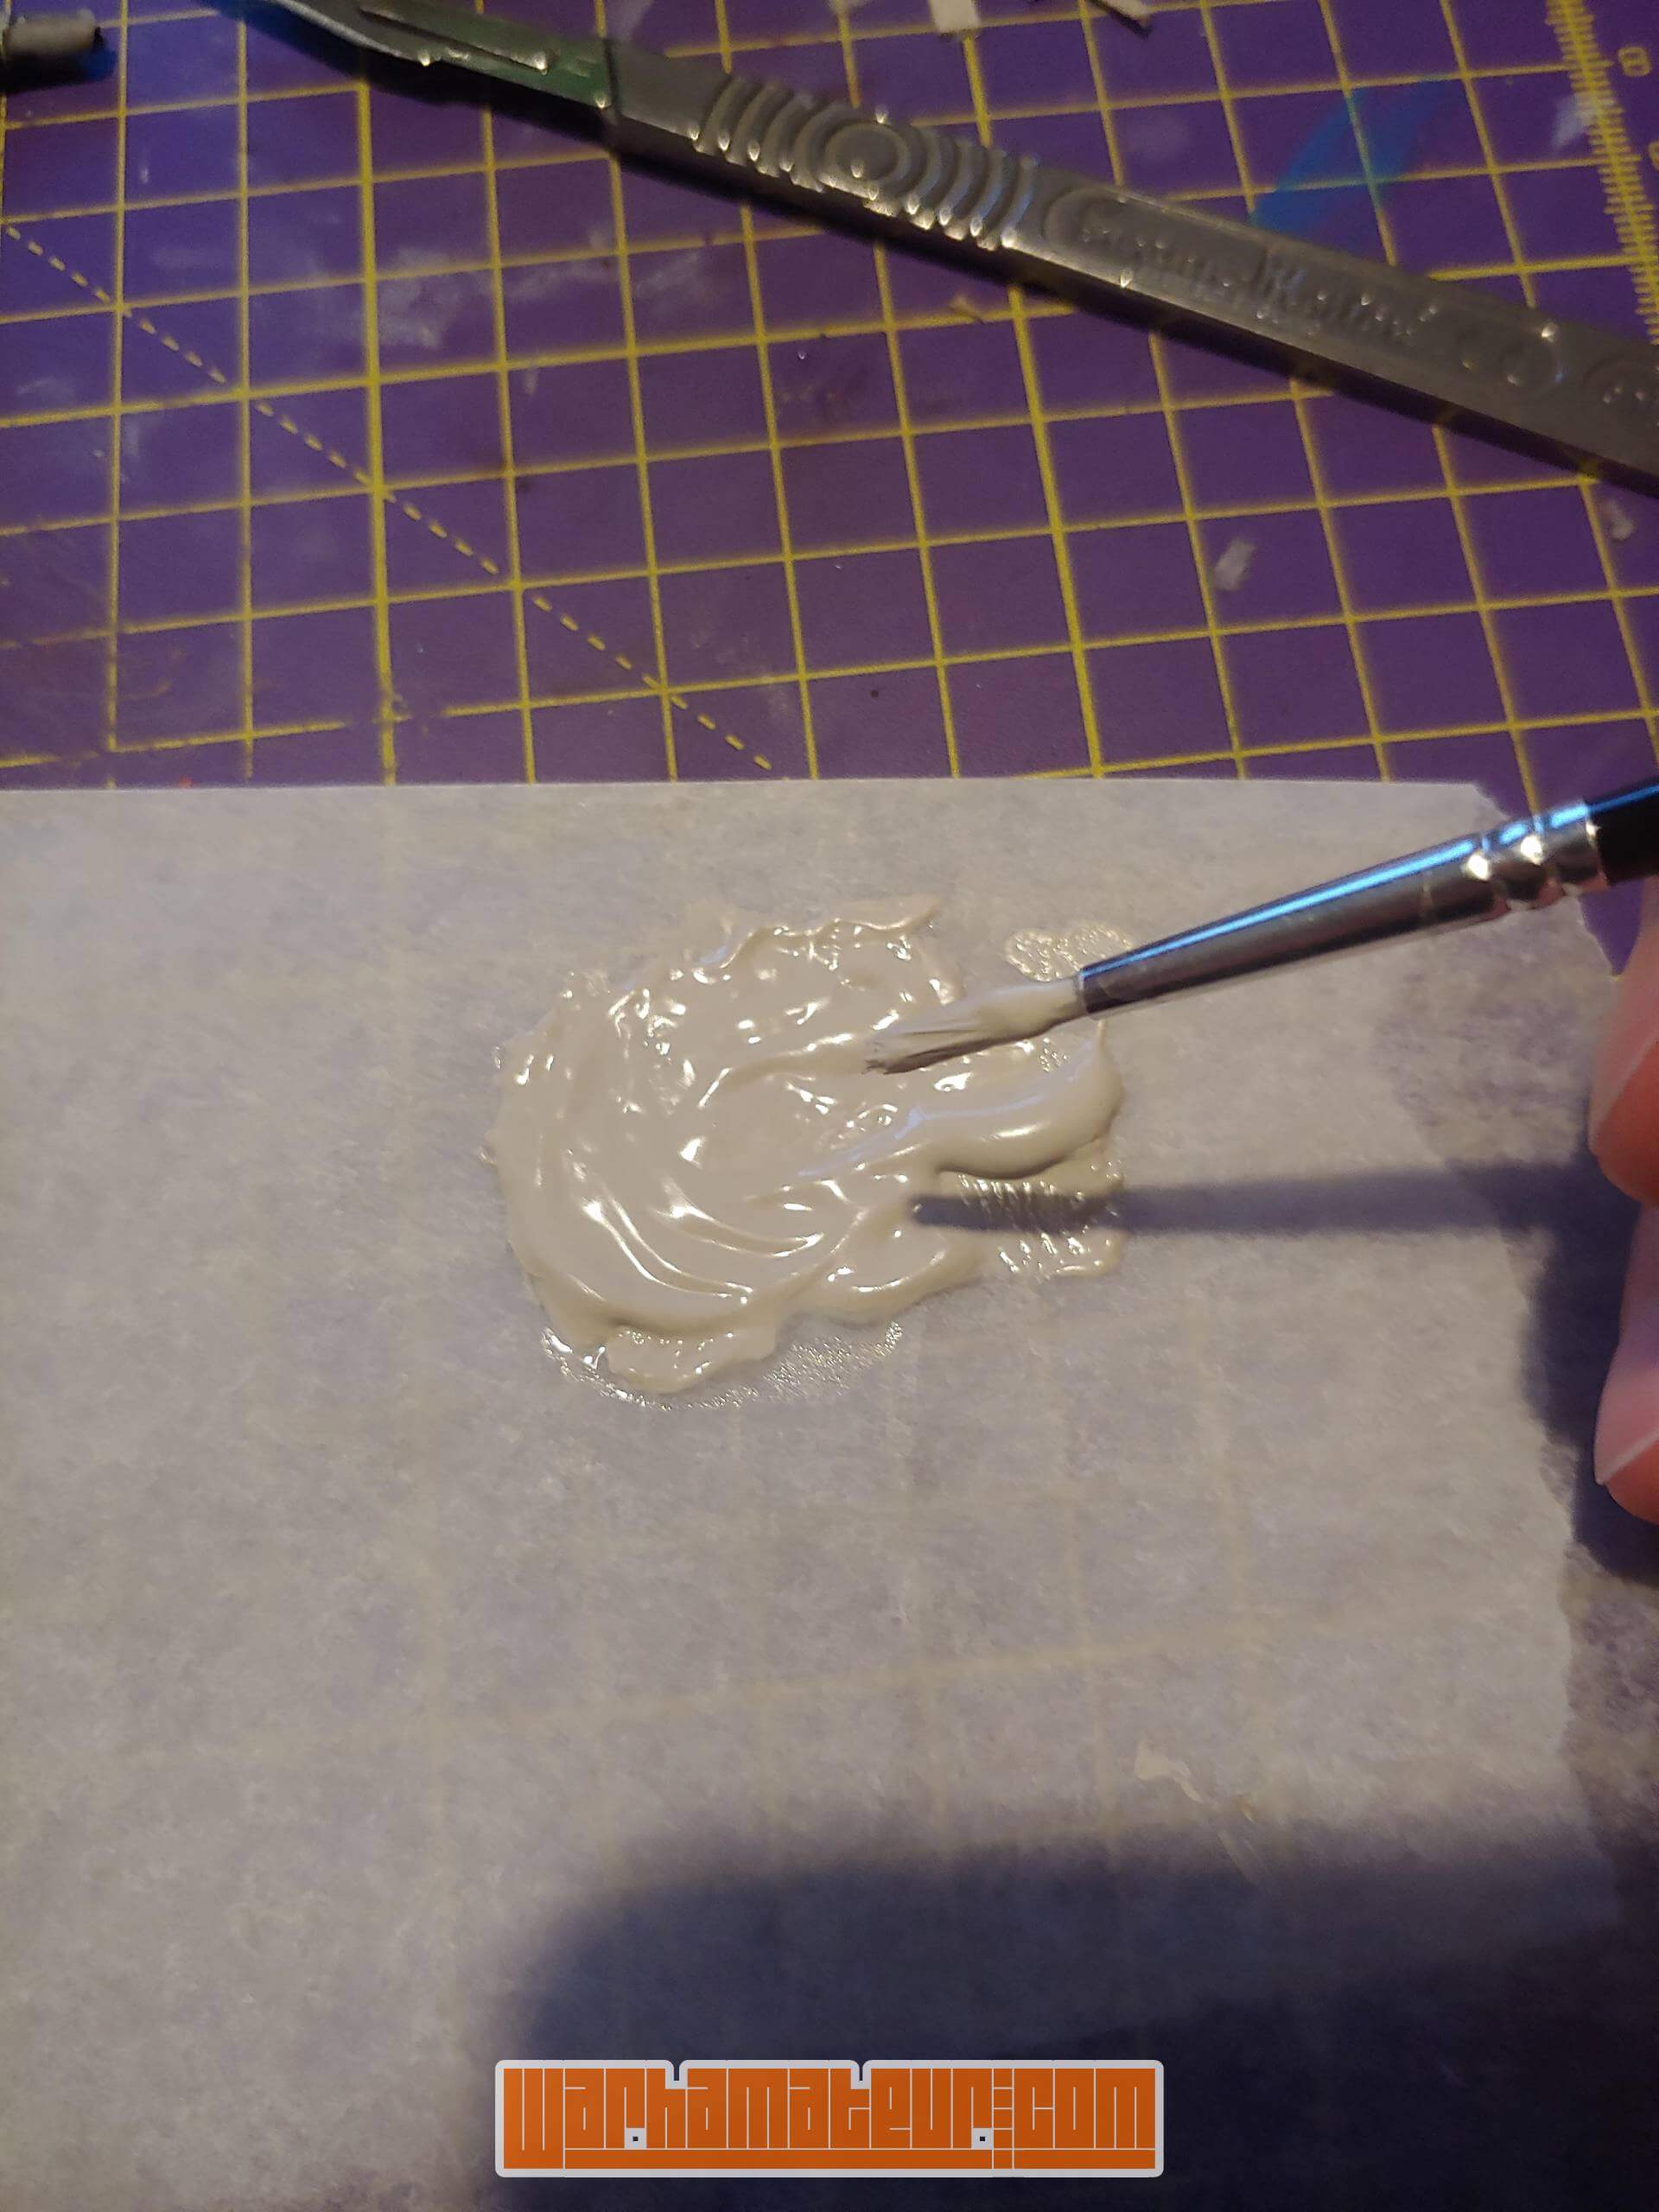
Scale modellers like to use Mr Hobby Surfacer to rough up their tanks, mimicking the patterns created when tank armour is cast. Something like that, anyway. I don’t have any Mr Hobby Surfacer. What I have is cheap plastic putty and poly-cement, which I’m told does pretty much the same job.
(a word of caution to any who repeat what follows: the vapours given off by this stuff are ridiculous – open a window or work outside, and don’t be stupid like me and realise just how bad the smell is after it’s hit your lungs!)
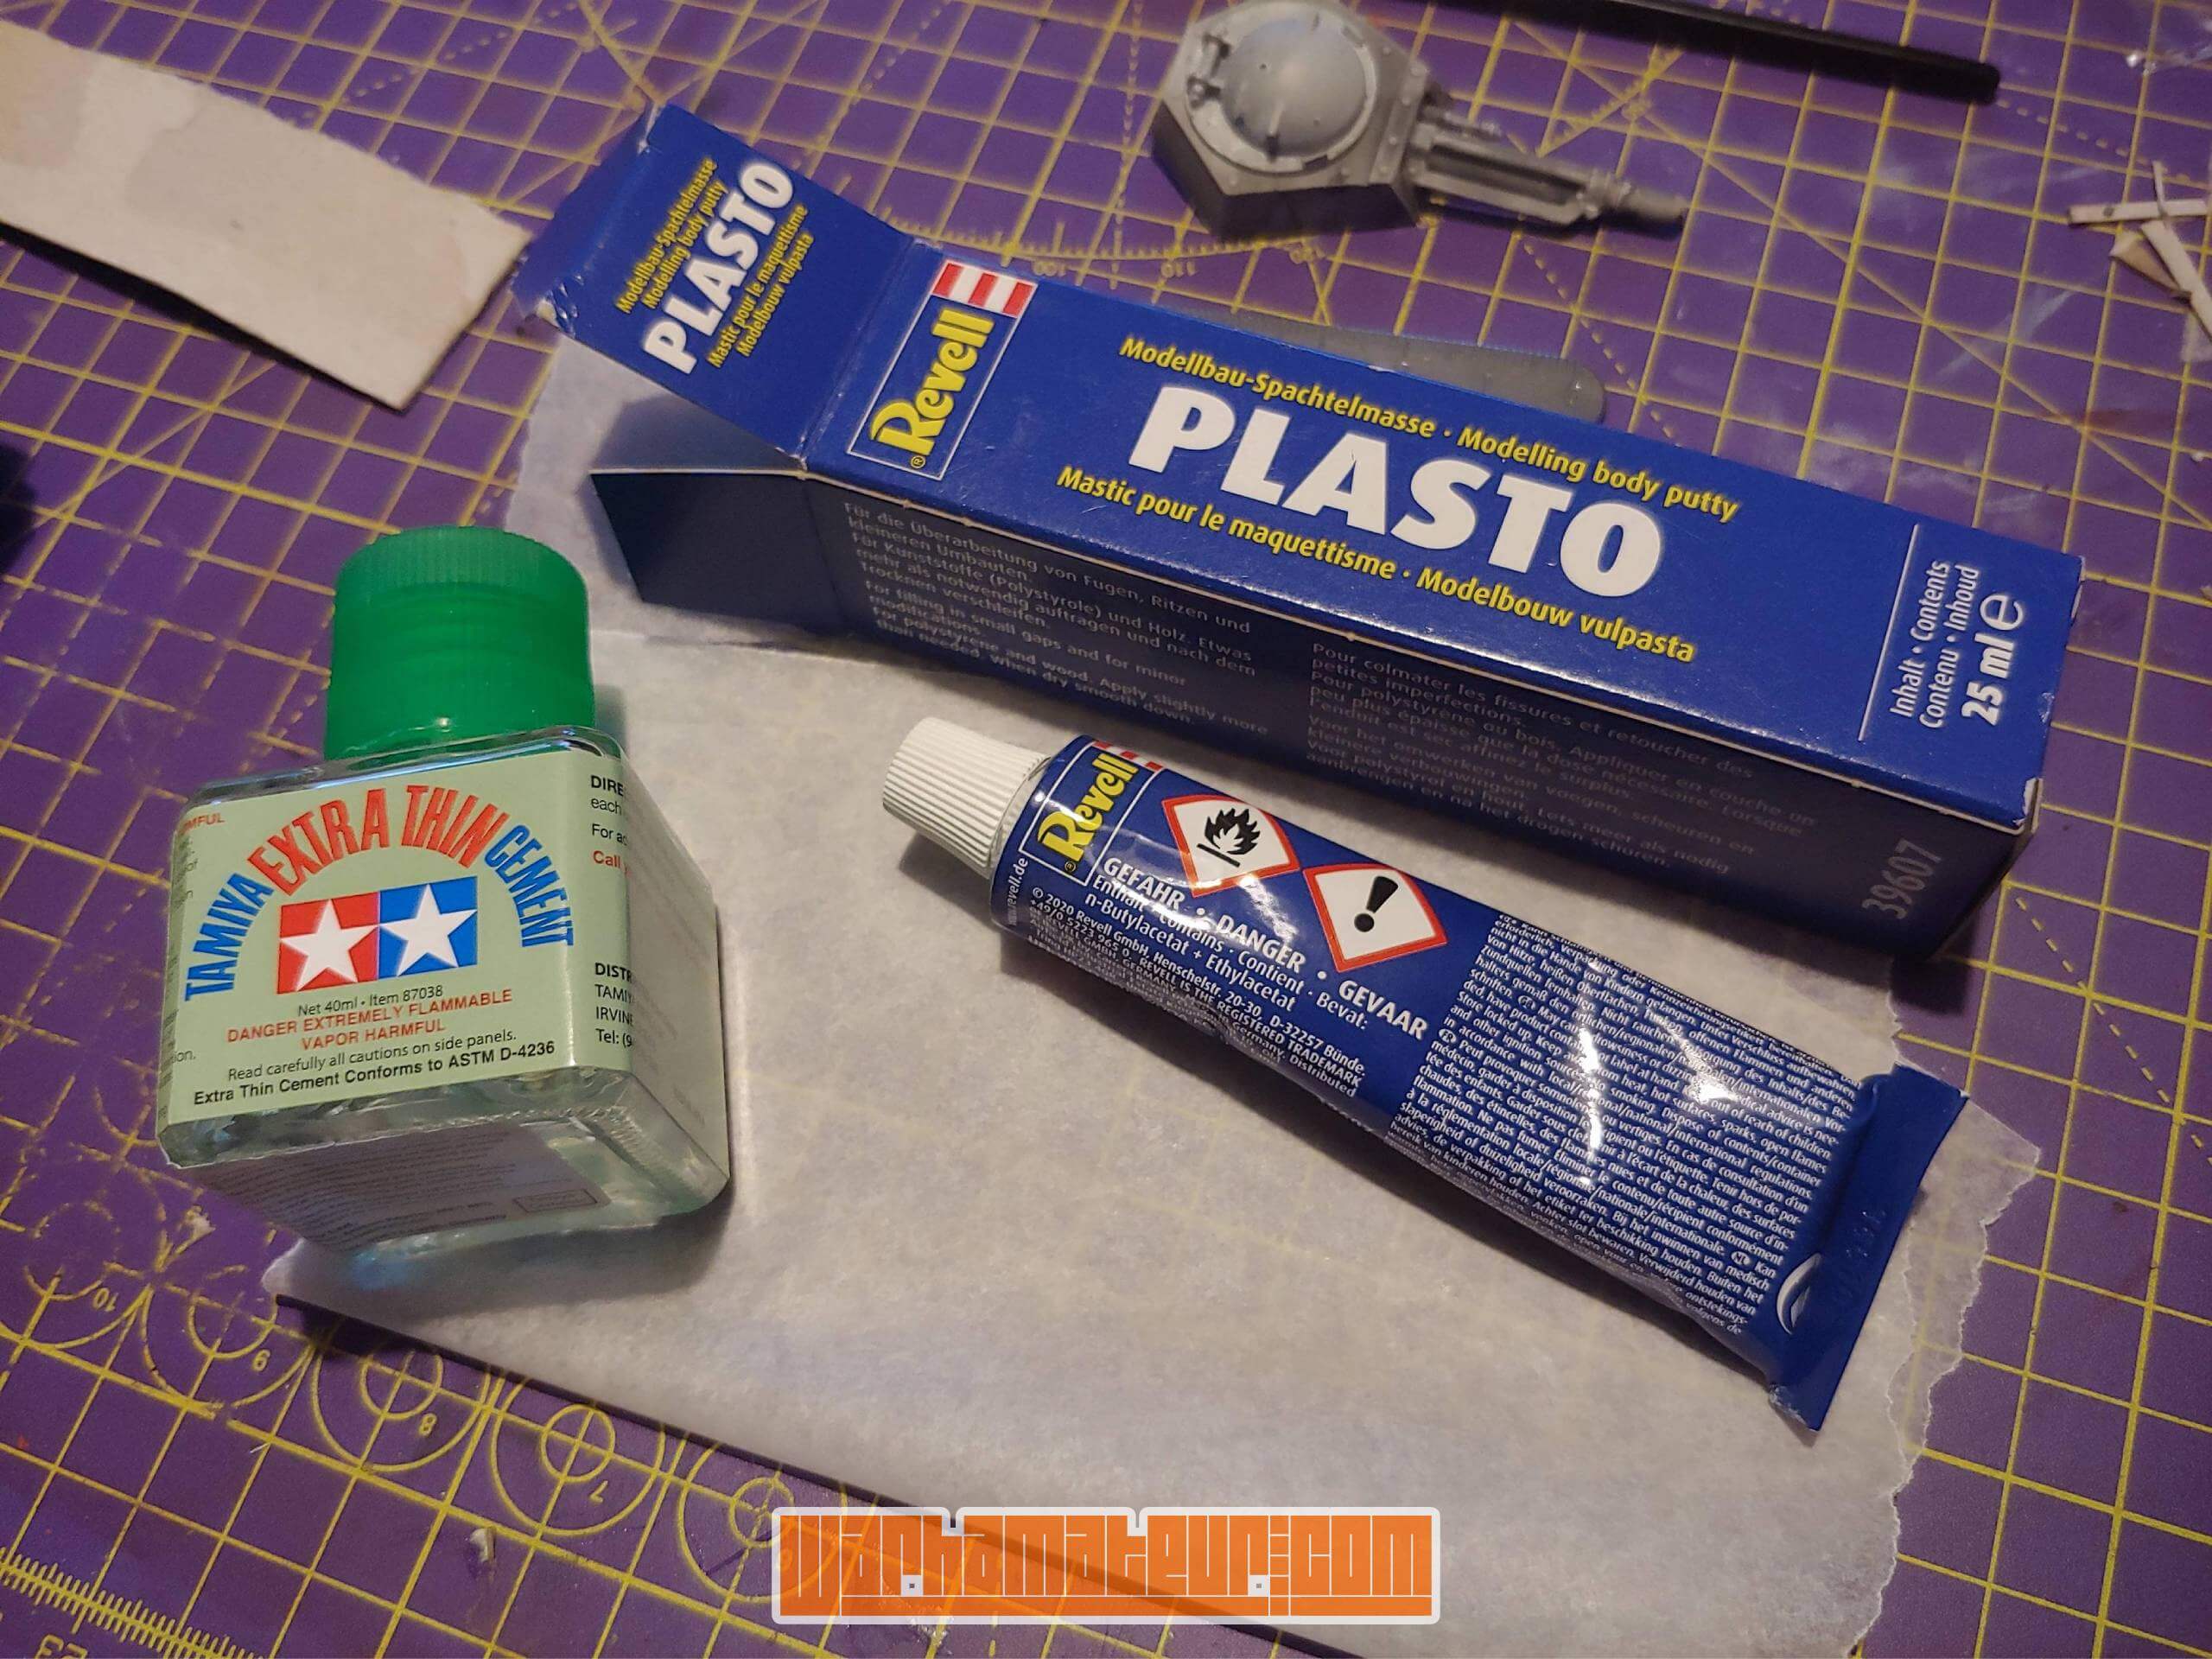
Mix the two together on a disposable surface and you end up with a horrible gloopy mess that destroys your brush (use a cheap one!) and dries annoyingly fast (work quickly!)
After working for about half an hour (after which Real Life popped up again) I’ve ended up with about half the tank covered. Some of it may receive a second pass for extra texture, and the cardboard plate needs some more disguising, but that may be left for later steps.
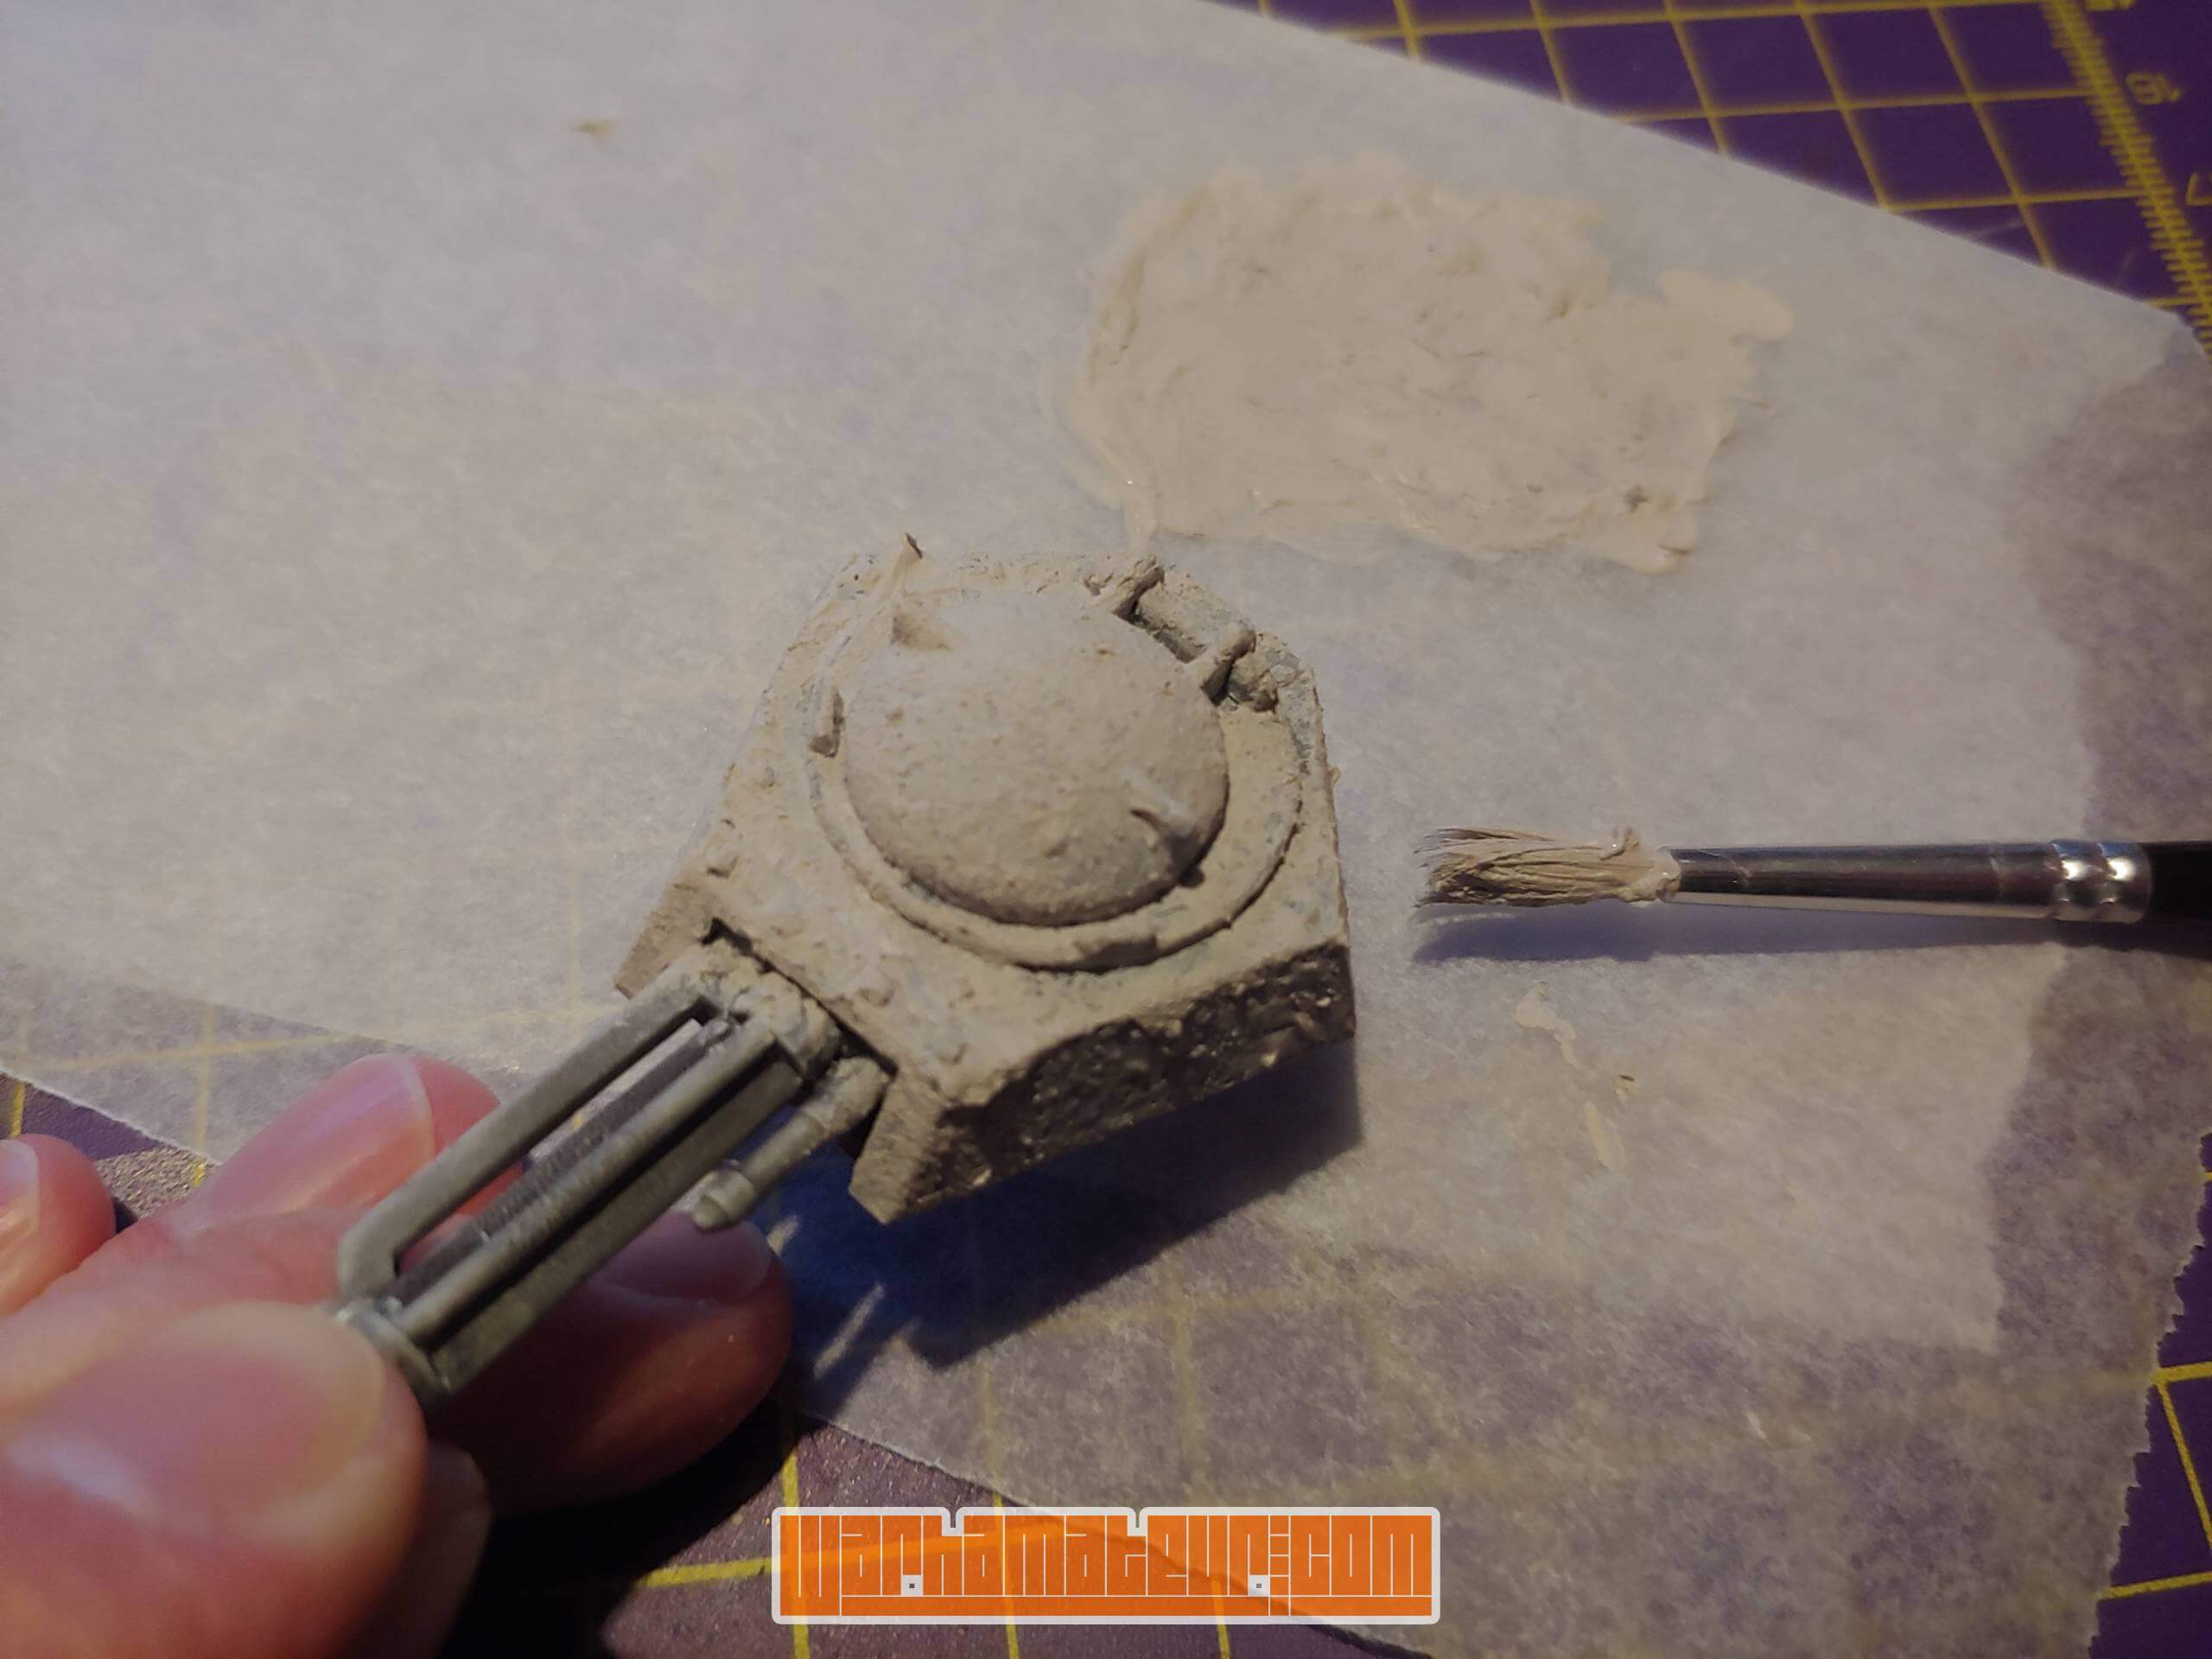

So that’s where we are currently. An absolute mess? Quite possibly, but I’m sure it’ll be a fun learning experience as I go! 😁