We’re back again with another little post aimed at the newer members of our hobby community. Today we talk about how painting your models on the sprue is rarely a good idea, with examples why. We’ll also look at the one exception to the rule, when painting on the sprue can actually be helpful.
If you’ve ever spent any time trawling through eBay for model sprues you’ll have likely come across listings for items that have already been undercoated, and I’m sure that this is something that many more veteran hobbyists have done themselves when they were younger – I know I did! So let’s see an example of why this is something you should avoid, with a free dose of nostalgia (or a history lesson, depending on how old you are!) and some intentionally-awful painting along the way.
Learning from the mistakes of others
Sprue gates
Let’s start our explanation with the humble Space Marine shoulder pad. Memories of my youthful mistakes are already coming back to me!
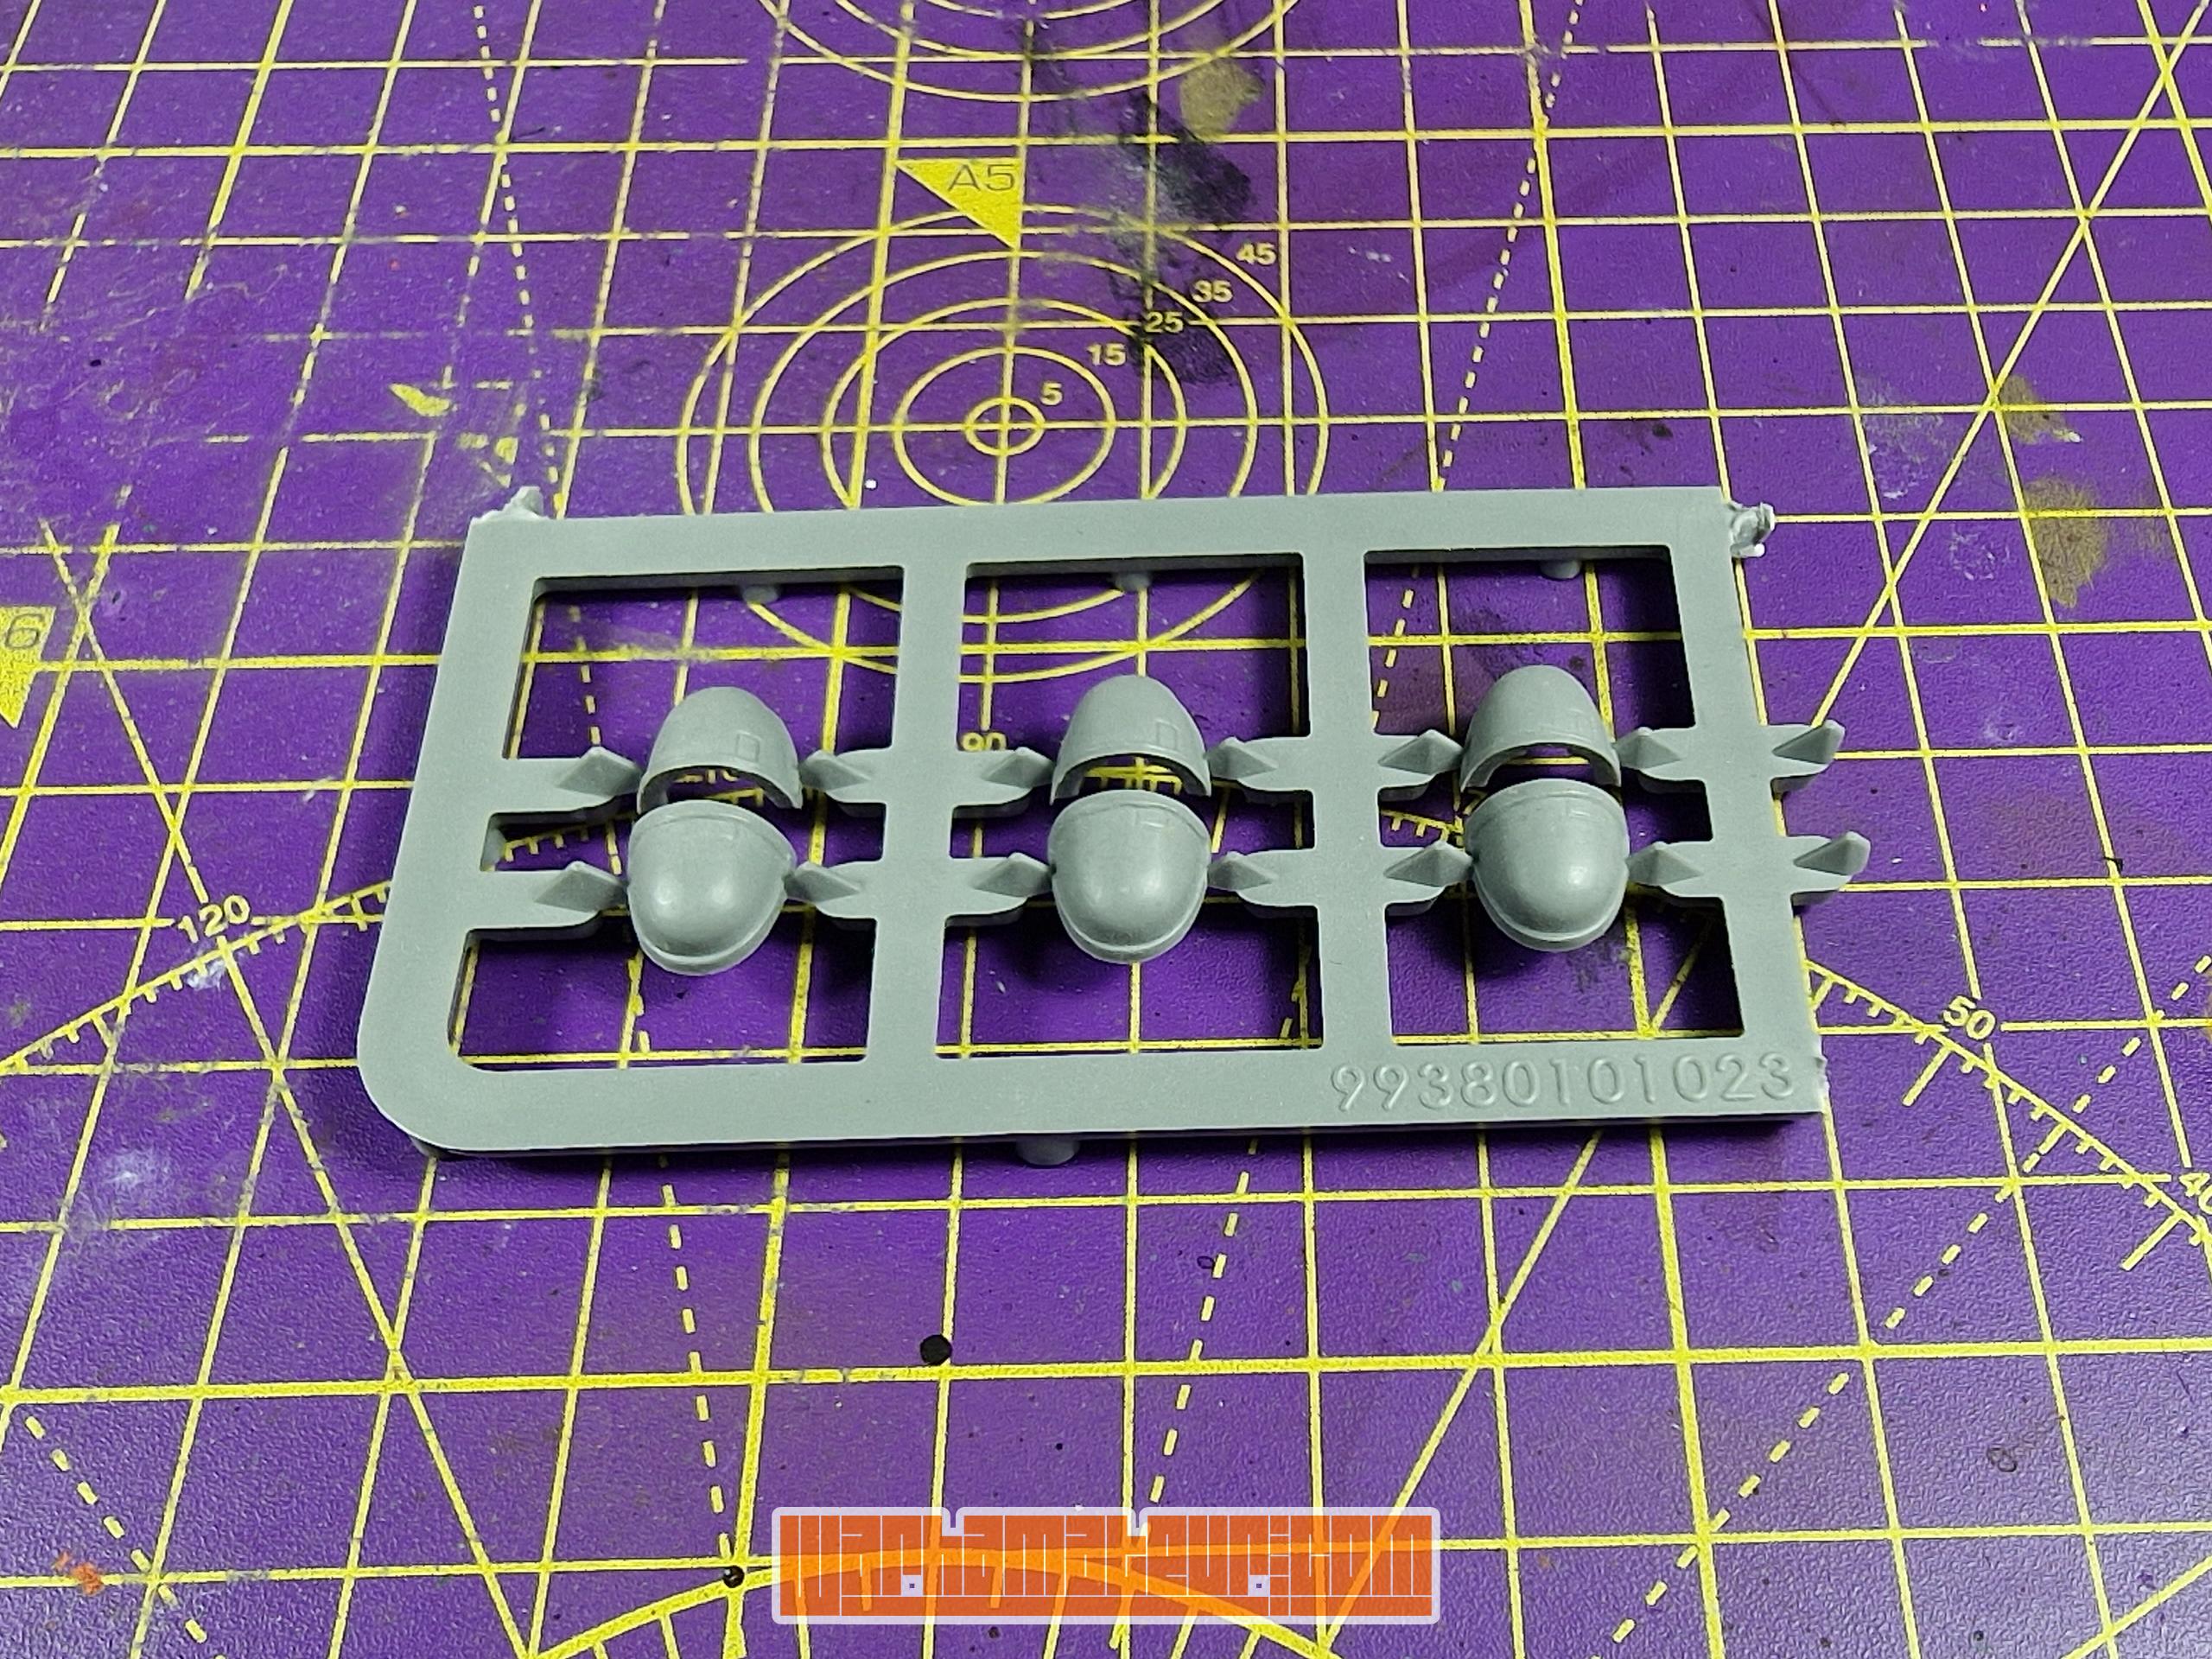
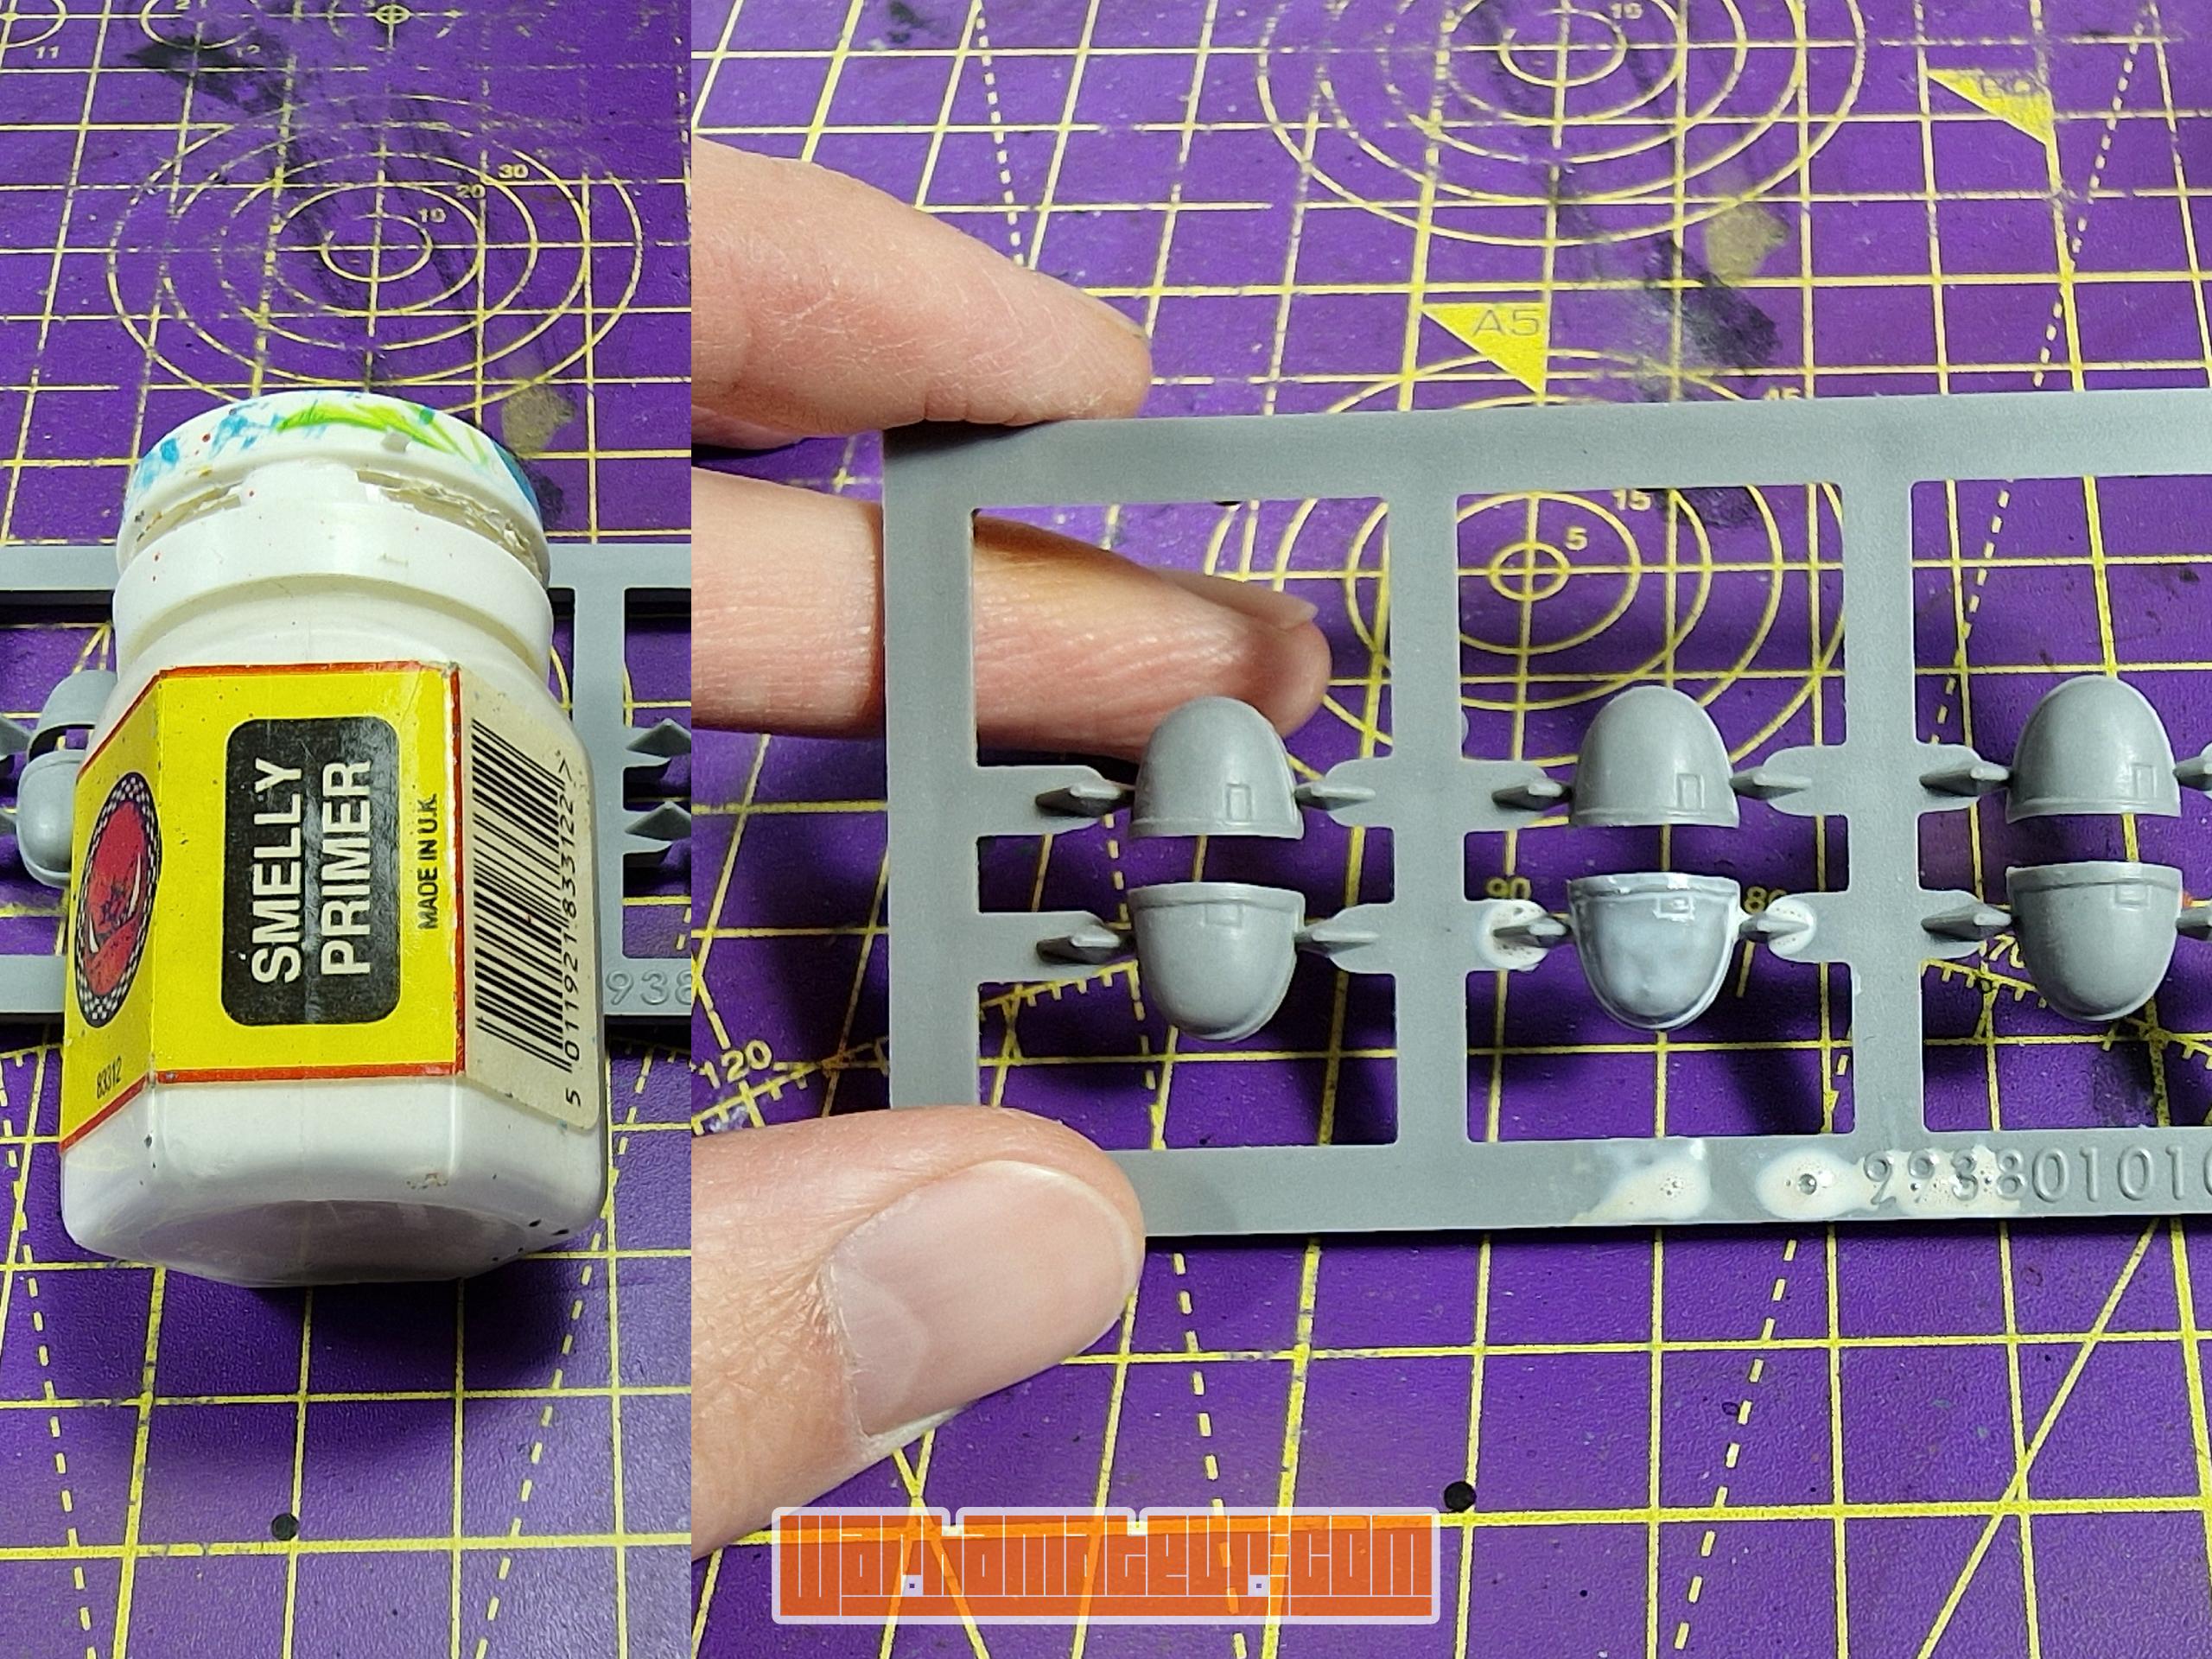
When I was younger this whole sprue would likely have been hit with an over-enthusiastic spray from a Skull White rattle can, but unfortunately I don’t have one left. Instead I’m going to crack open a paint pot that’s about as old as I am! For those who aren’t old enough to remember, Smelly Primer was a brush-on Citadel primer, and it was useless!
Then we’re going to put down a single thick layer of blue (brush marks included!), before opening up another ancient pot – the aptly named Sunburst Yellow.
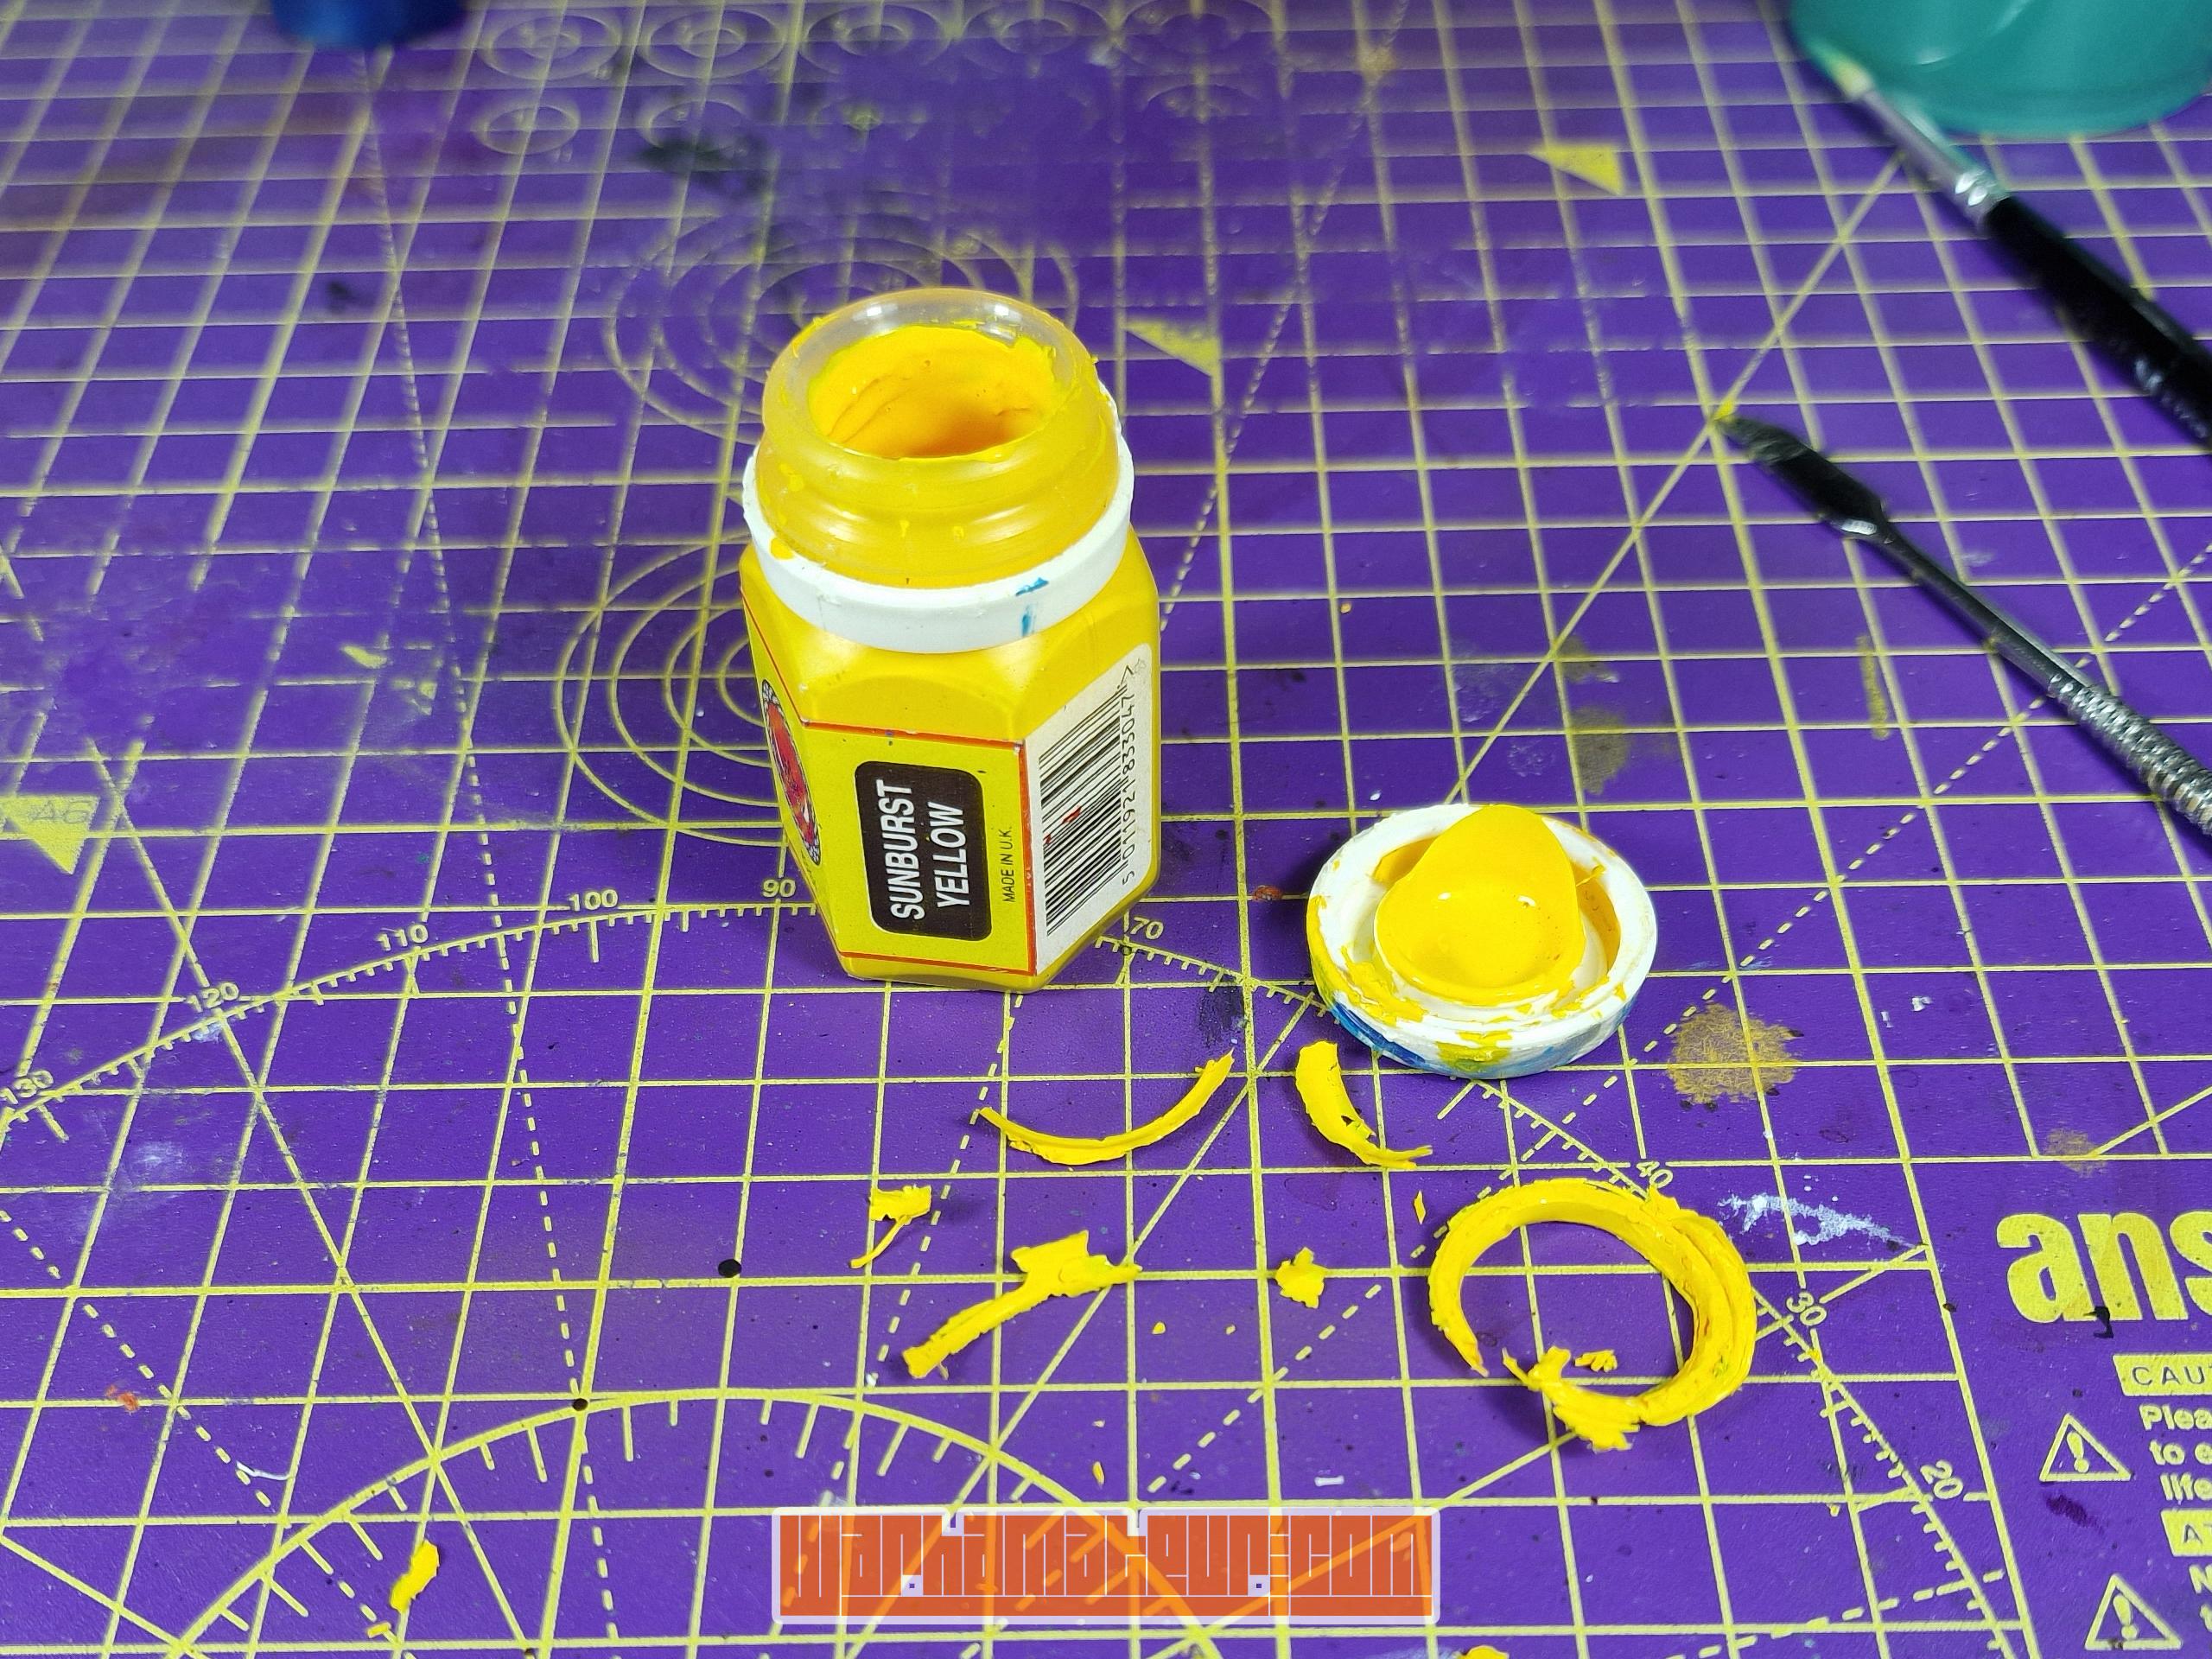
One more very thick coat later (it’s actually quite difficult to paint this badly on purpose!) and we have something that’s ready to be glued to the rest of our model!
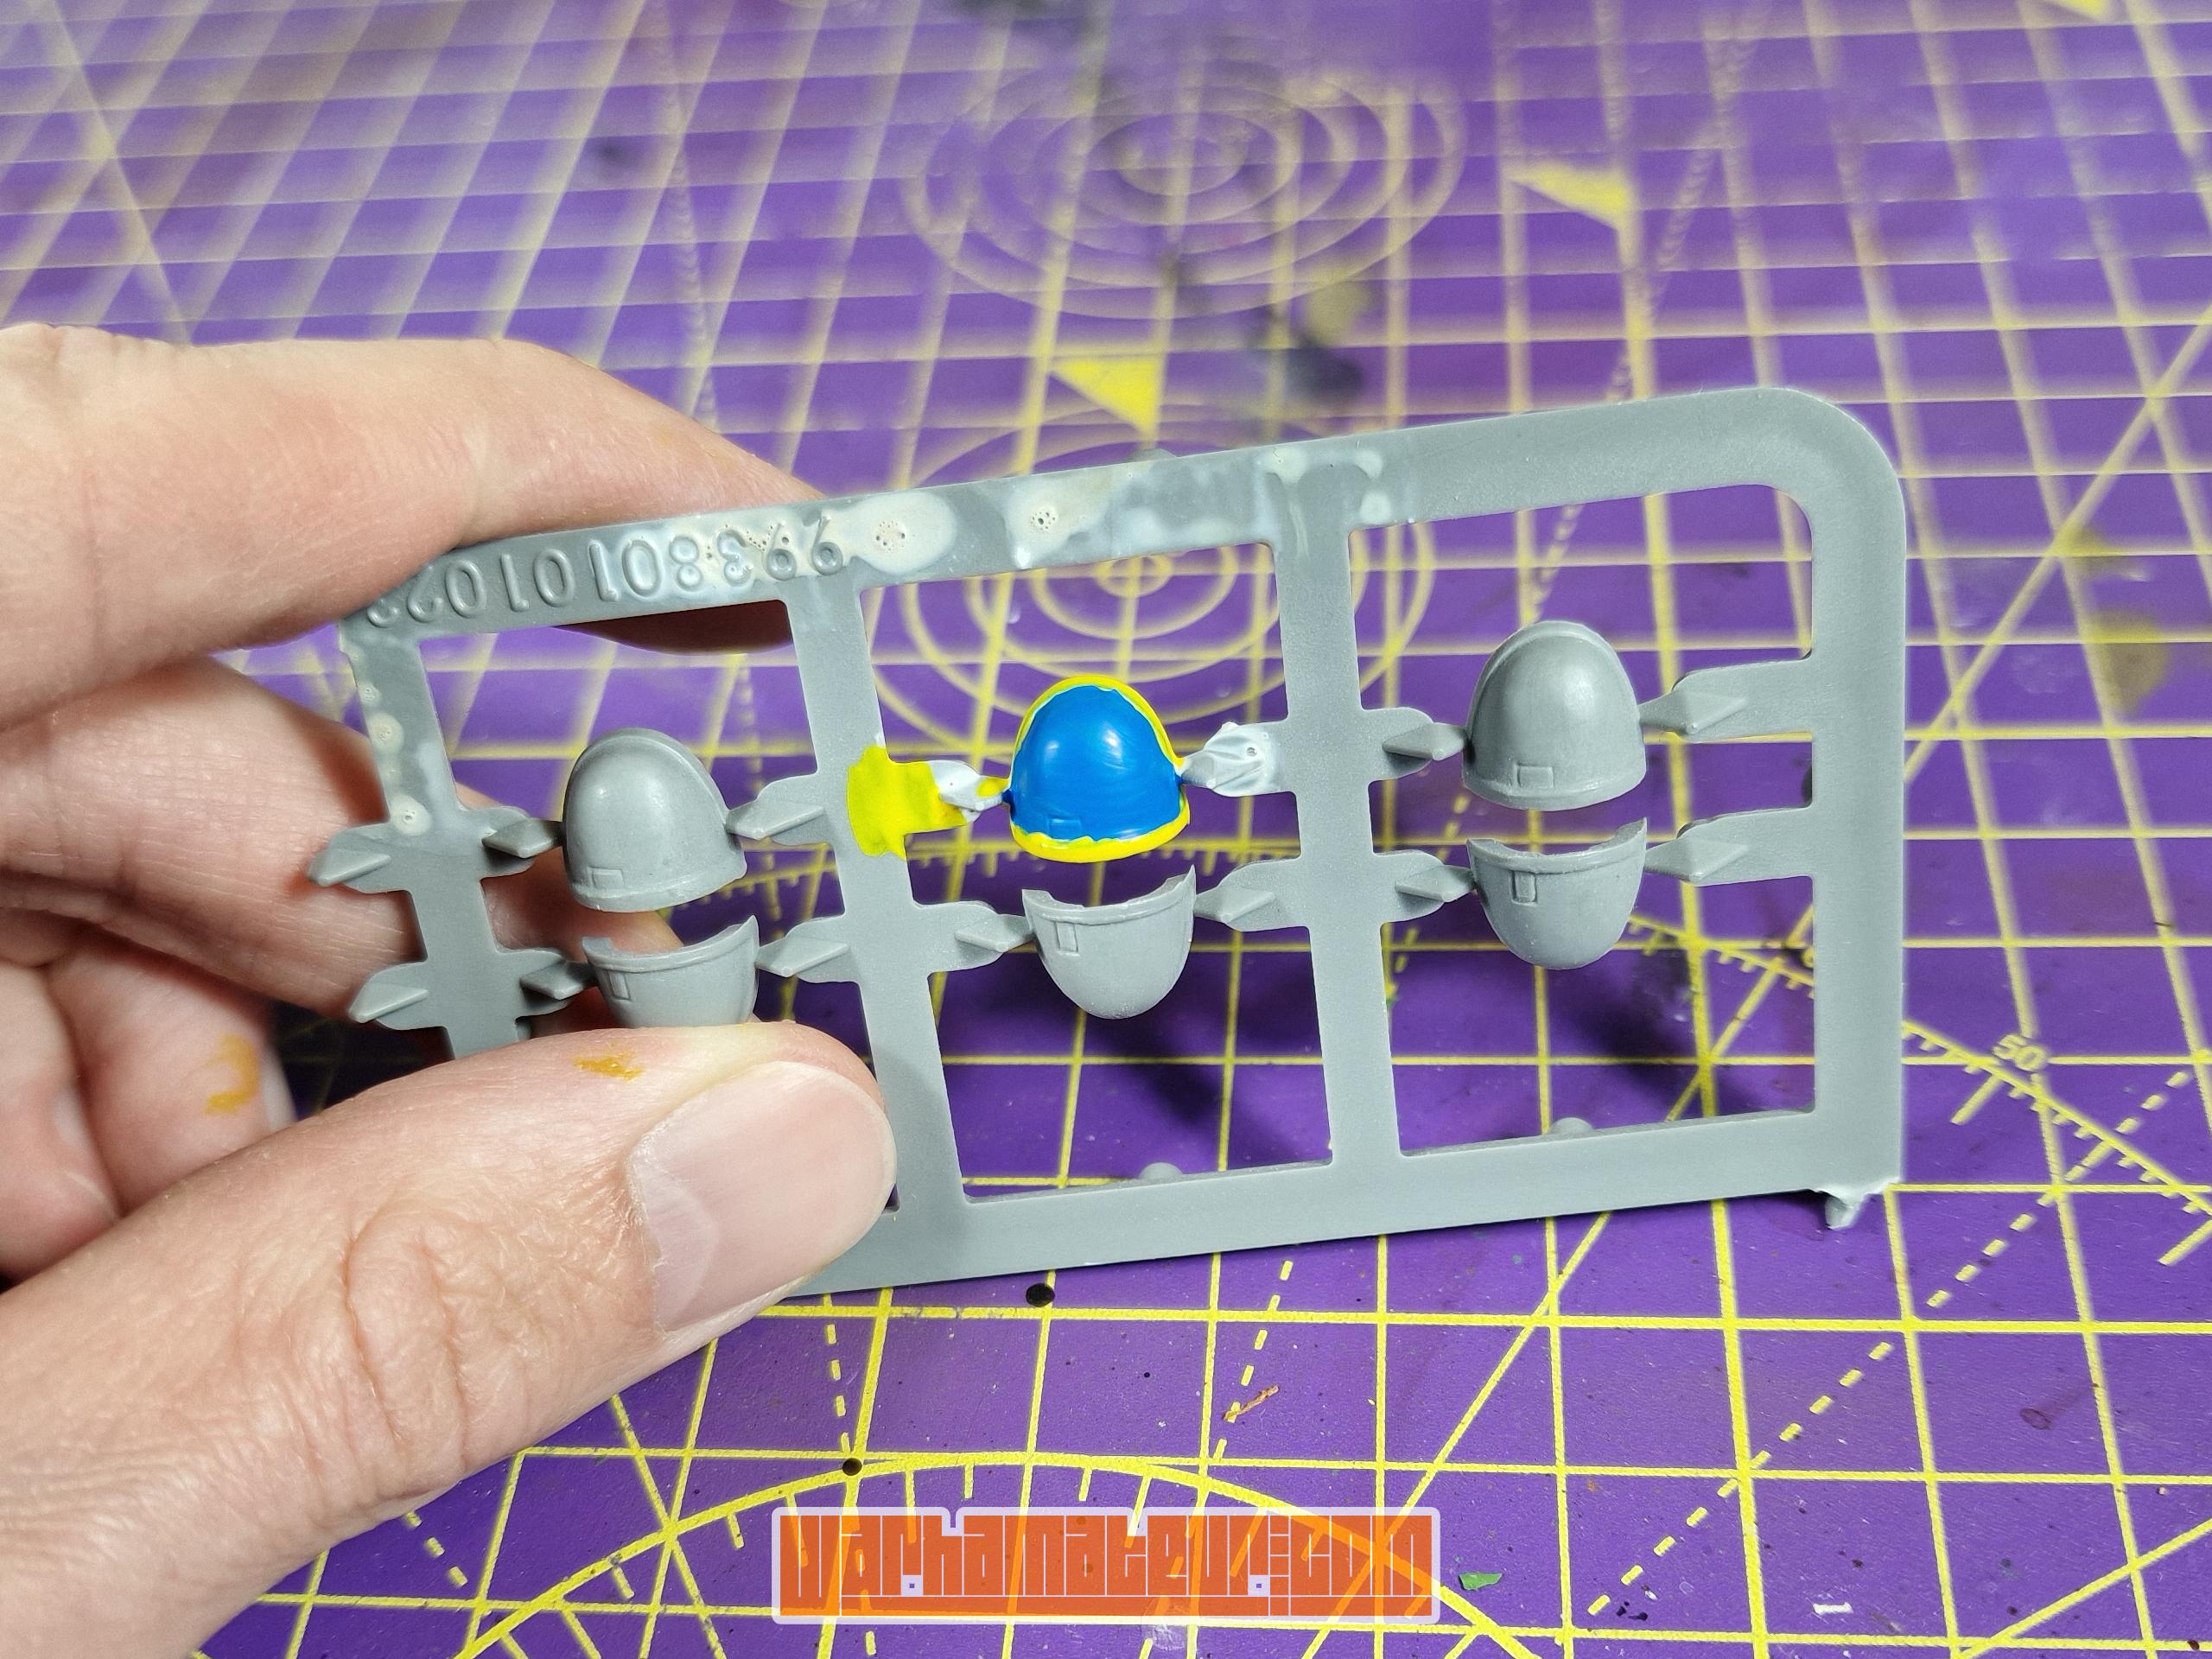
There are many out there who remember their first Ultramarines looking something like this, I’m sure! This is pretty similar to the situation I found myself in as a much younger modeller, only back then I had done it to a full Tactical Squad and a Landspeeder! Also, note the bubbles in the primer on the sprue – they dry as solid bubbles! I’m not sure what this stuff is made of, but I don’t think it’s a standard acrylic!
So what happens when we decide it’s time to take our heavily-painted plastic and actually assemble it? Well, we’d better start by clipping those parts off the sprue. That’s clipping, not twisting them off the sprue, which I definitely didn’t do as a kid! 😇

Ah. Bare plastic. That’s a problem! The little section that joins the model to the sprue is called the ‘sprue gate’, and now that I’ve taken my clippers to the plastic we can see it in all its grey glory. Not an ideal situation!
This leaves us with something of a problem for three reasons:
The first is that cleaning up the remains of the sprue gate (although this only needs a quick pass with a blade thanks to using high-quality clippers) will damage the surrounding paintwork, especially if we have to sand/file.
The second is that we ideally want to prime our plastic first to allow for better adhesion, which will now be more difficult to do without affecting the surrounding paintjob – assuming you’re not using Smelly Primer (please don’t!)
The third is that any paint we put down now will be more difficult to colour-match to the surrounding area due to the difference in colours beneath it, especially if it’s not primed.
Cleaning mould lines
The other big reason that you don’t want to be working directly on the sprue is that it makes cleaning up mould lines more difficult. You are cleaning up your mould lines, right? 😉
Working on the sprue, particularly on newer kits that are much more densely packed, leaves you more restricted in terms of access to the model parts. When you’ve clipped each piece from the sprue you can rotate it in every direction to find and remove mould lines or other imperfections. When you’re working on the sprue you have to try to work around the other pieces and bits of sprue that will get in your way, and you have to work around the fact that the gaps between the sprue and the part are very small, which makes it more difficult to get a blade/sandpaper/etc into the right place.
In short, on-sprue clean up is unnecessarily difficult!
When painting on the sprue can actually help
Every good rule needs a good exception, and this one is no different!
The one potential exception (or at least the only one I can think of) is when painting heads or helmets. People already often paint these separately to the rest of a model for various reasons, like wanting to prime a different colour or wanting to be able to access both sides of the face/both eye lenses/etc when they would otherwise be obscured.
When painting heads separately you have to be able to mount them while you’re painting. I have often used a drill bit held in a pin vice, plenty just use blue-tack or similar, and Citadel themselves market a tool designed for your sub-assemblies (these are a waste of money, don’t do it!). If I simply leave these pieces on the sprue, however, then I have something that’s already easier to hold than a single small part. I could of course still attach it to a paint pot with a bit of blue-tack to make things easier!
There is also the benefit with some sprues of being able to paint a row of parts all at once. Take this example from the Space Marine Tactical Squad – if I were to cut along the lines shown I would have a perfect line of helmets all ready to have both their eye lenses painted, and a handy piece of plastic to hold them with!
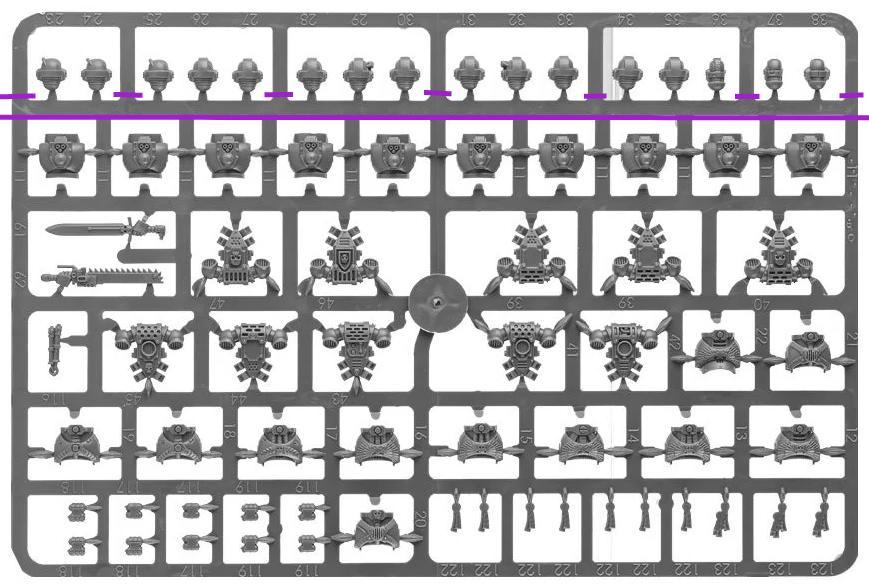
The reason that we can do this with heads in particular is that the sprue gate is usually located on the neck. When we clip the part from the sprue the only section that shows grey plastic is the bit that we are going to glue anyway, hiding the gate without needing to worry about it being seen. Obviously for any heads that have multiple or visible sprue gates this isn’t an option!
So there we have it – a couple of reasons why you shouldn’t paint on the sprue, and one reason you might want to! Hopefully this will be enough to help newer hobbyists avoid at least one of the mistakes that I made many years ago! 🙂