🎶 Let’s talk about glue-ba-by
Let’s talk about po-ly-ce-
-ment, talk about all the good ones
And all the bad ones we-may-see
Let’s talk about glue! 🎶
Plastic glue. What is it?
Let’s start by blowing your mind: plastic glue isn’t really glue! 😮
What many people call plastic glue is in fact a solvent that, depending on its chemical composition, goes by names including Butanone, methyl ethyl ketone (MEK) or just simply ‘polystyrene cement’. Instead of acting as an adhesive on our plastic models it is actually working as a welding agent.
Why does this matter? Let’s find out with the help of some badly-drawn images!
Plastic glue. How does it work?
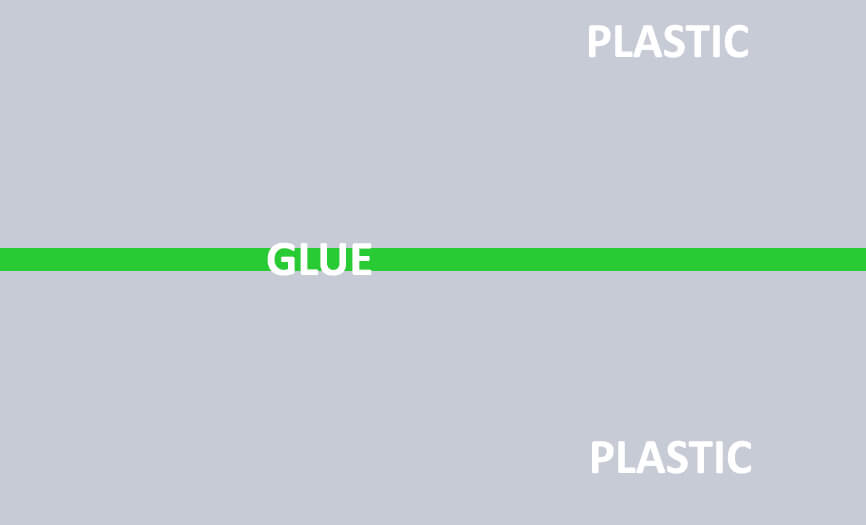
To start with, let’s take a look at how an adhesive, like super glue, would interact with our models.

As you can see the glue is sandwiched between two parts of a model, where it grabs on to both sides and holds them together. This isn’t an ideal situation for a number of reasons:
The glue is a physical layer between the parts of our model. This means that even if we squeeze really hard there will always be some kind of gap between our parts. Gaps are bad.
Glue can lose its grip. Over time, or when exposed to extreme temperatures, glue can soften, go brittle or become weak. The last thing you want is your model falling apart in years to come – not only would that be a big gap, it could also ruin your paintjob!
Glue doesn’t go away. This is a bad thing if glue ends up where you don’t want it. When pressing pieces together you can squeeze glue out of the contact area onto the visible parts of your model – if this happens and the glue dries it can be difficult to remove. Try explaining why your Captain has a double chin, or your Rhino seems to be leaking! (possibly not a bad thing for Nurgle players!)
So how does using a solvent like poly cement fix this problem? Let’s see how it interacts with our models.
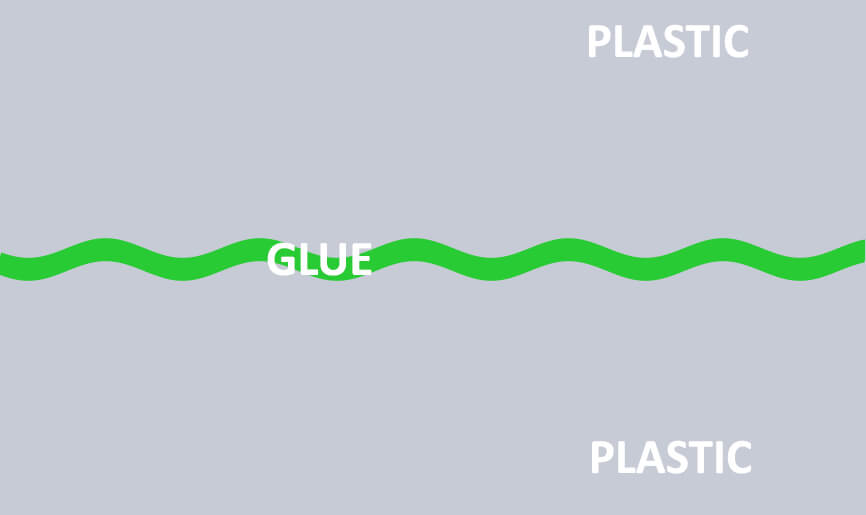

The first thing you’ll notice is that the pieces are much closer together. This is because when using poly cement you actually need your pieces to be touching each other – this might sound like a bad thing after talking about how glue doesn’t go away, but all will be explained.
The second thing you’ll see is that instead of drying into a solid layer that holds your pieces, the cement is actually melting them! That’s the ‘solvent’ bit working its magic. The two surfaces will melt just a little bit, mix together, and then dry into one solid piece of plastic. Done correctly the join will literally disappear!
The last thing you’ll notice is that when it dries the poly cement also disappears! This is because the solvent will evaporate into the air, leaving nothing but smooth joins and amazement. ✨
Plastic glue. What do we need?
Now that we’ve agreed that polystyrene cement is the best glue for plastic, let’s find out which brand is the best – yes, this is one of those times where there really is a correct answer! But rather than just tell you we’re going to learn why along the way, starting with:
Citadel plastic glue
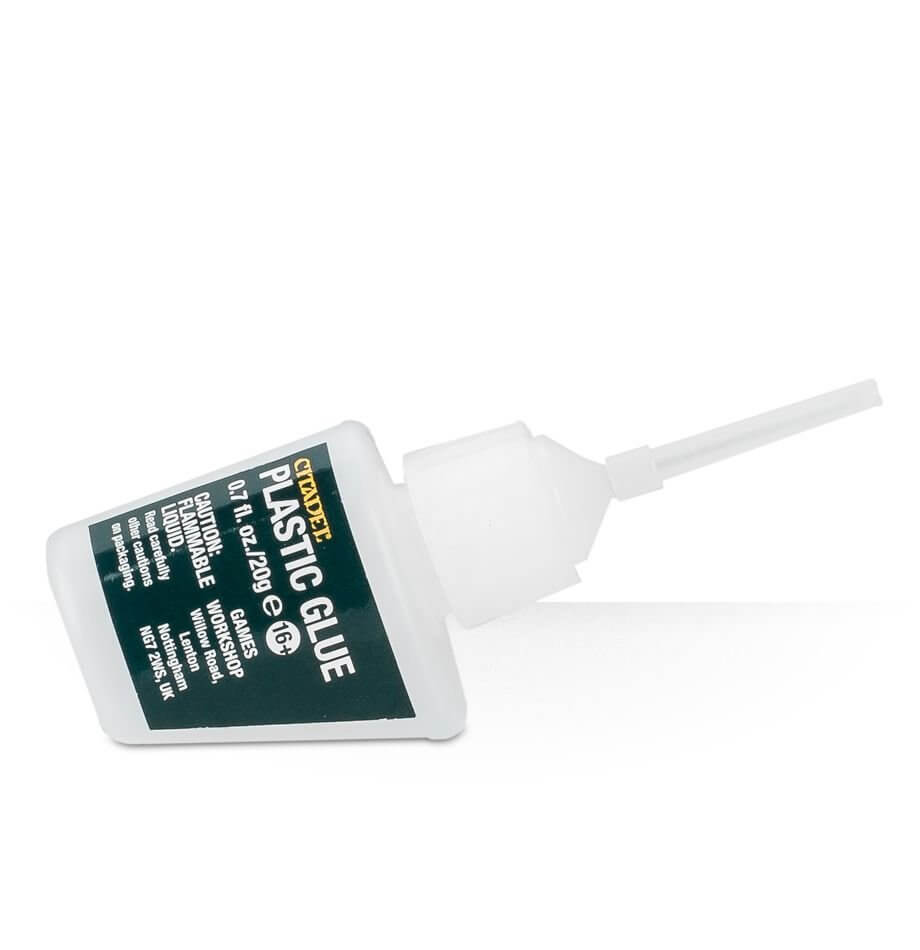
Probably the reason everybody calls it ‘plastic glue’, as Games Workshop are the one of the biggest fish in the sea and they must sell this stuff by the truck-load. Despite significant design improvements over the years, however, Citadel’s offering still isn’t the best, even with the new metal nozzle applicator.
Don’t waste your money.
Revell Contacta Professional
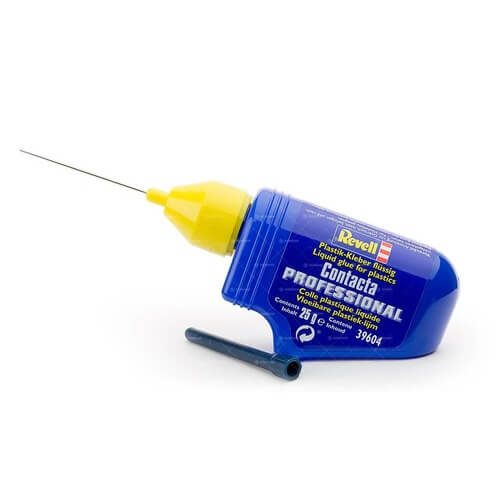
This stuff was likely the design inspiration for the new Citadel bottles, as they’ve been using the thin metal nozzles for years. In the event that it becomes blocked (which is going to happen!) the tube can be removed and held over a flame to burn out anything stuck inside.
I must have half a dozen bottles of this kicking around, but it’s not what we want!
Humbrol Liquid Poly
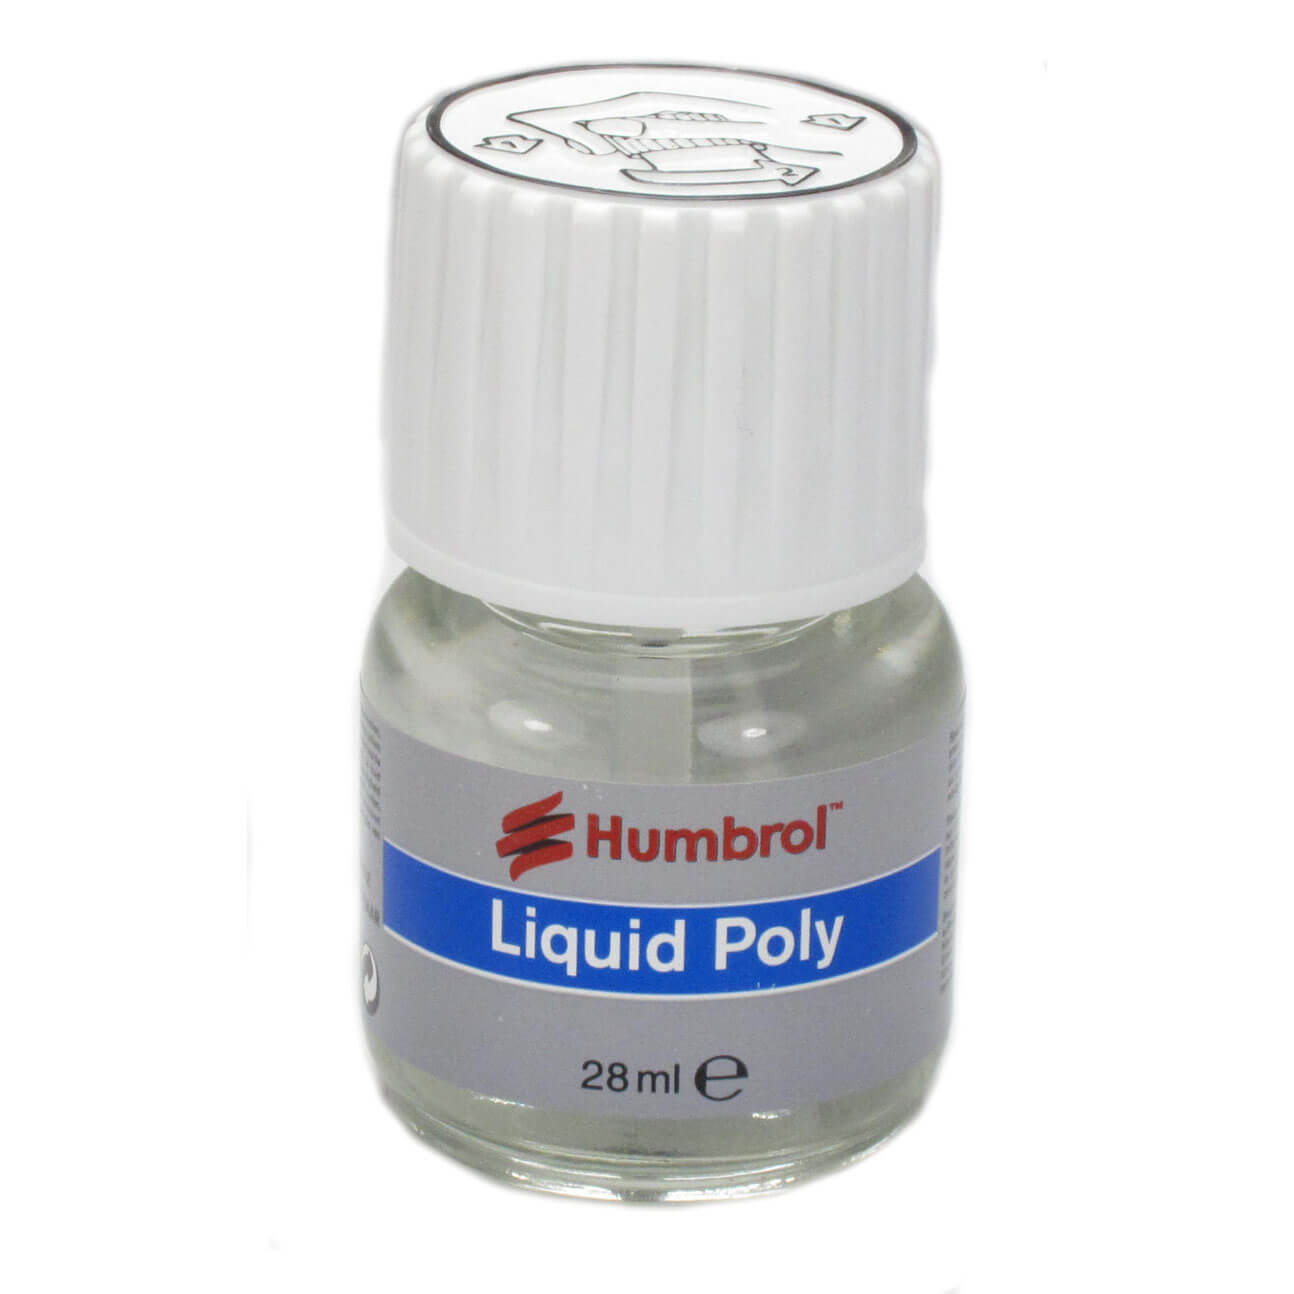
Now we’re getting somewhere! This mixture is much thinner, which means we use (and waste) less, and the brush applicator means we could also put it to other uses besides sticking models together (more on this later). Humbrol drops the ball however in the brush itself, which is a horrible splayed mess – even after trimming mine down with a blade it’s still difficult to apply with any degree of control.
Close, but no cigar!
Tamiya Extra Thin
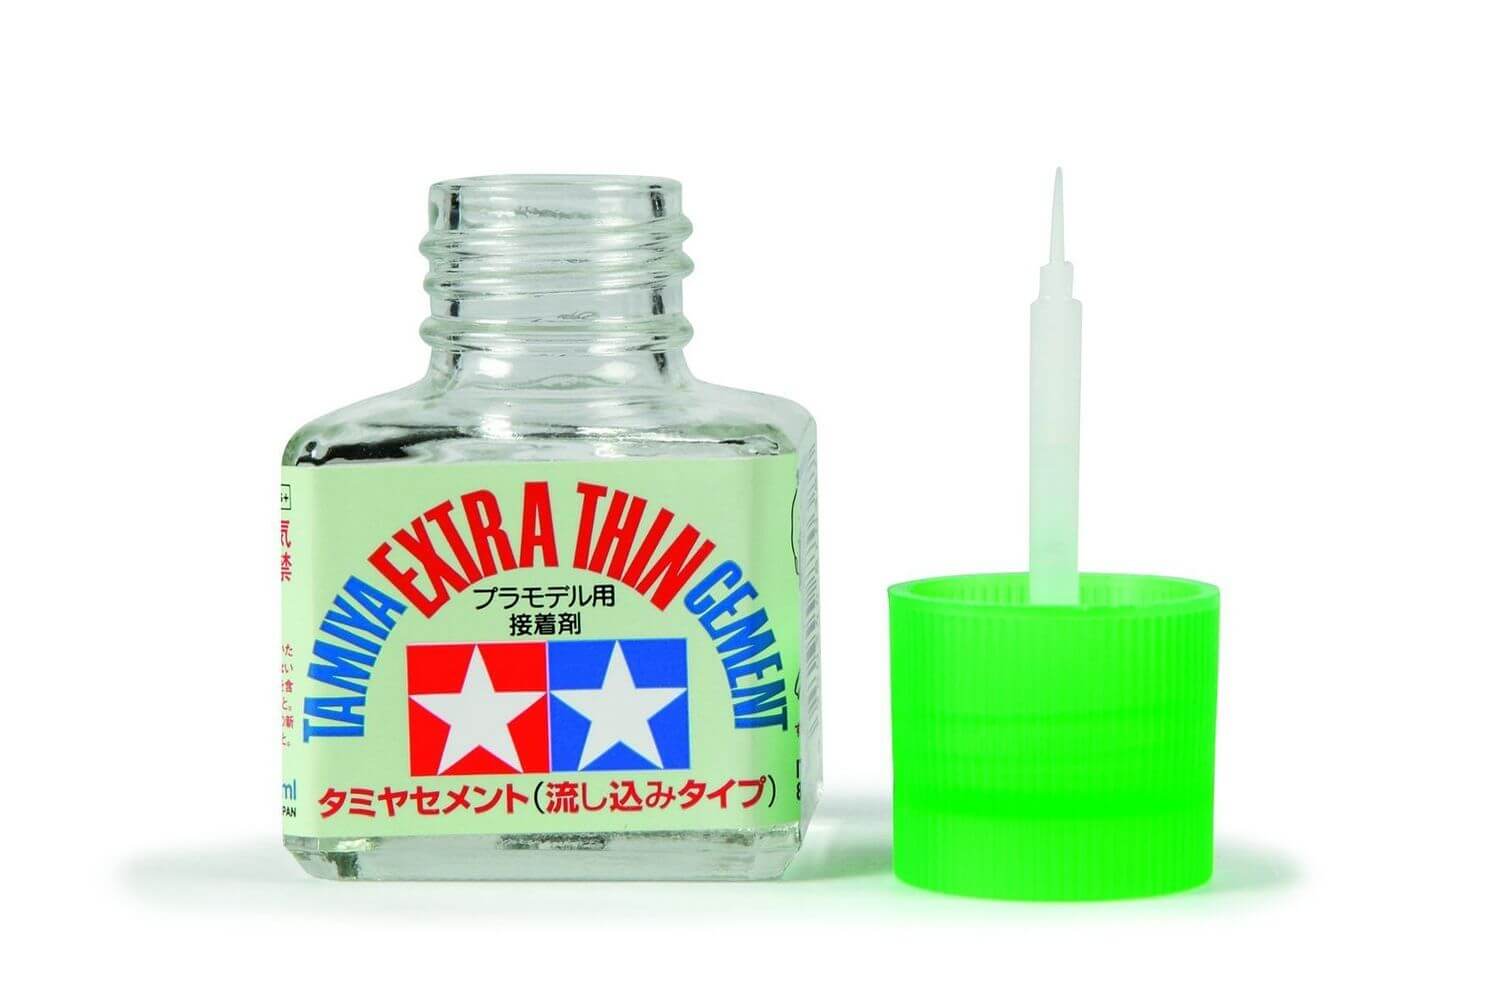
This is the gold standard, and it will take something spectacular to knock it off top spot. Thin consistency, tiny pointed brush, there’s an optional quick-setting variety, and it’s cheaper than Citadel’s too. One pot will last you long enough that you’ll be putting it into your will, and I’ve heard whispered rumours that it’s made by actual, real wizards!
You’ve just found your new favourite solvent! (UK | Amazon)
Extra Thin. What do we do with it?
There’s two main uses for Tamiya’s Extra Thin Cement – the first is sticking models together, and the second is smoothing imperfections. We’ll talk about the sticking bit first.
Stickier than a stick!
While you can use this cement the ‘traditional’ way, putting some on one piece, joining the two together and holding until set, there’s a much better way to do things.
Hold your pieces together like you were dry fitting them. Now take your cement brush and simply touch it to the join. The cement is so thin that it will actually get pulled into the gap due to something called ‘capillary action’ – it will work its way in and fill all the little gaps left by the imperfect surfaces of the plastic, without you having to move the pieces or really even do anything. A few seconds later and it will have taken enough effect that you can let go and wait for the join to properly set. No mess, no fuss, and no wastage!
Smoother than a criminal
The other big use for our new favourite chemical is for smoothing imperfections on our models. These might be the result of removing mould lines, sanding or scraping off details you don’t want, or anything else that leaves us looking a bit rough.
The method is simple: take your brush, drain any excess solvent back into the pot, and run it over the area in question being careful not to flood the model. If there’s a little too much it shouldn’t be an issue, but we don’t want to tempt fate!
The cement will soften the rough surface just enough before it evaporates that it can smooth and level itself out, leaving us with a surface free of blemishes and imperfections. If you’re dealing with a really pitted surface it may require two applications, with time to dry in-between.
This technique also works when you accidentally cut into the surface of your model. If your cut is shallow and no plastic has been removed, simply drop a tiny amount of solvent into the gap and then smooth the plastic back down. If necessary a thin layer over the top will help to ensure that the plastic dries as though you’d never taken a blade to it.
Does it do anything else?
You want MORE?! …well, actually yes! There are other uses for this stuff like making plastic/cement mixes and putty/cement mixes for gap filling (which is what I will probably do with my Humbrol bottle), but we’ll worry about those another day. 😉